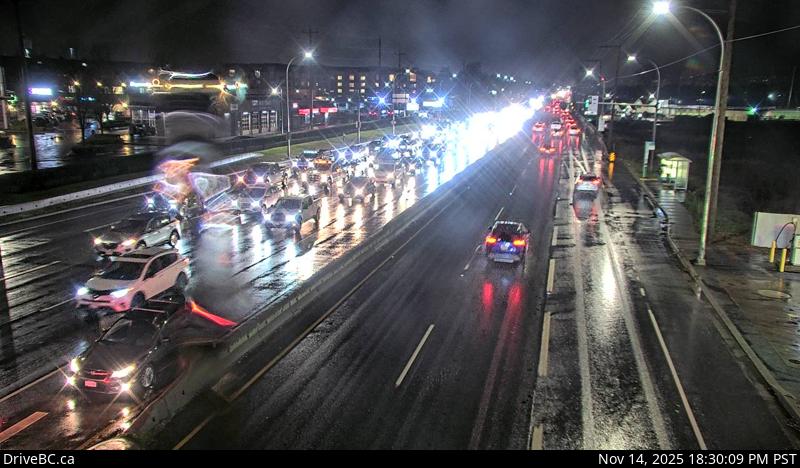
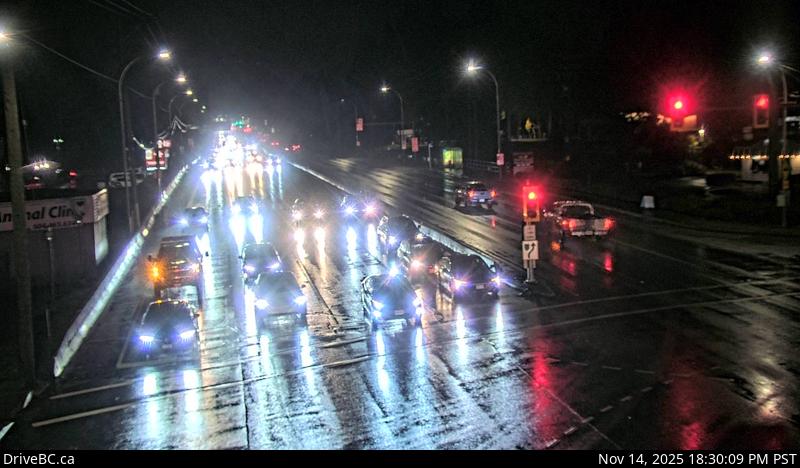
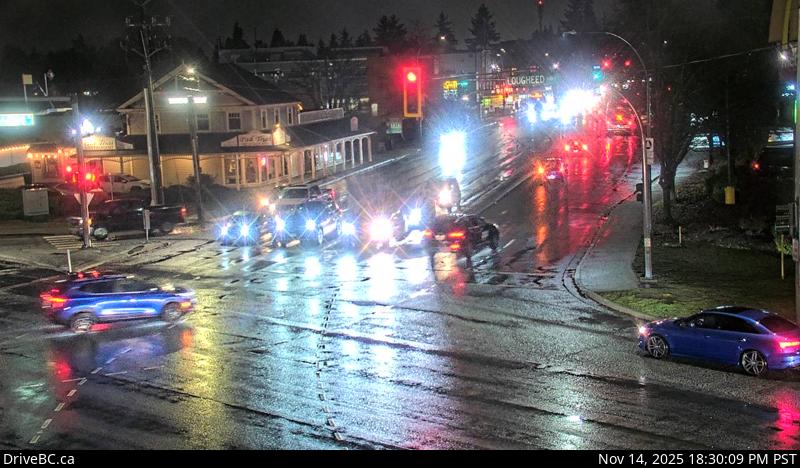
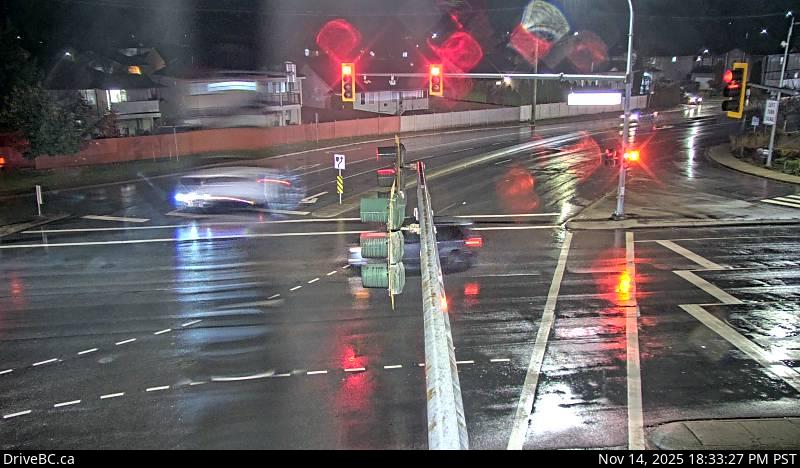
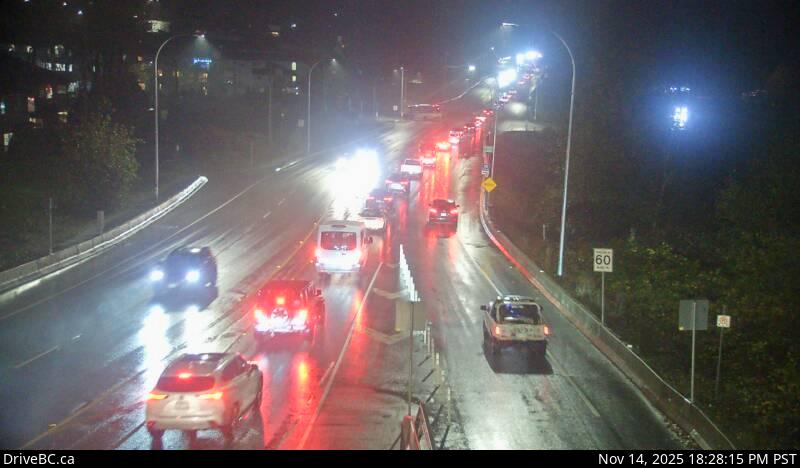
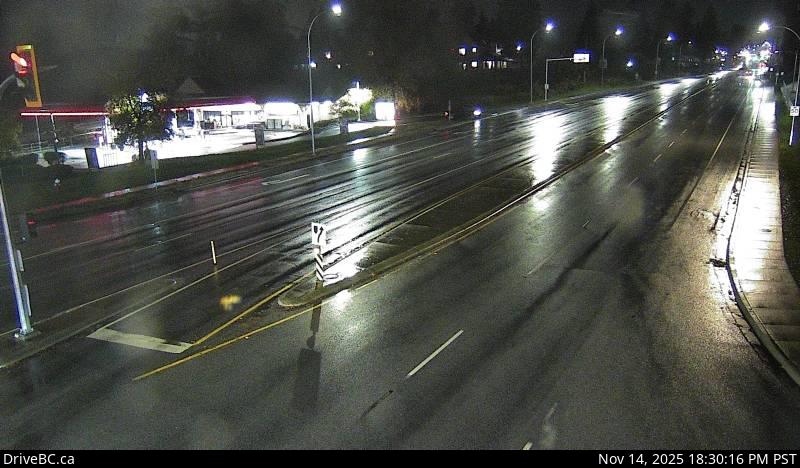
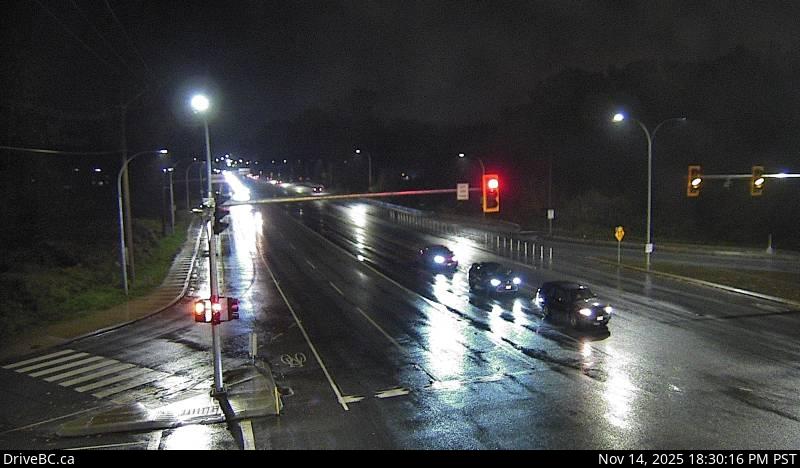
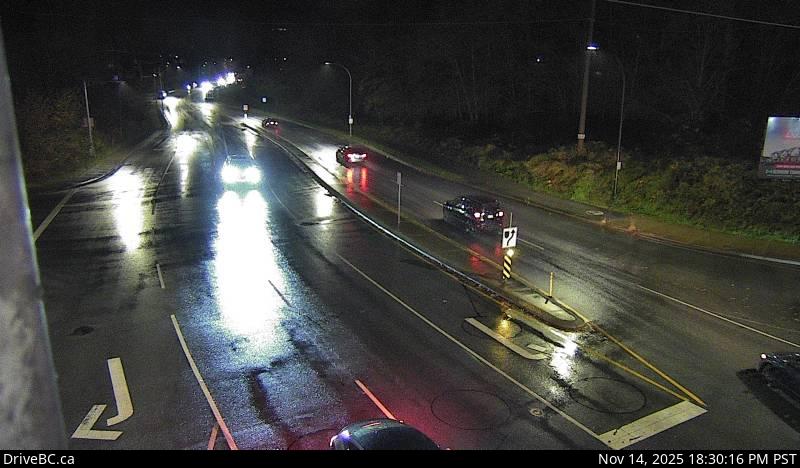
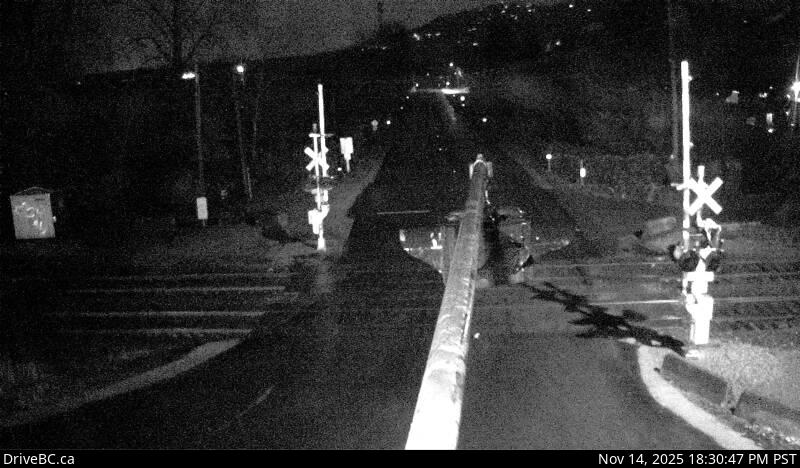
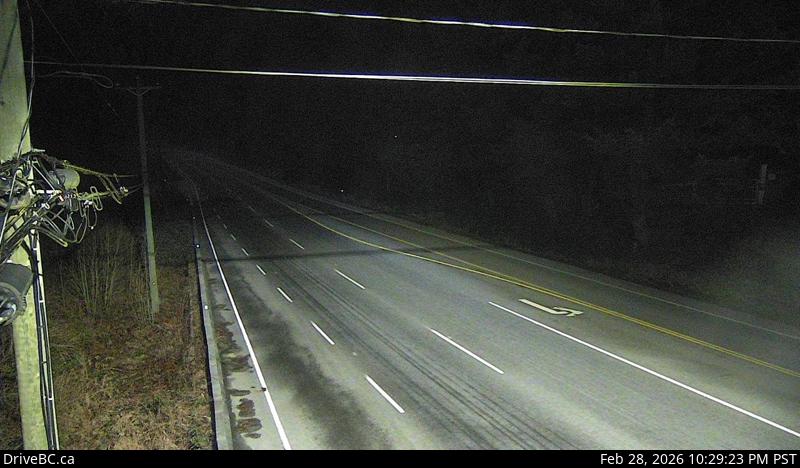
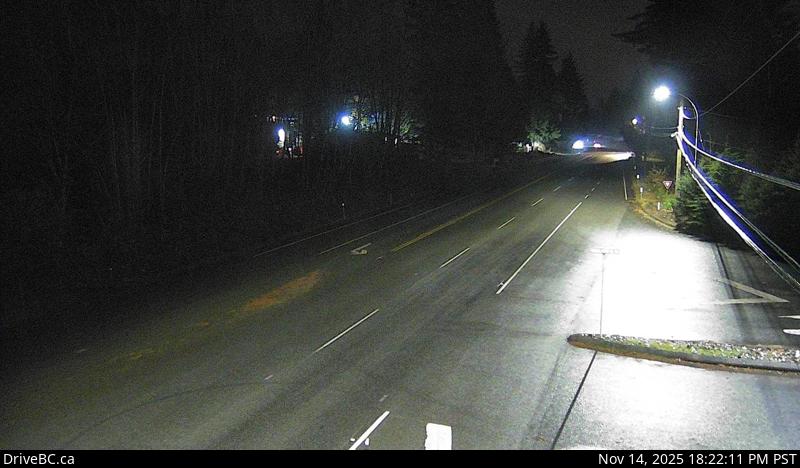
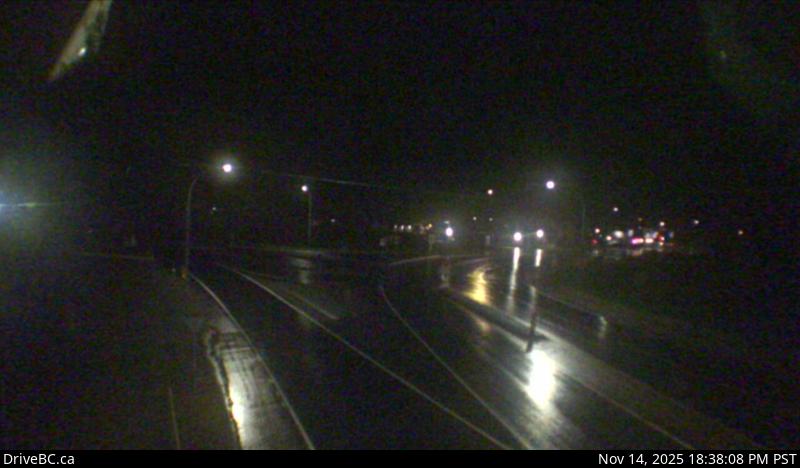
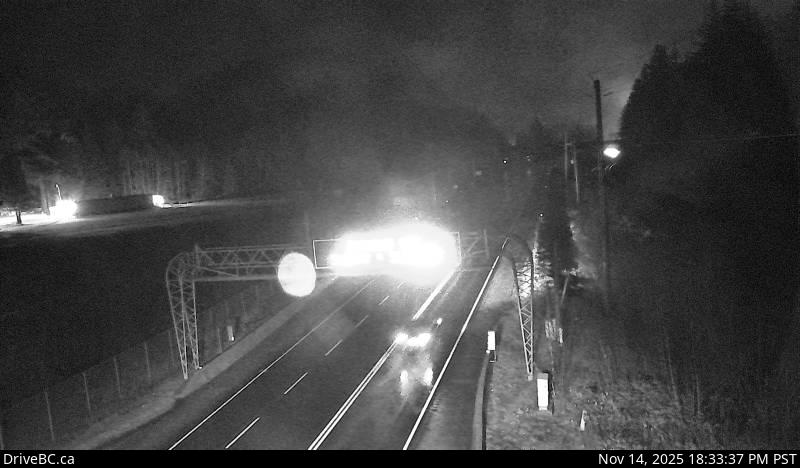
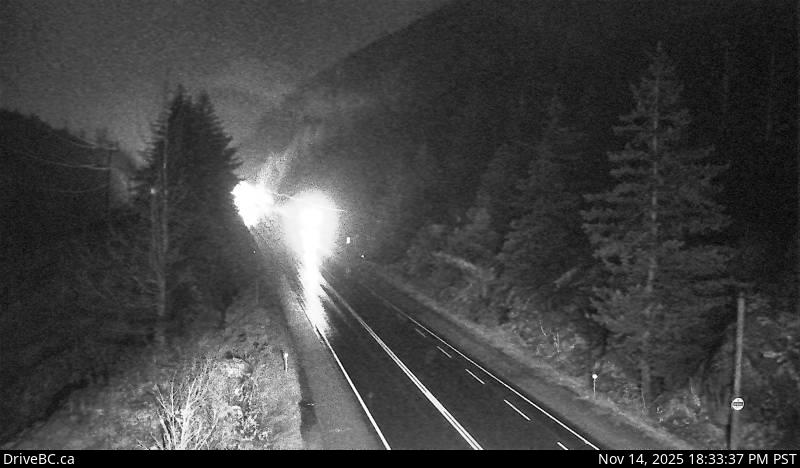
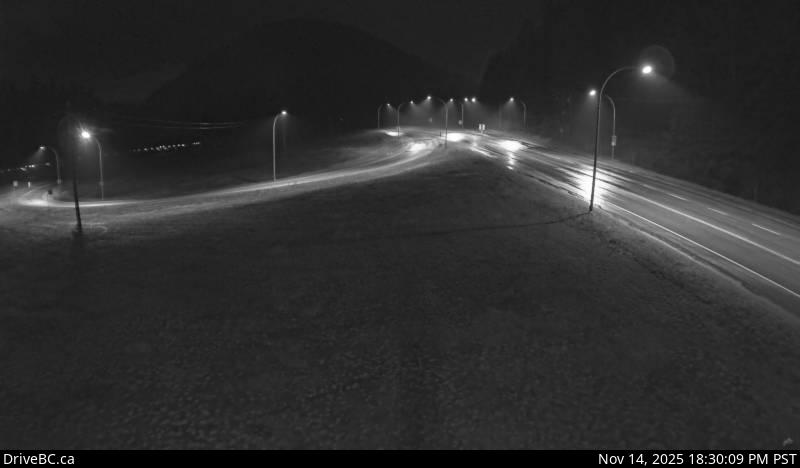
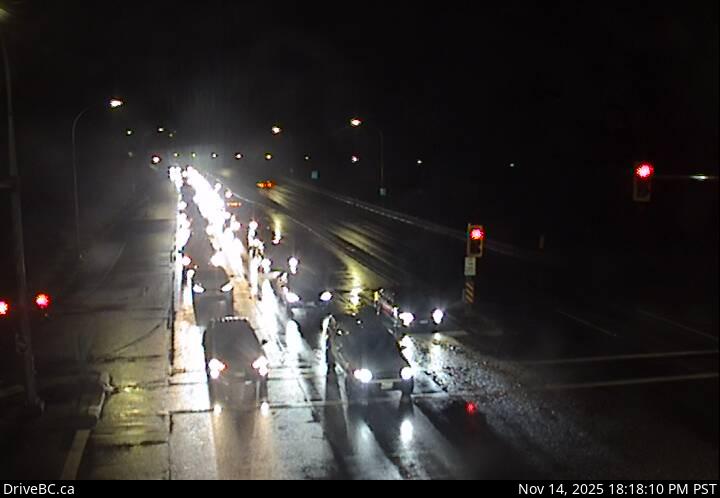
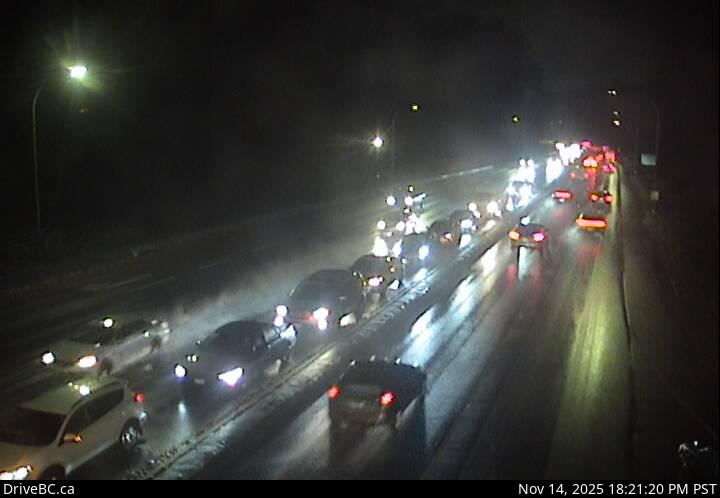
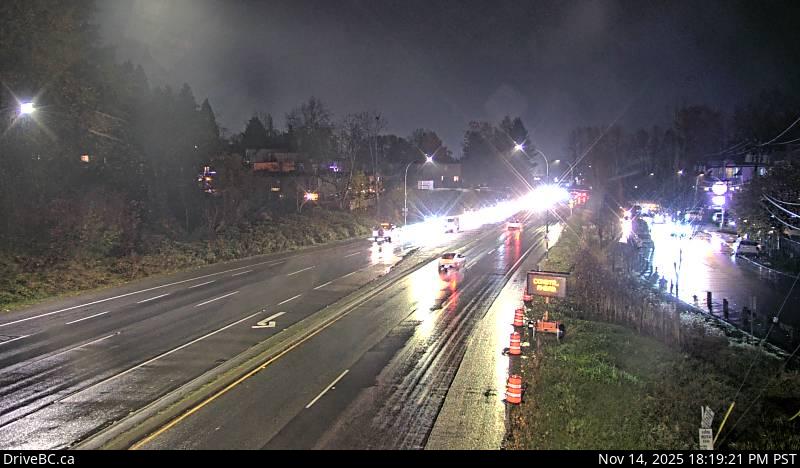
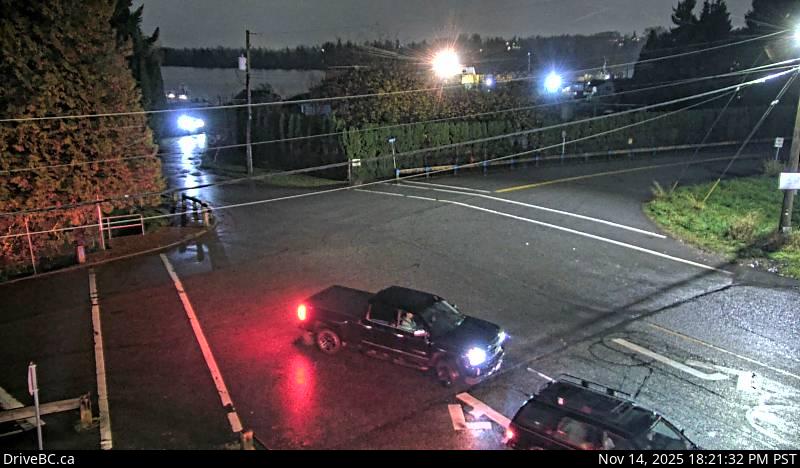
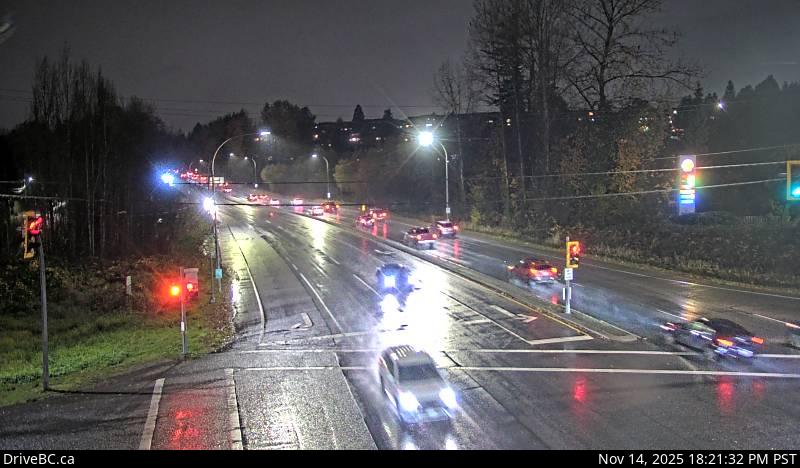
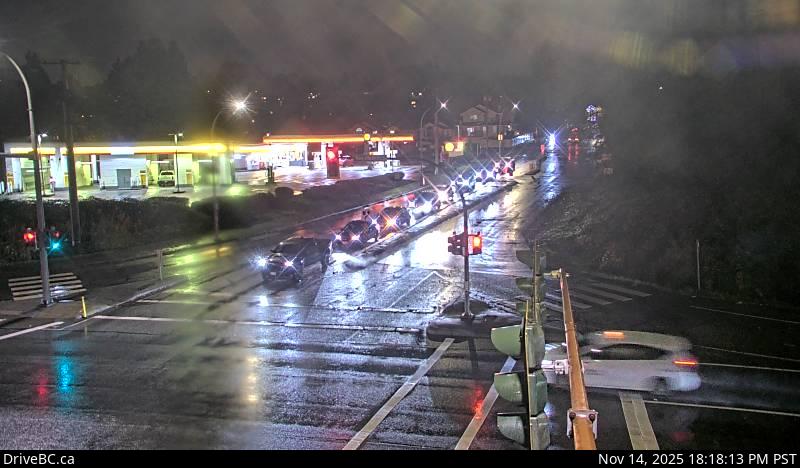
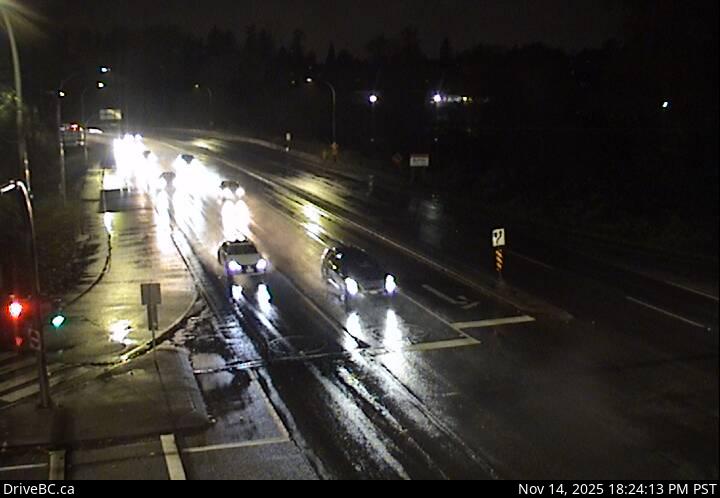
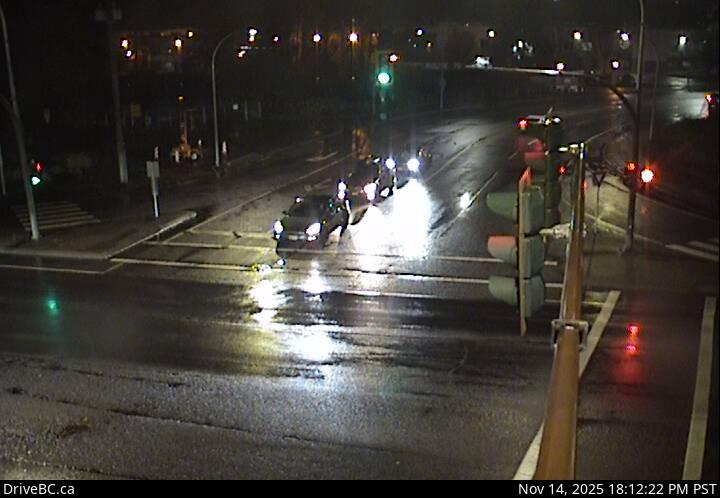
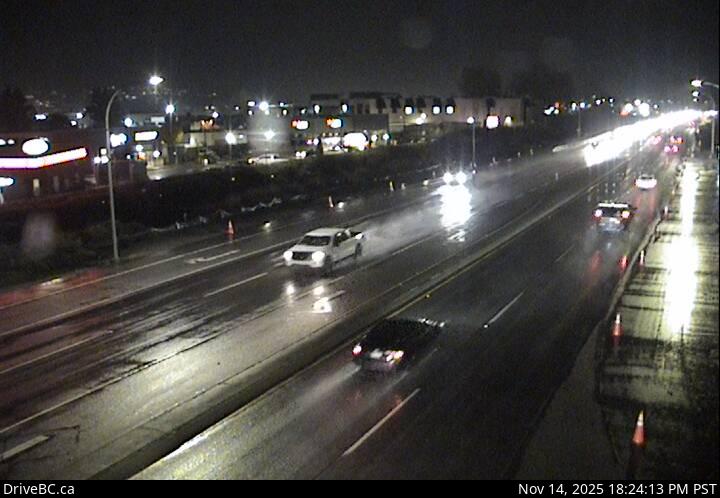
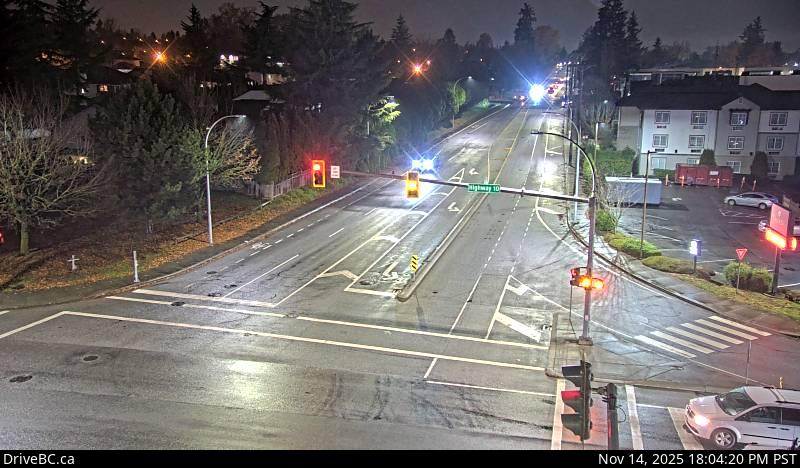
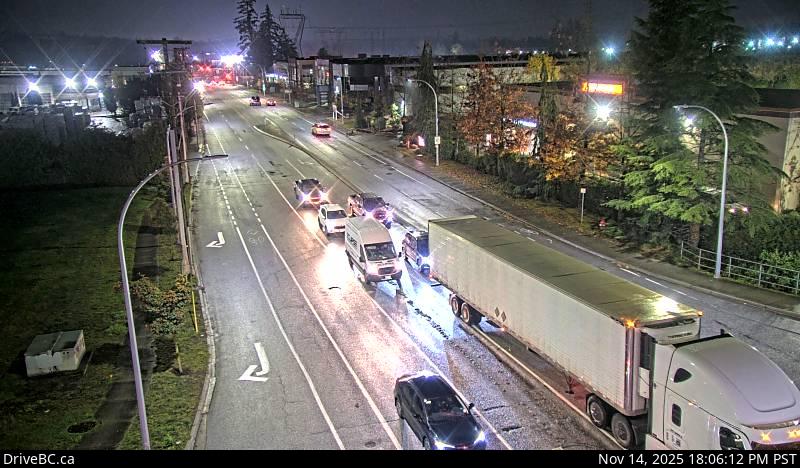
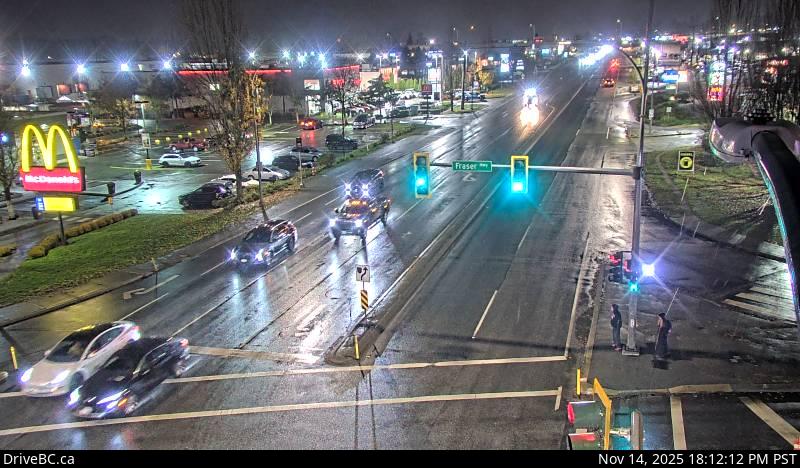
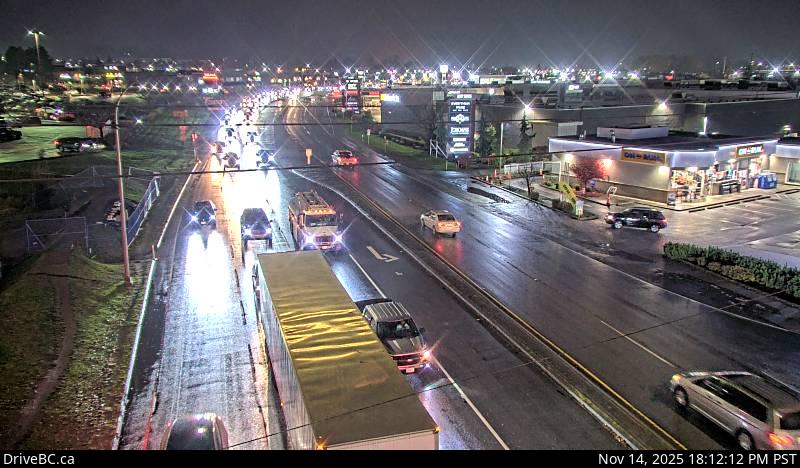
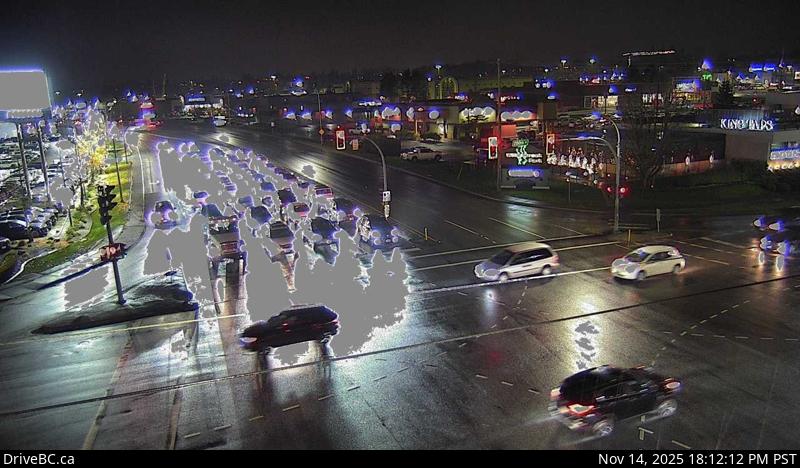
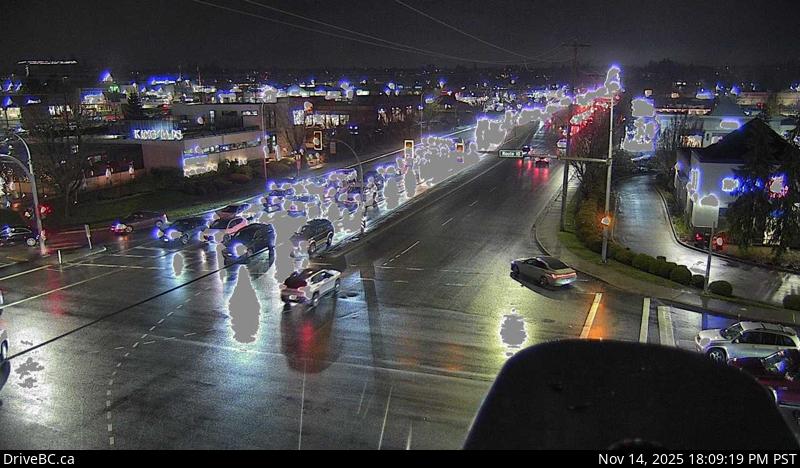
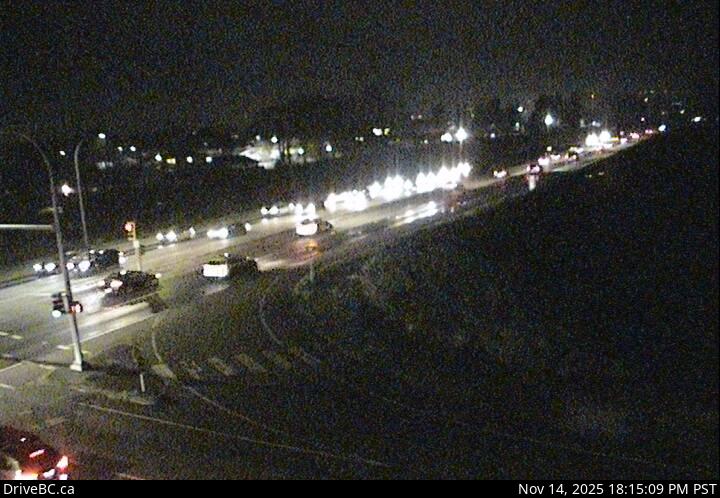
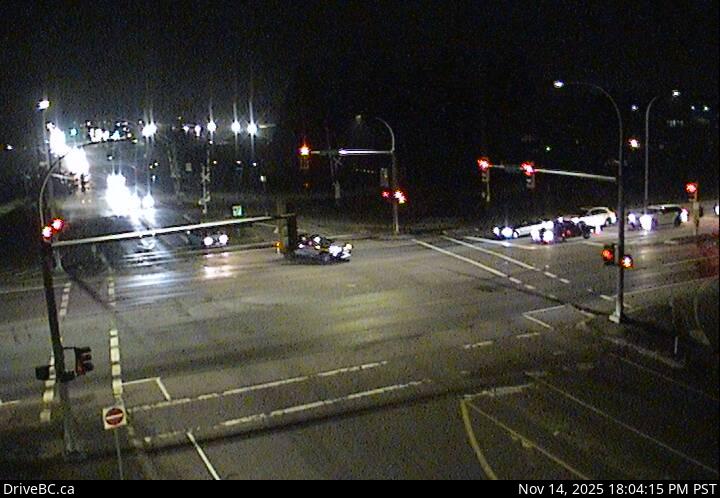
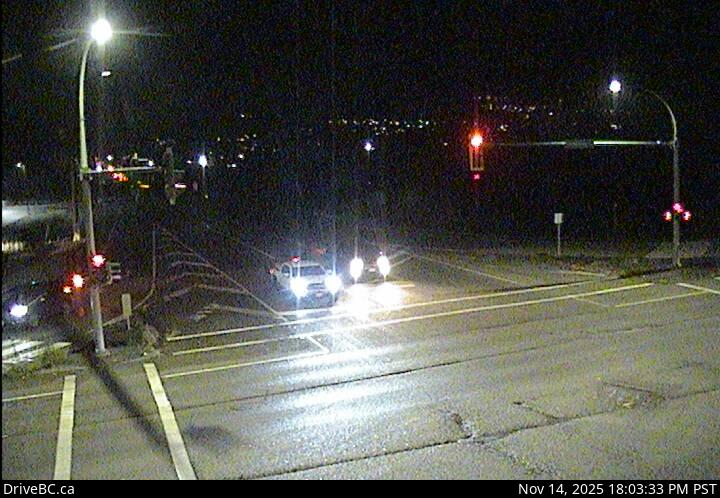
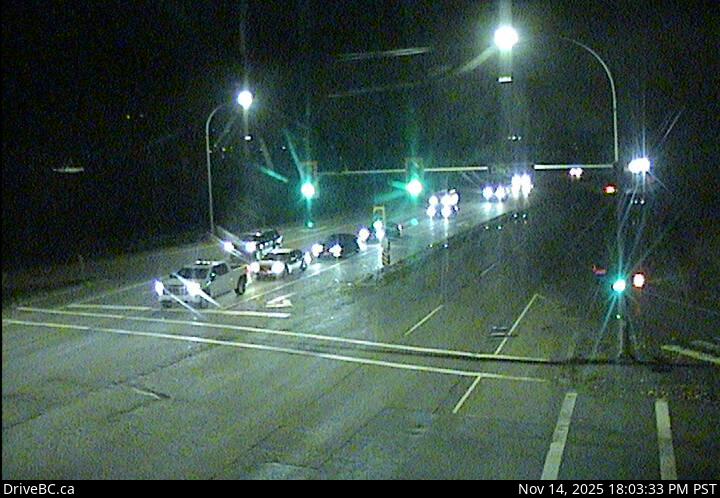
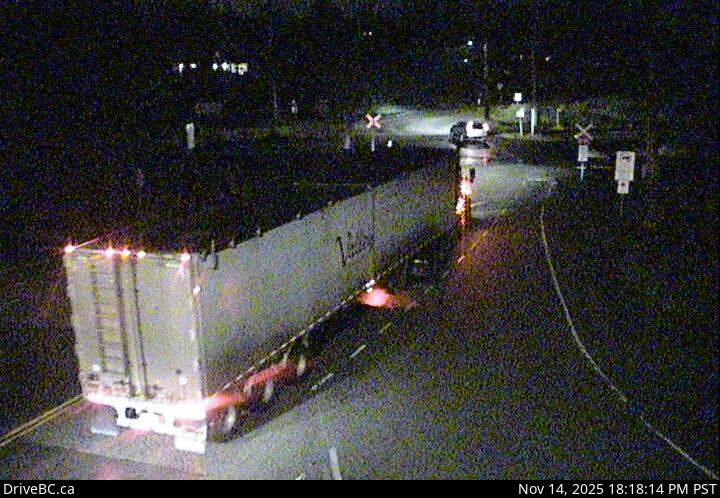
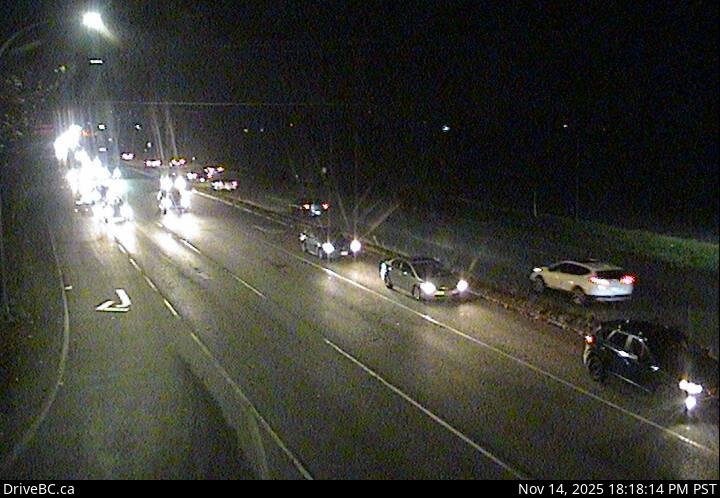
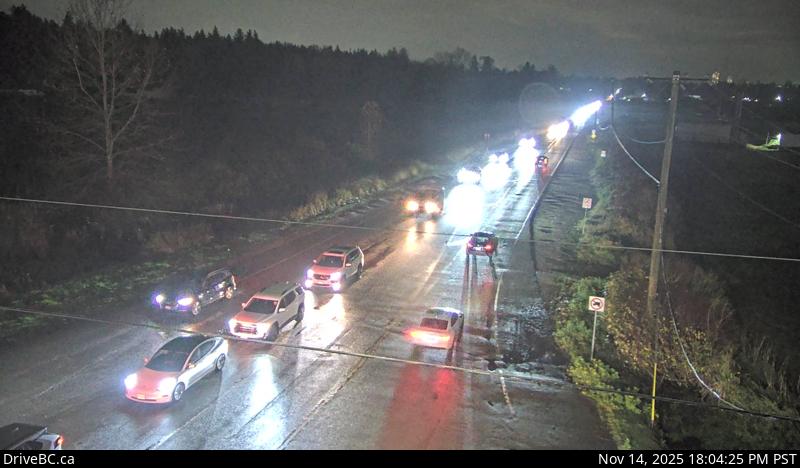
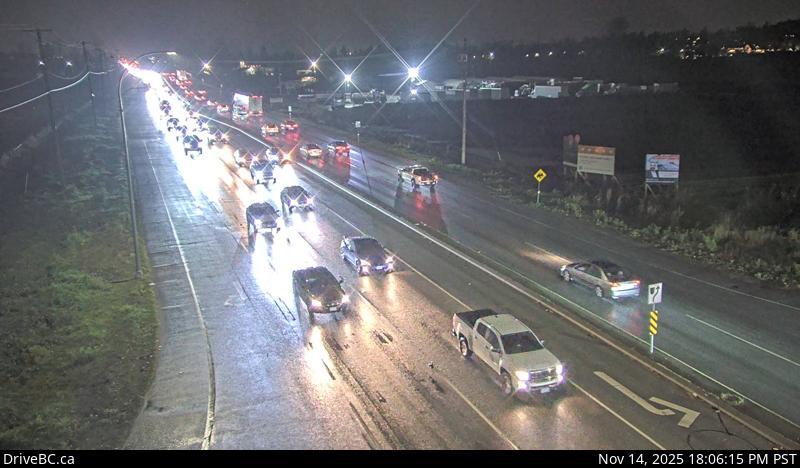
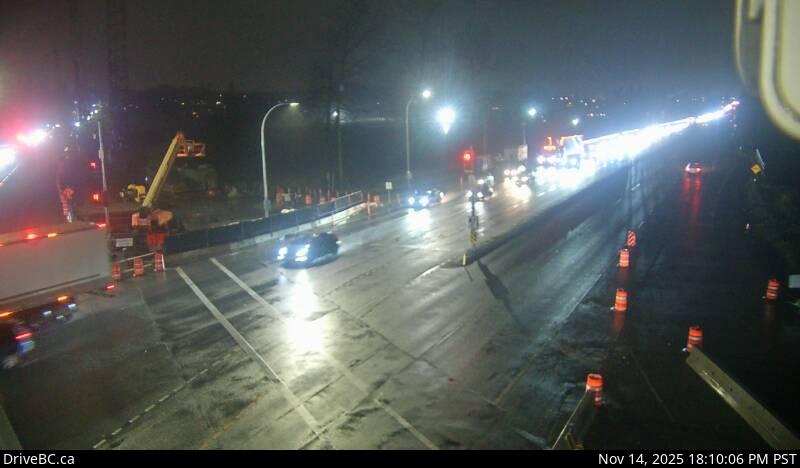
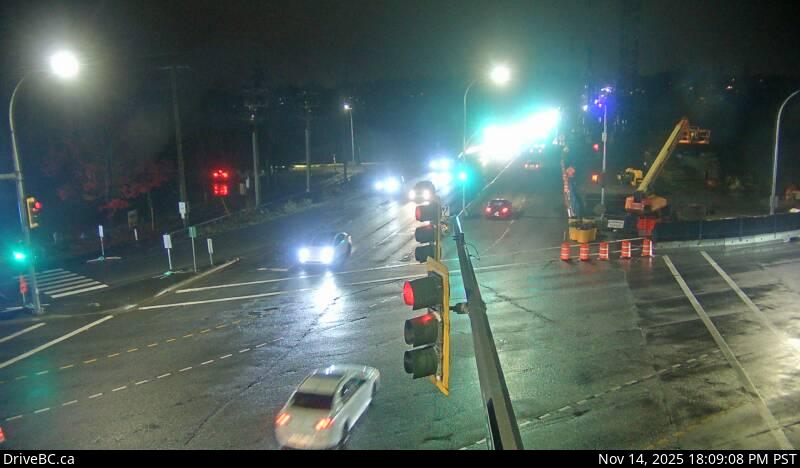
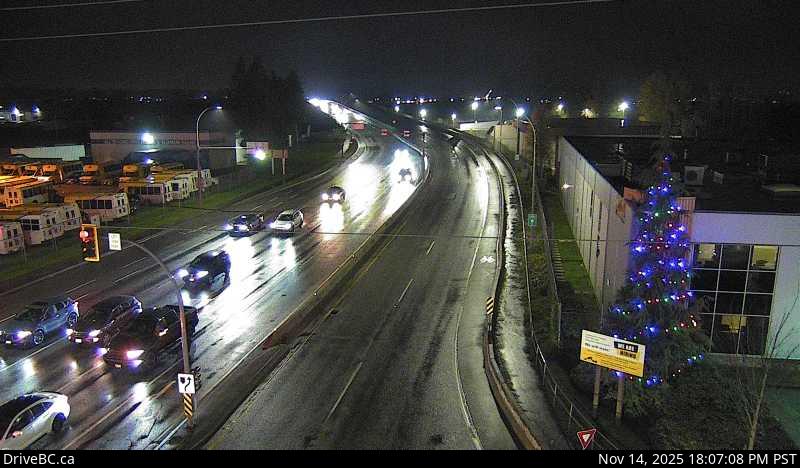
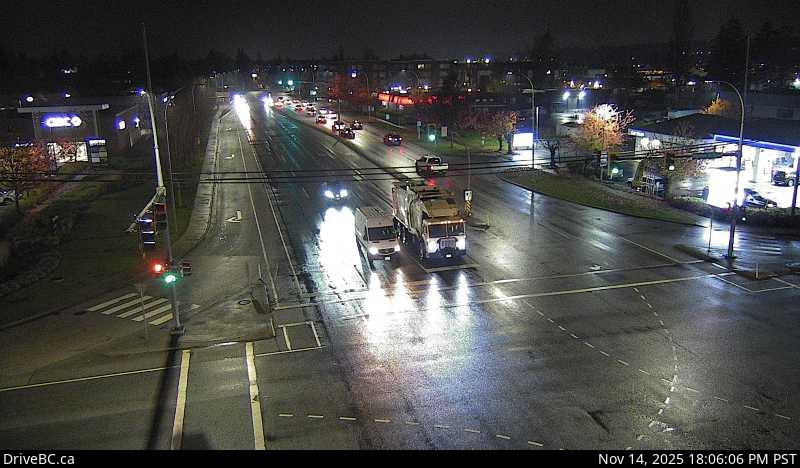
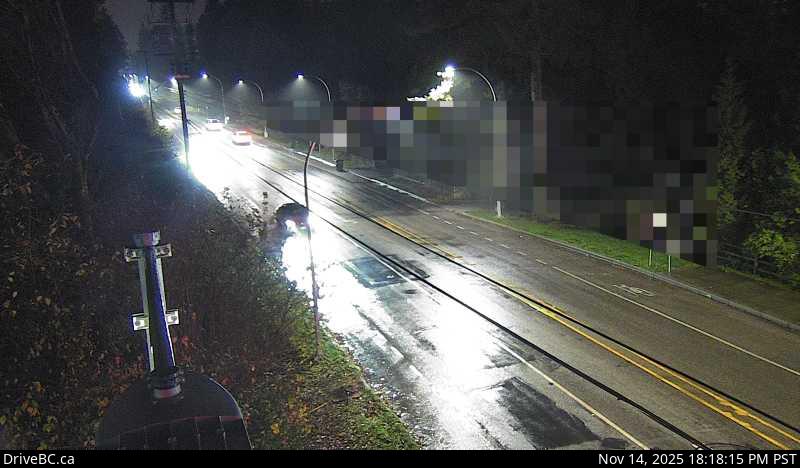
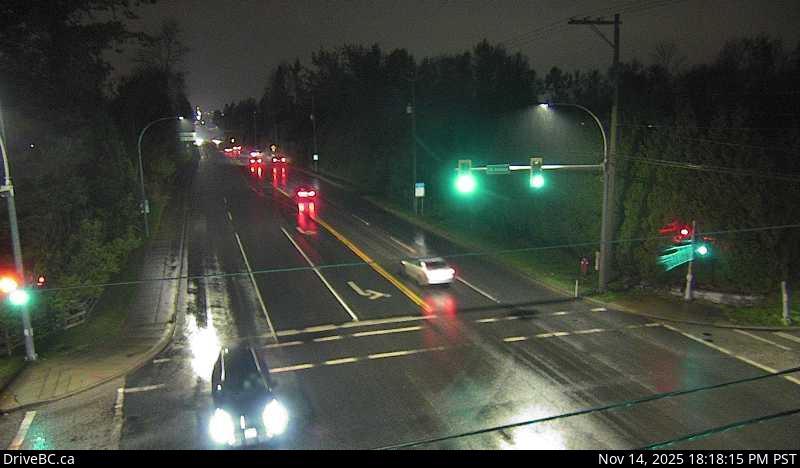
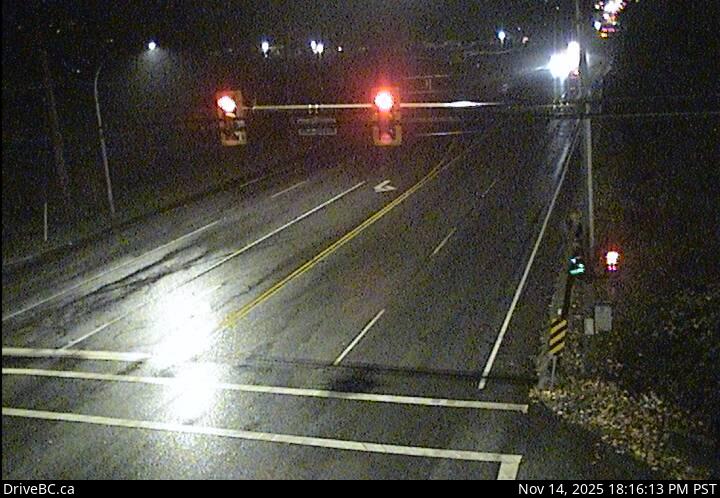
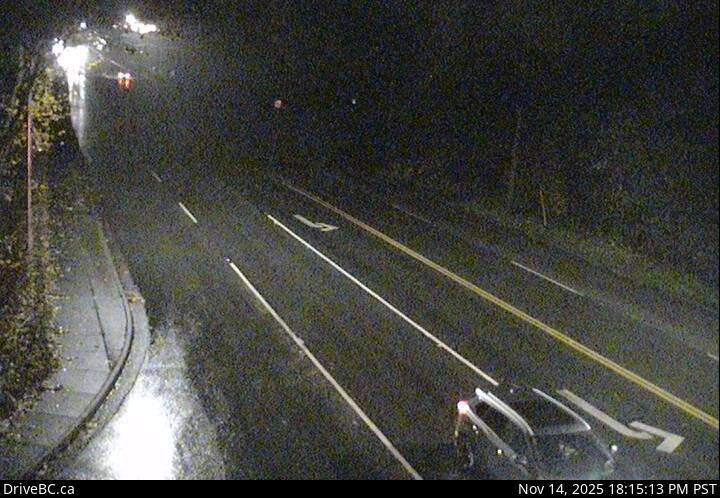
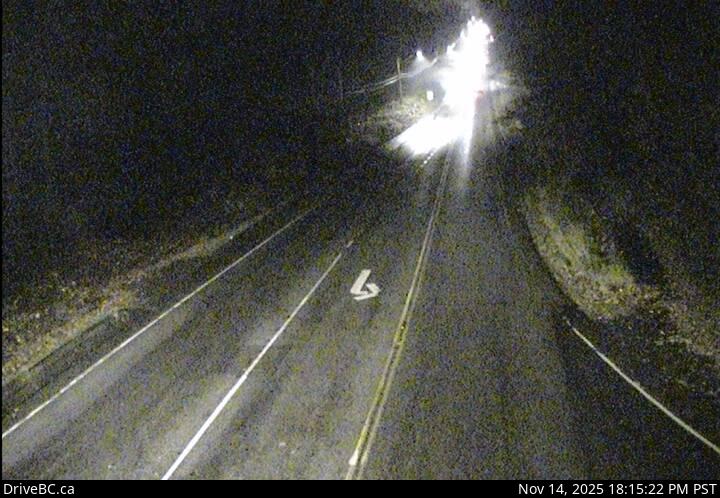
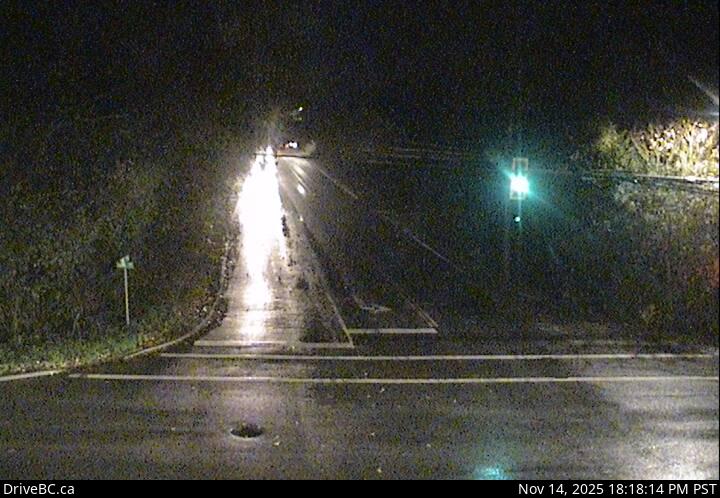
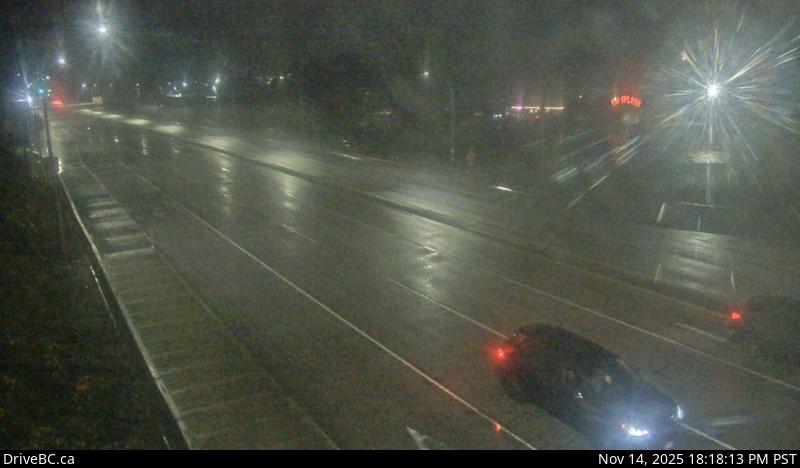
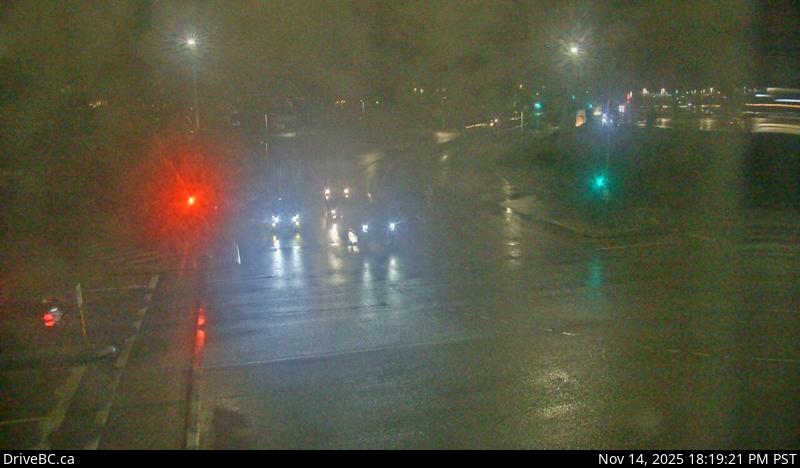
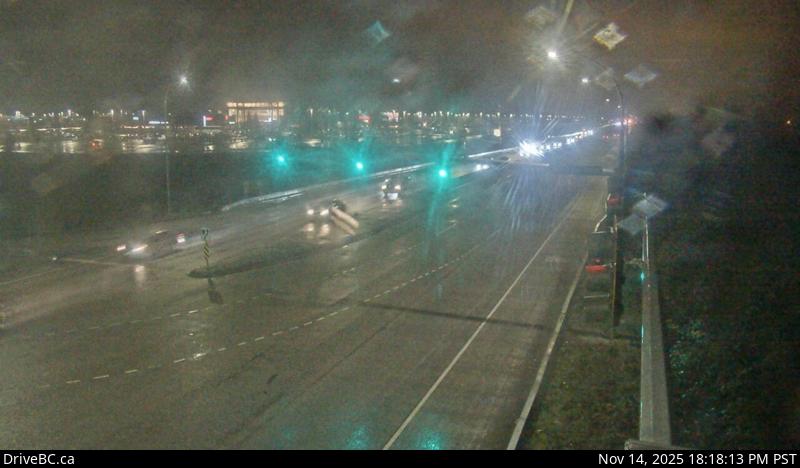
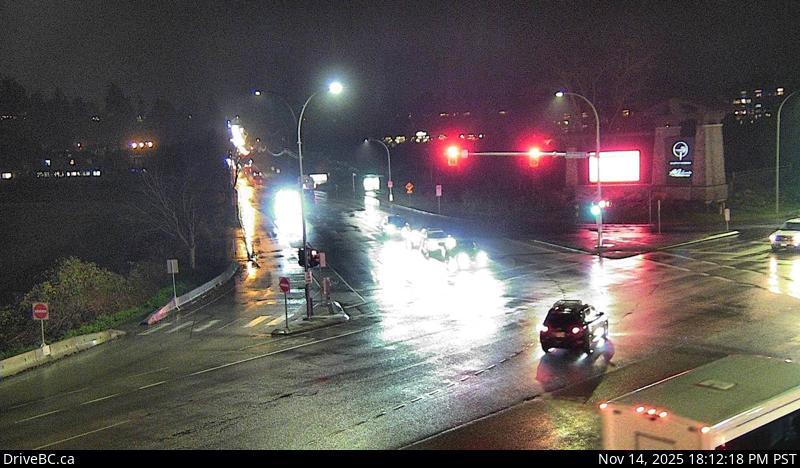
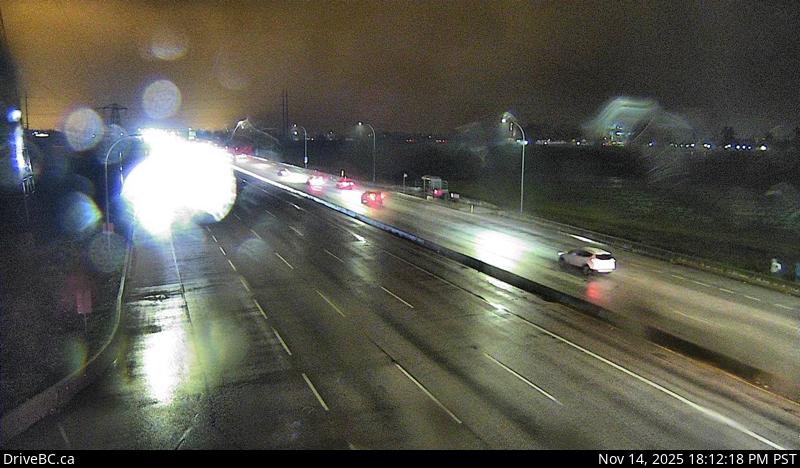
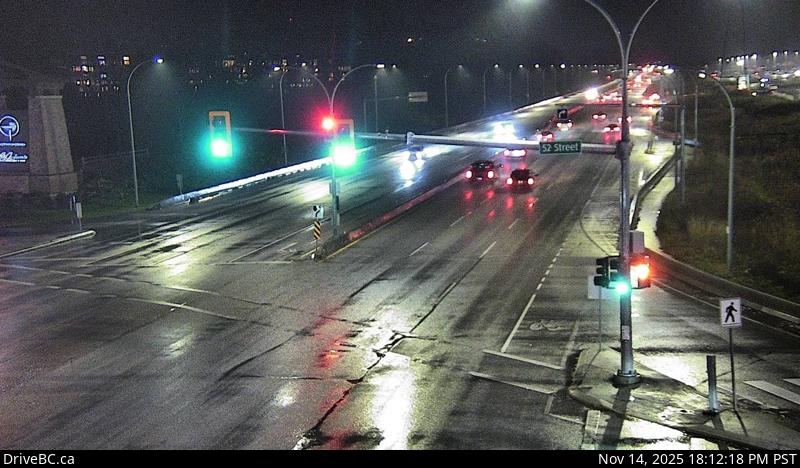
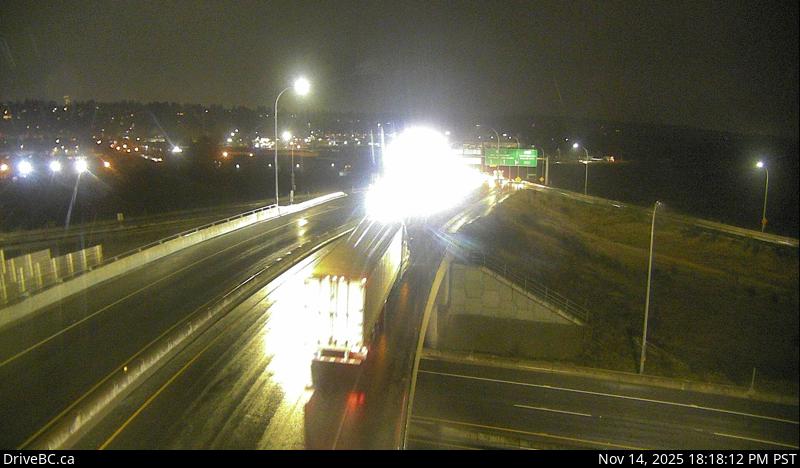
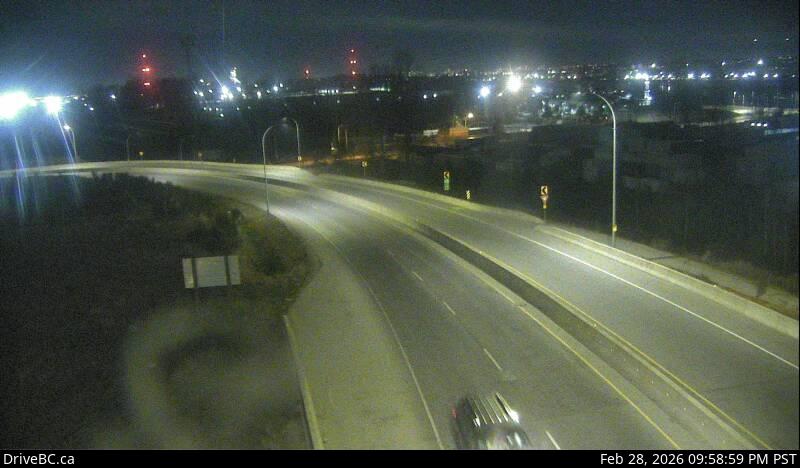
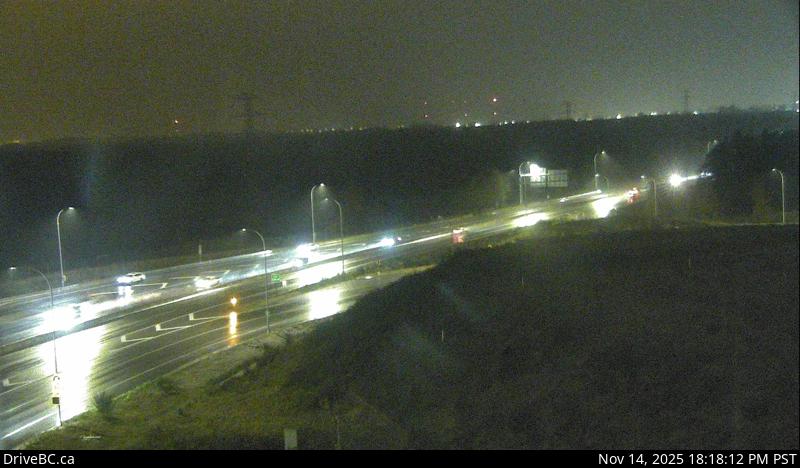
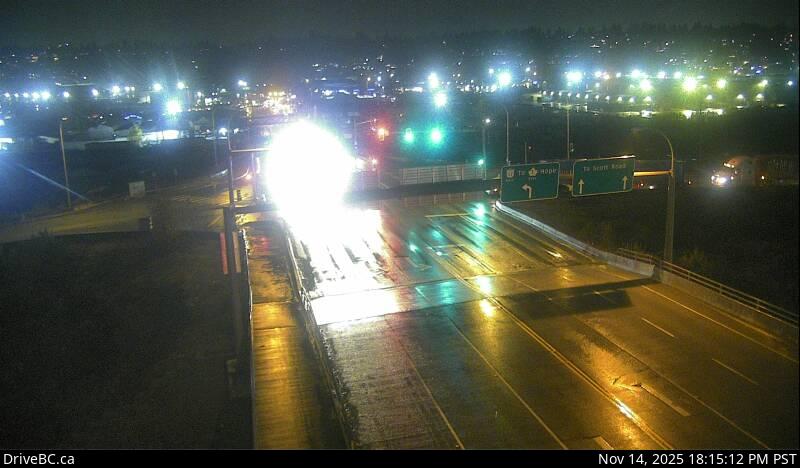
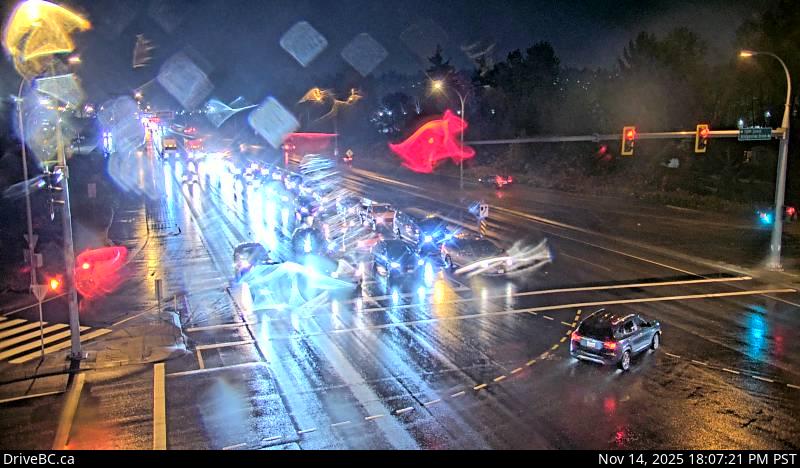
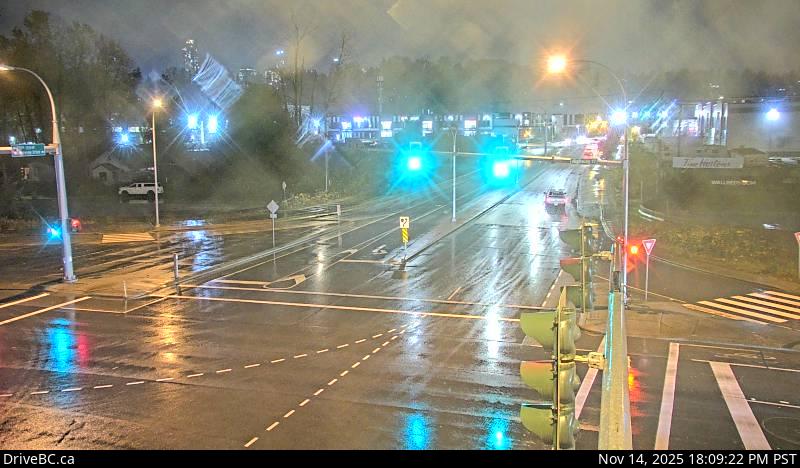
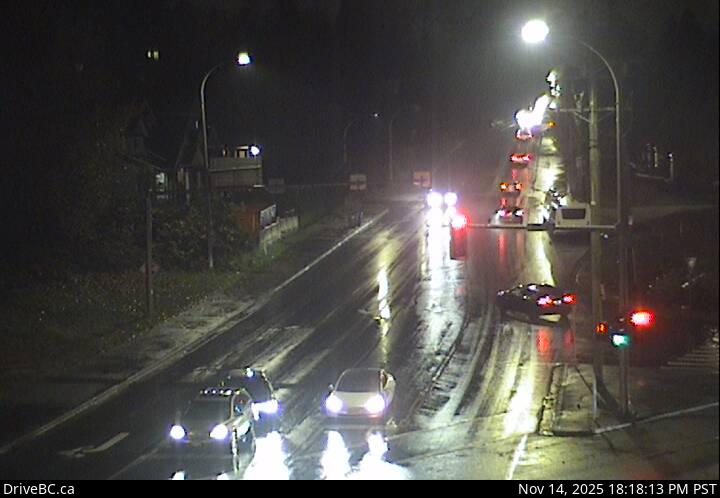
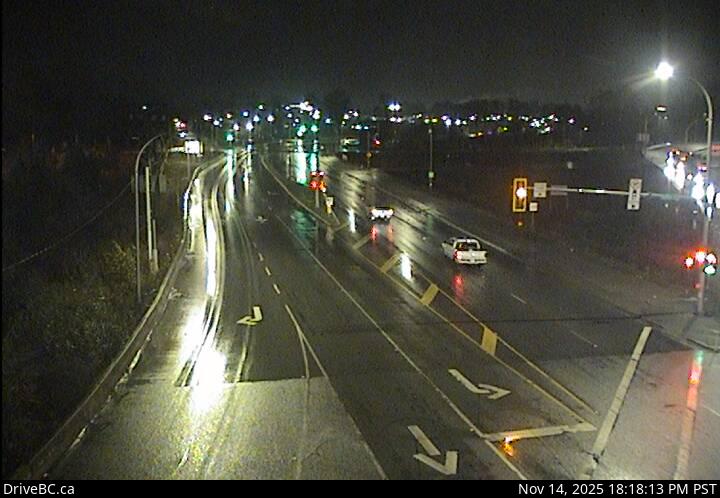
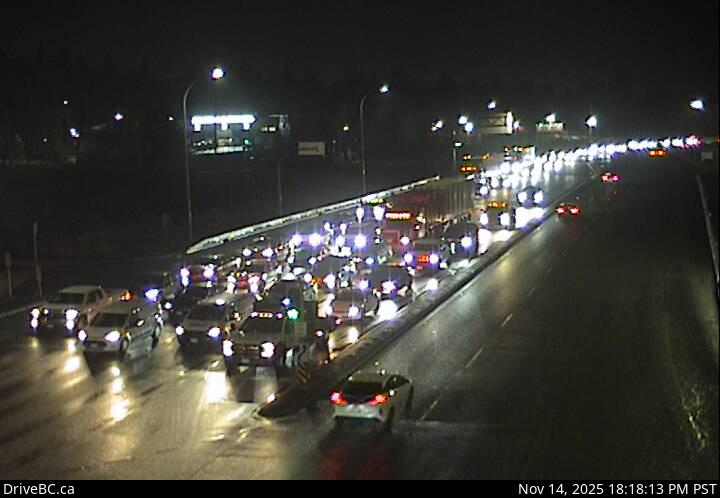
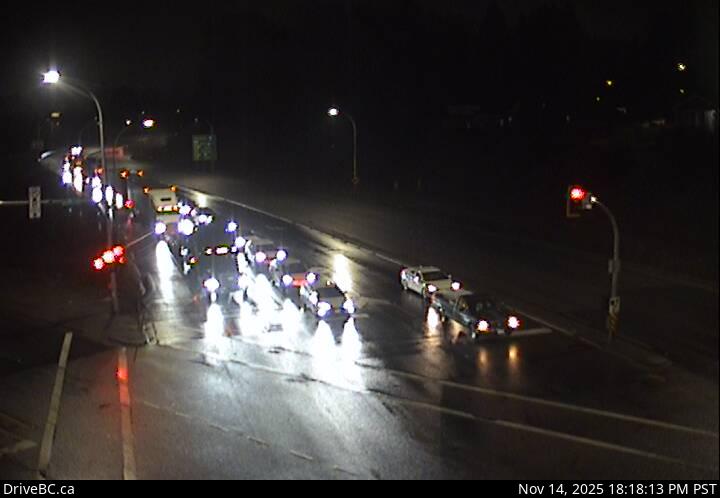
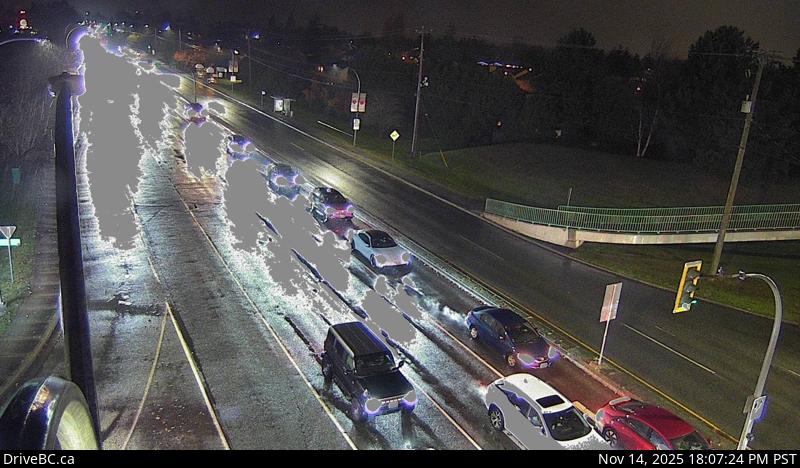
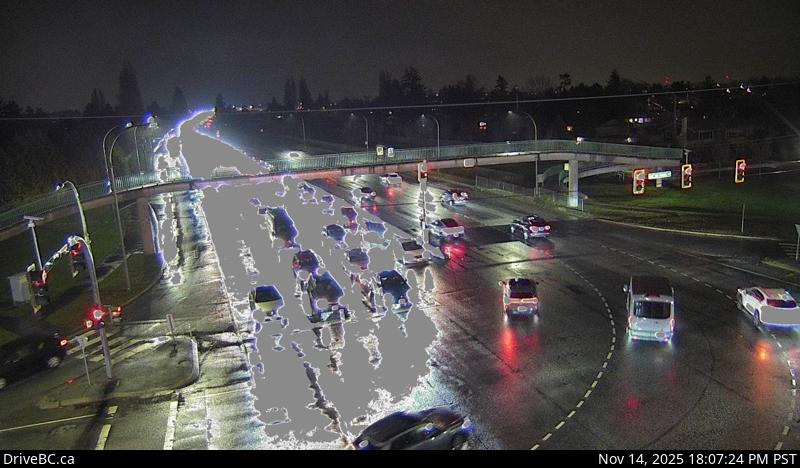
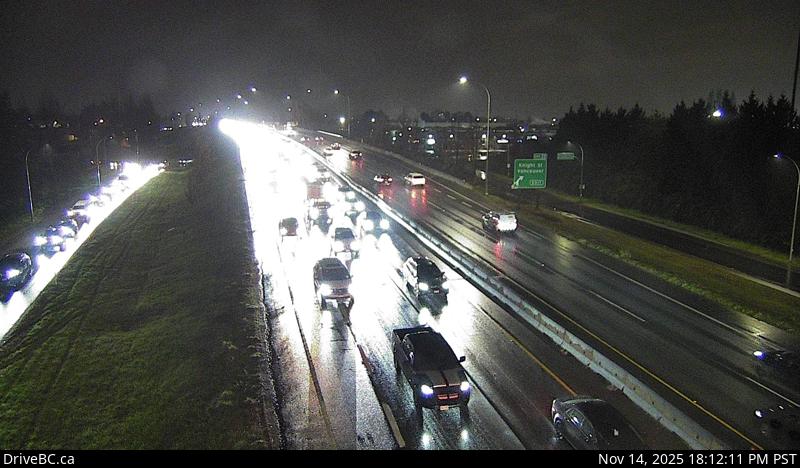
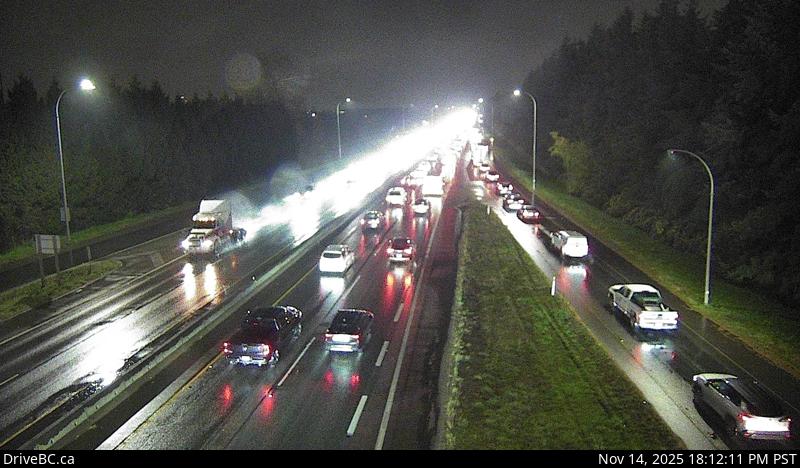
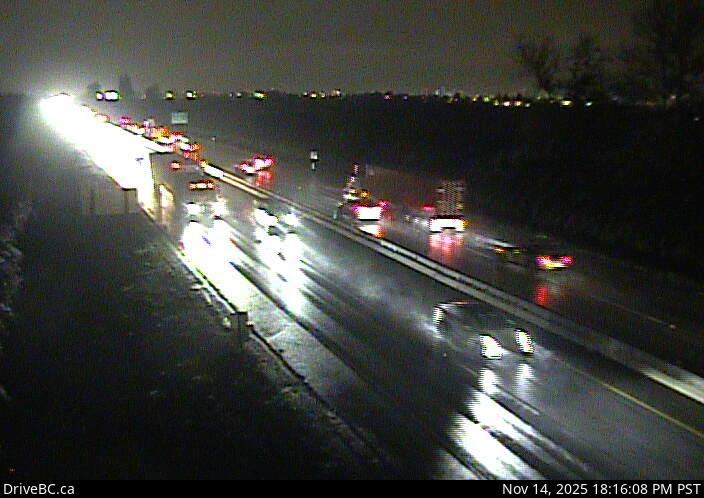
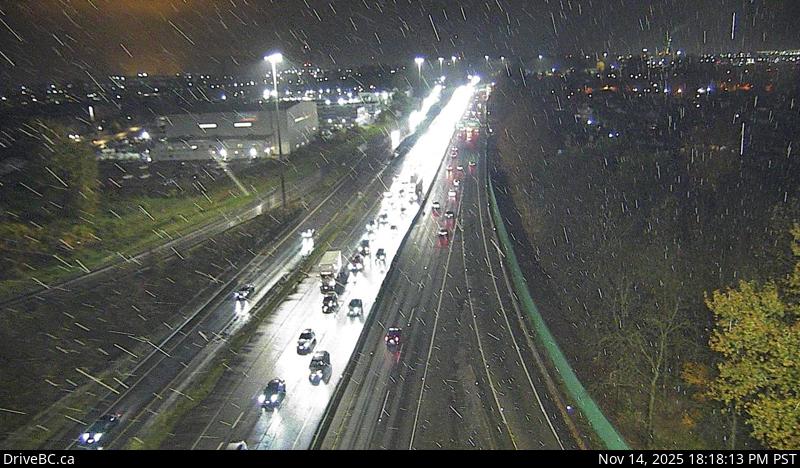
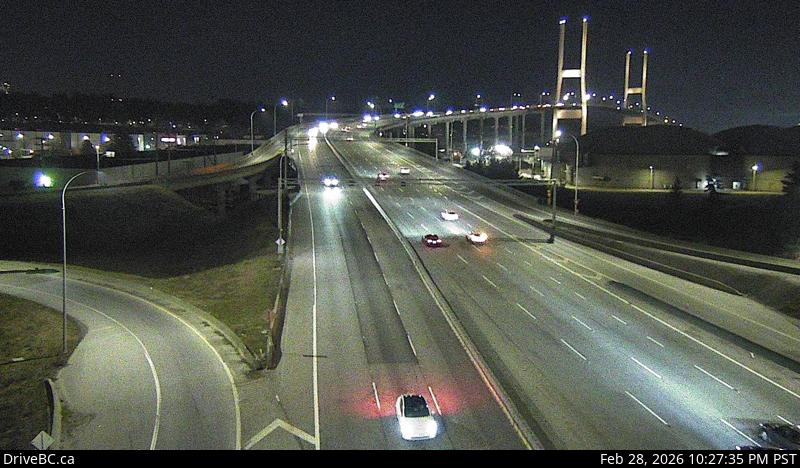
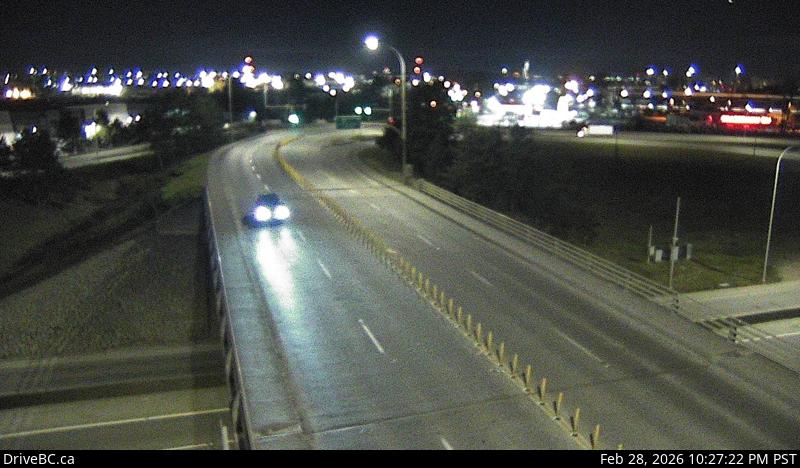
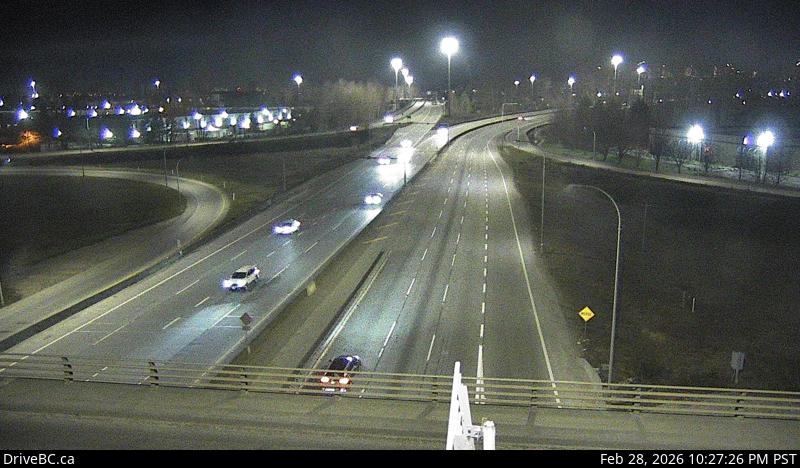
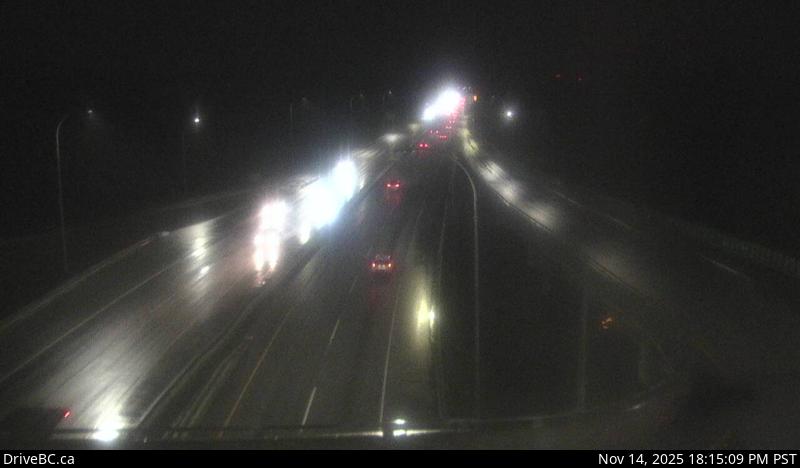
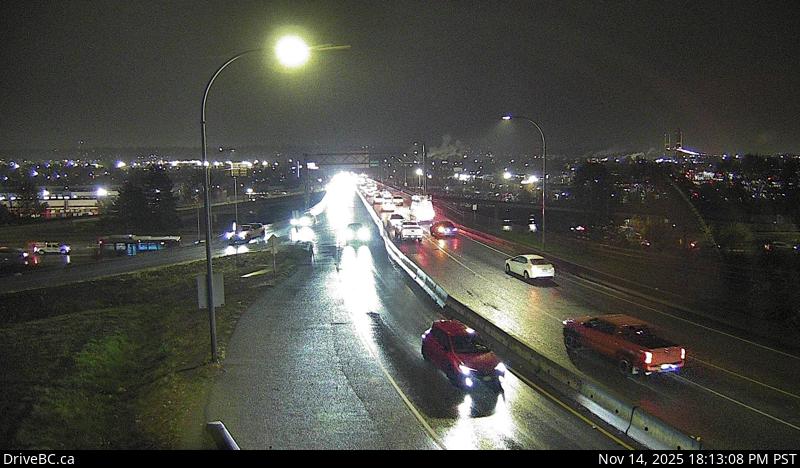
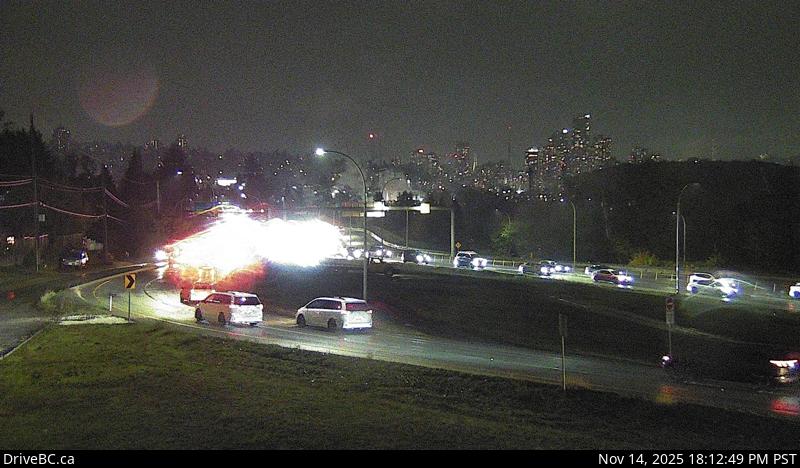
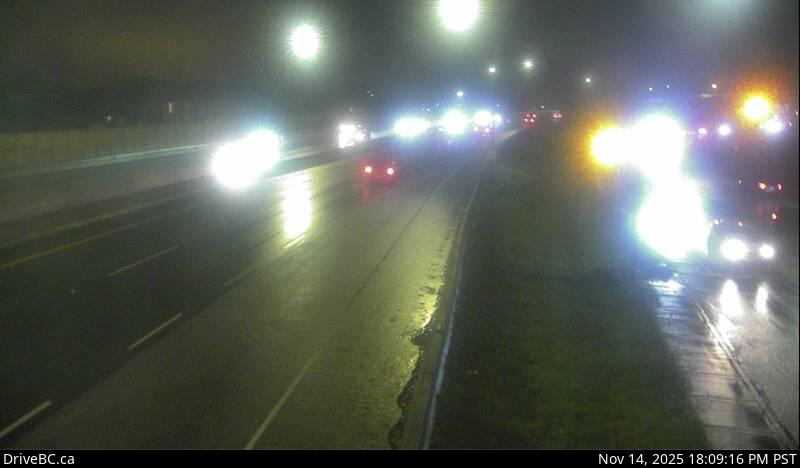
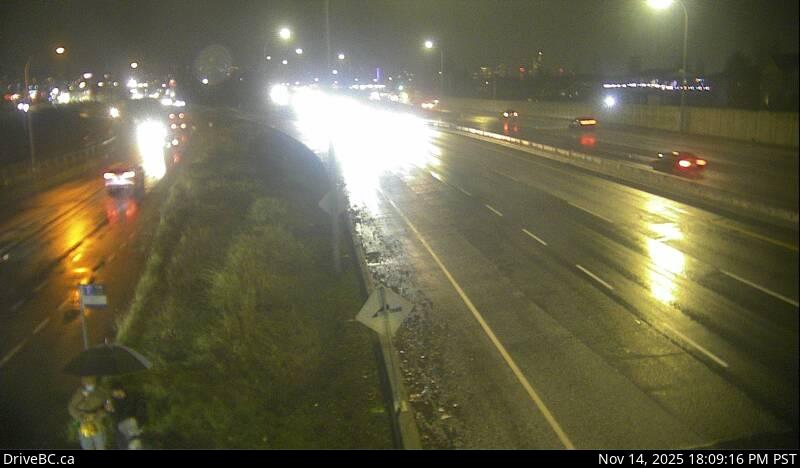
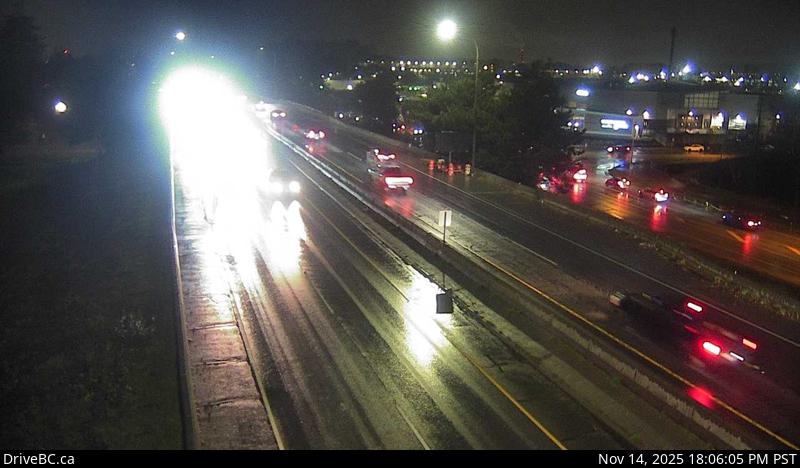
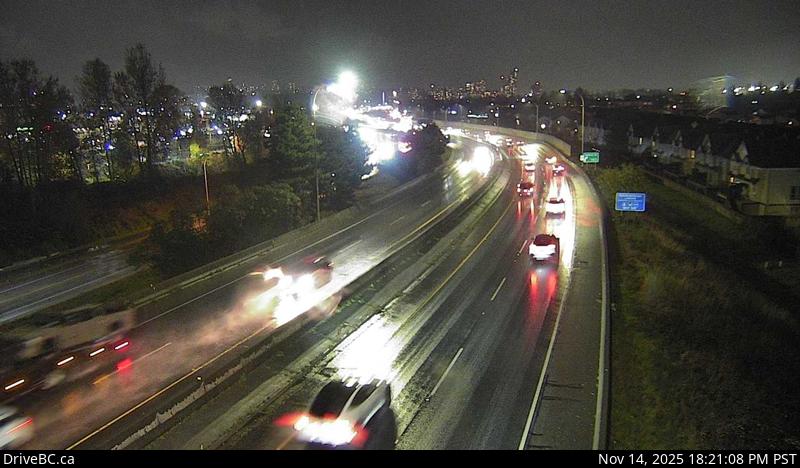
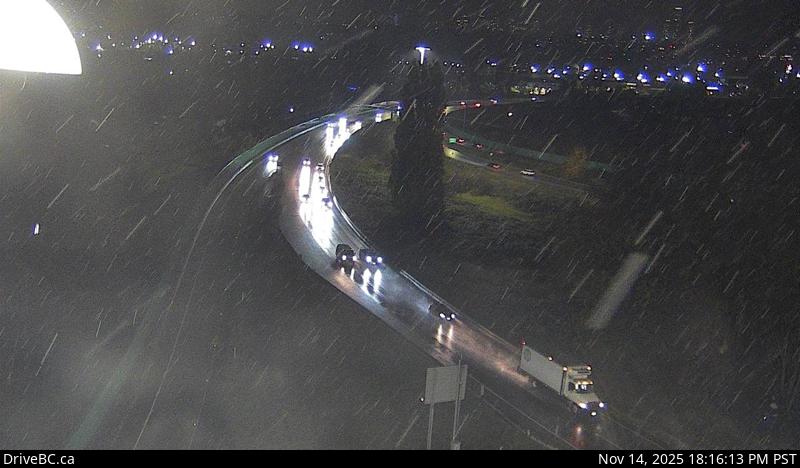
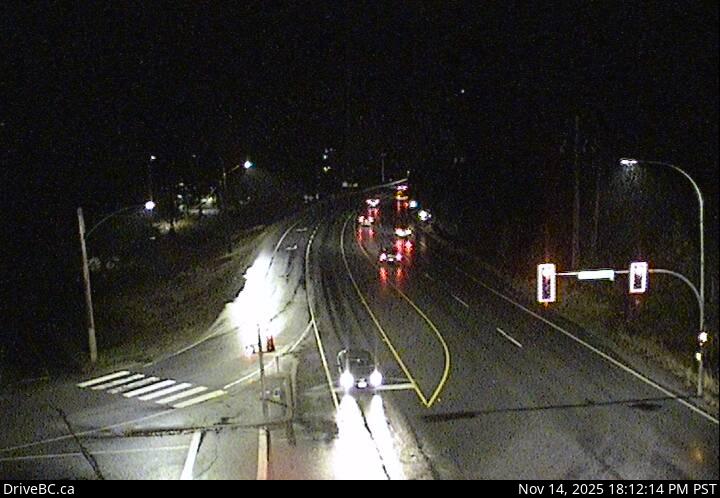
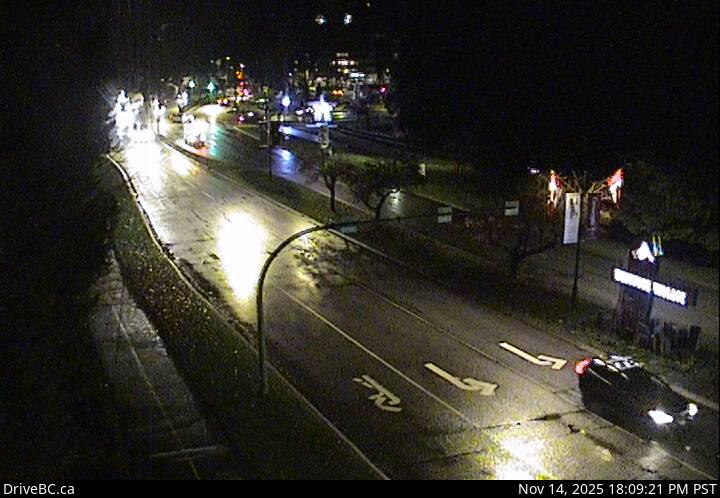
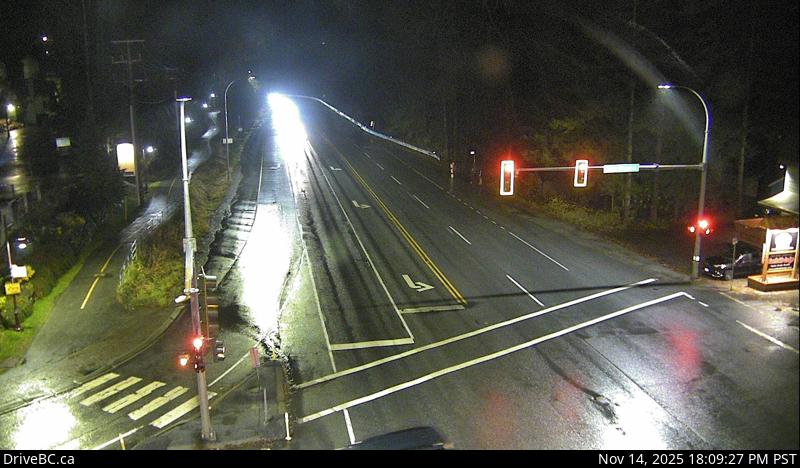
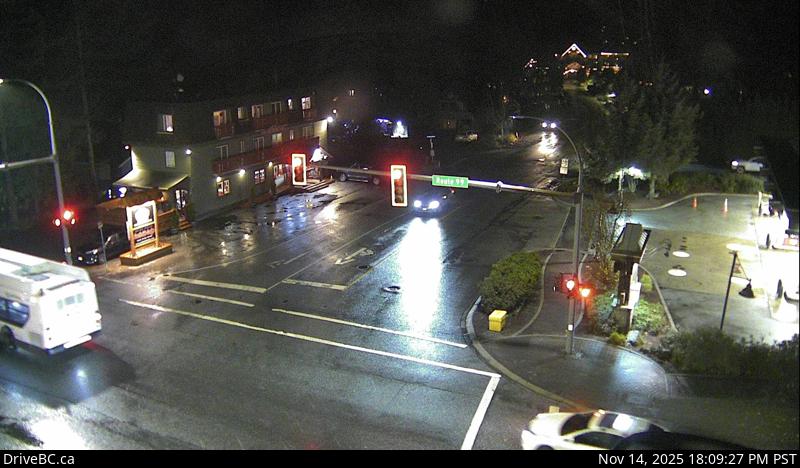
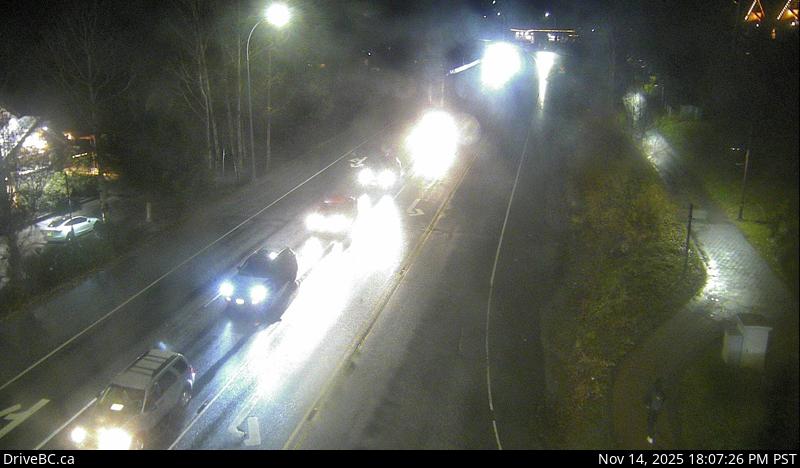
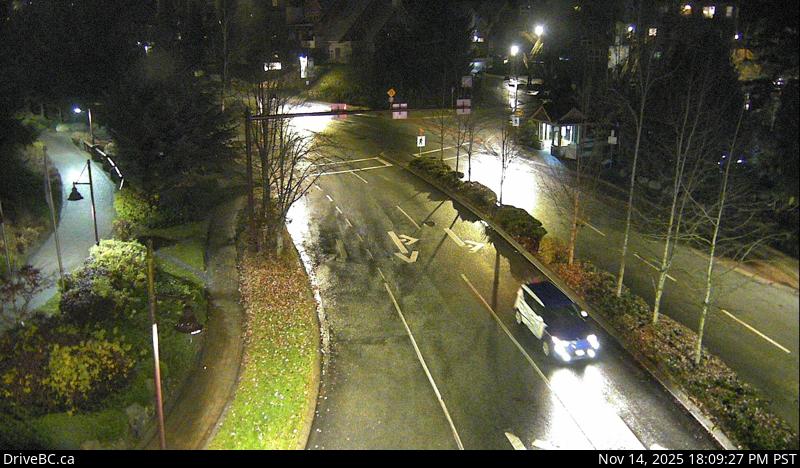
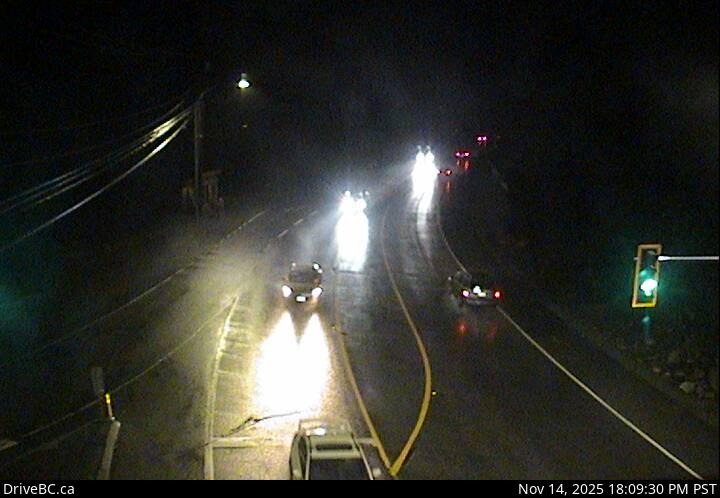
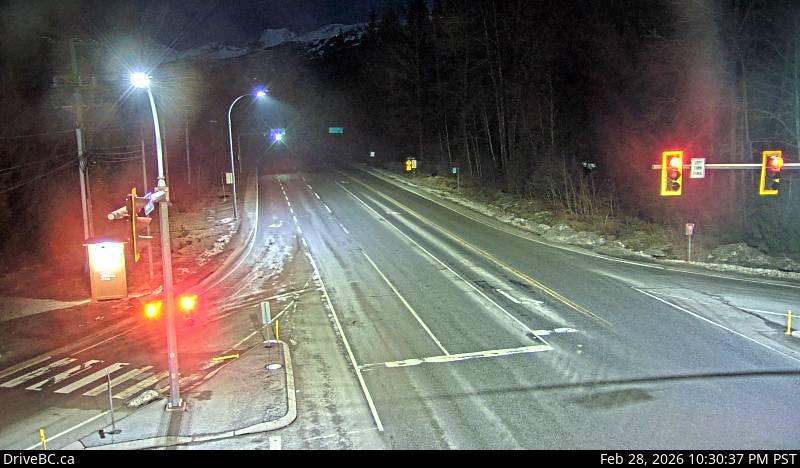
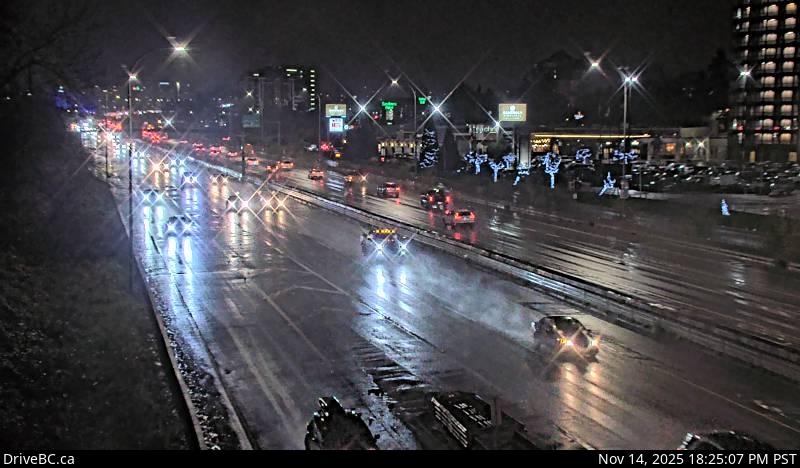
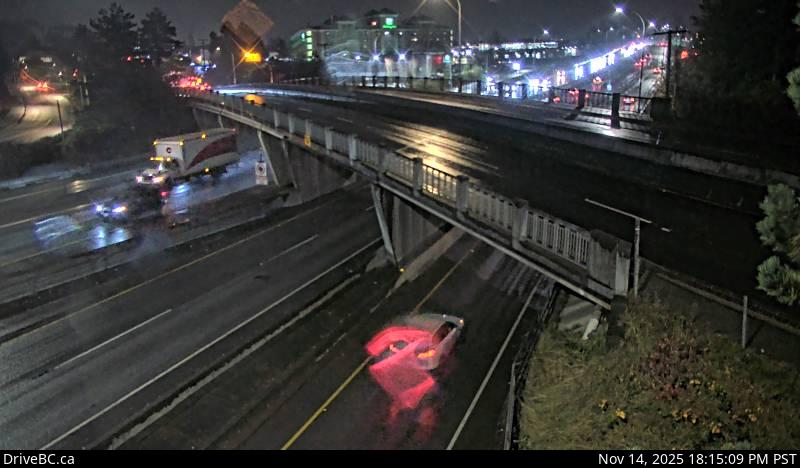
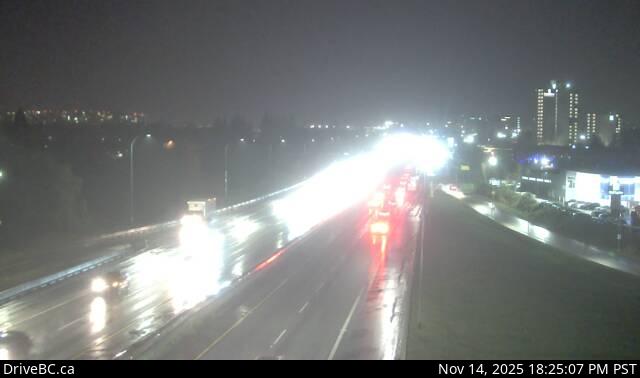
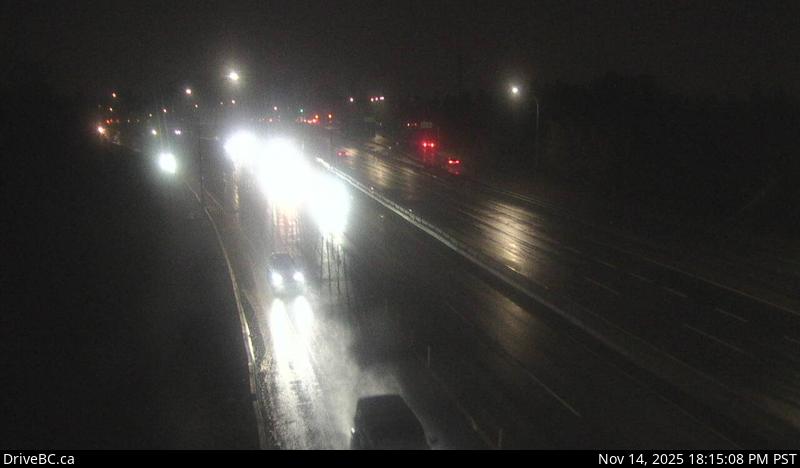
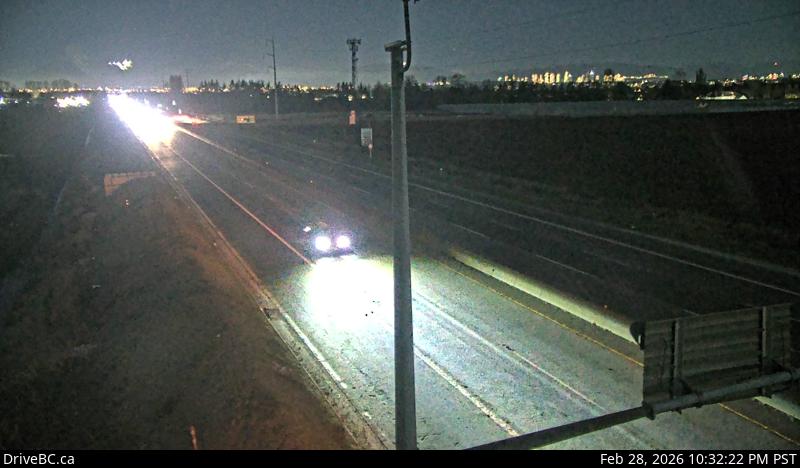
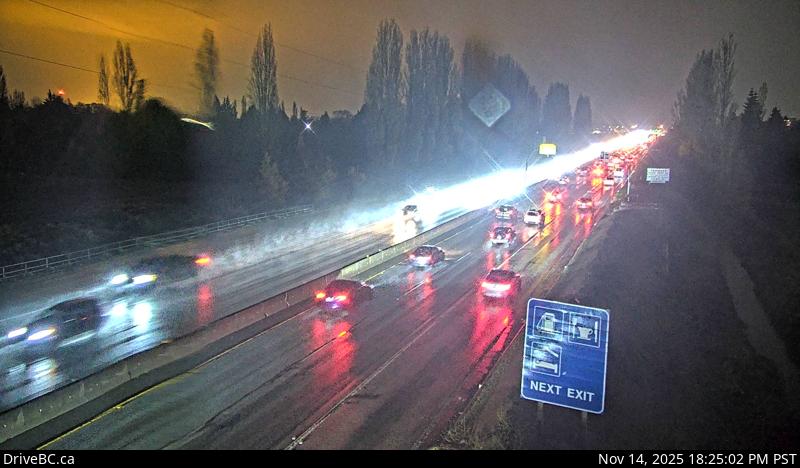
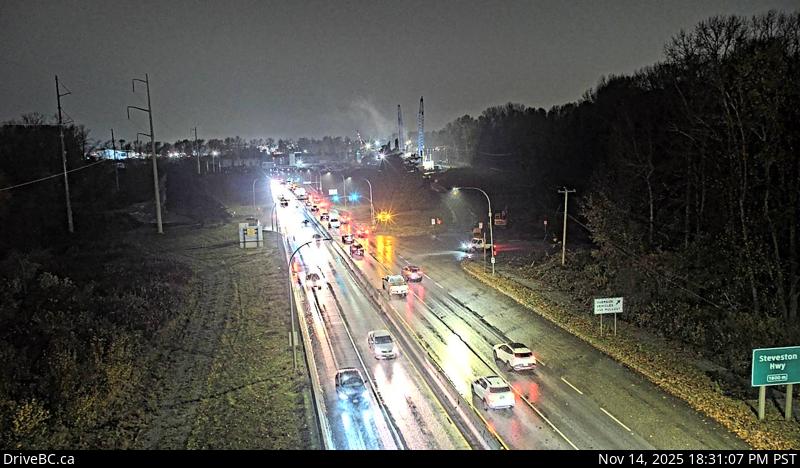
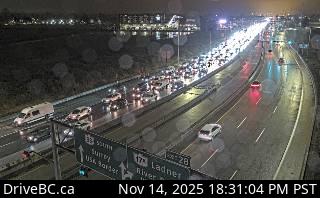
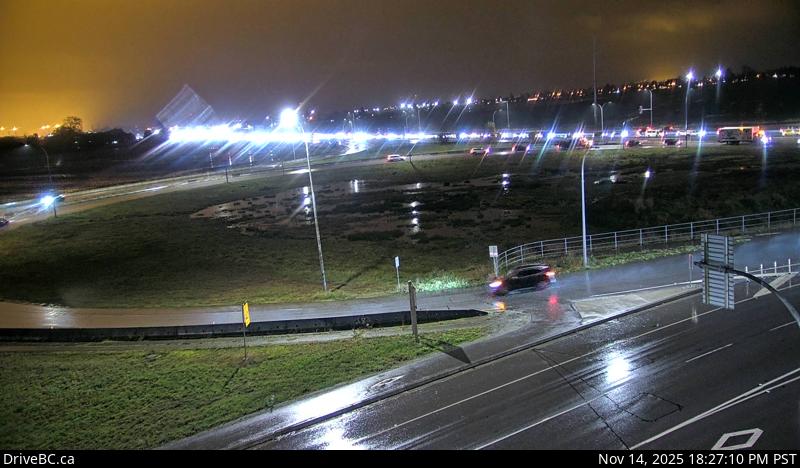
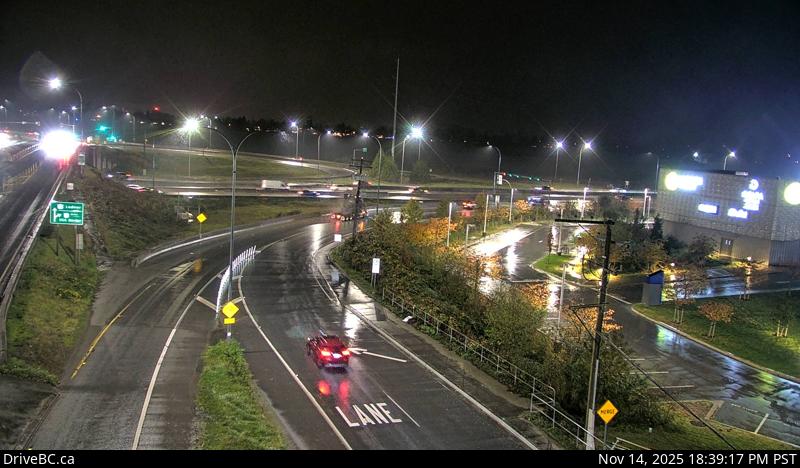
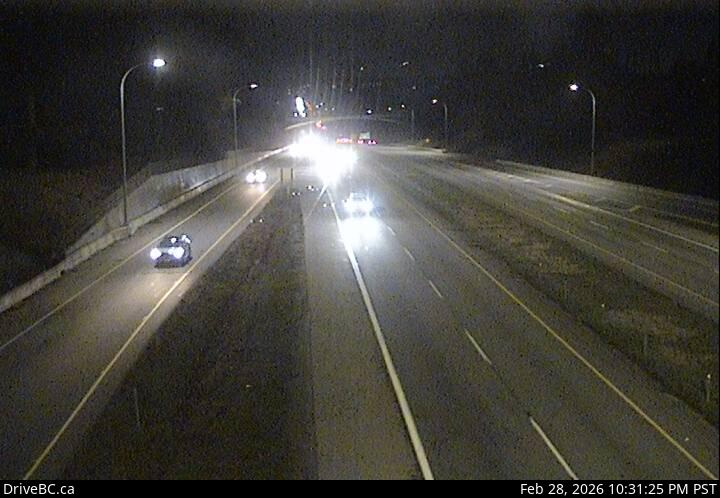
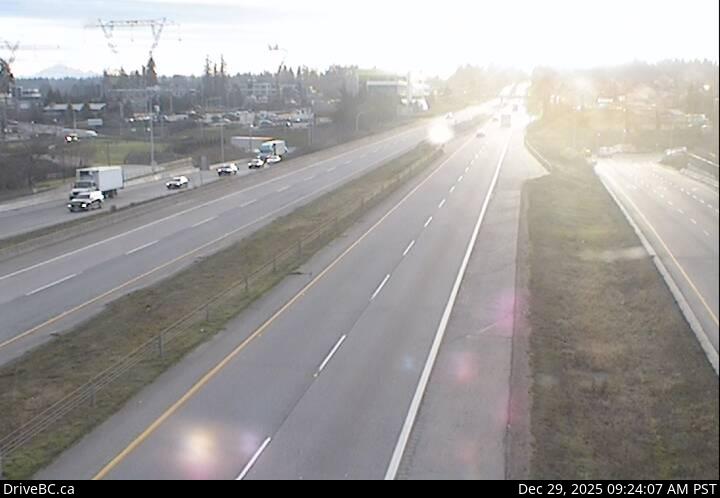
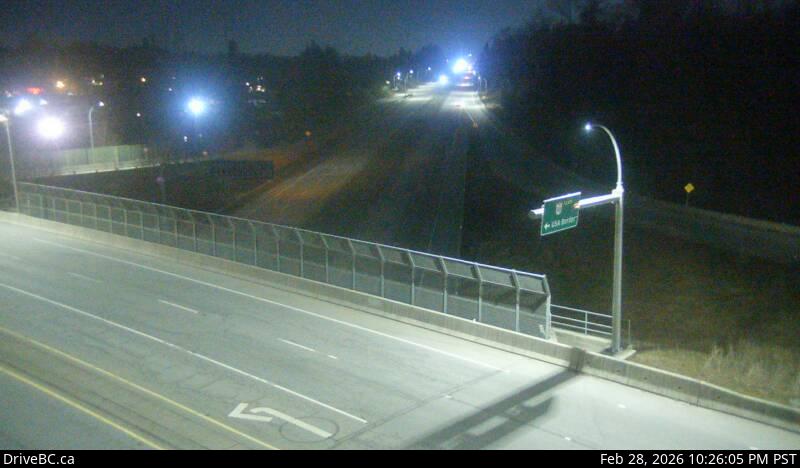
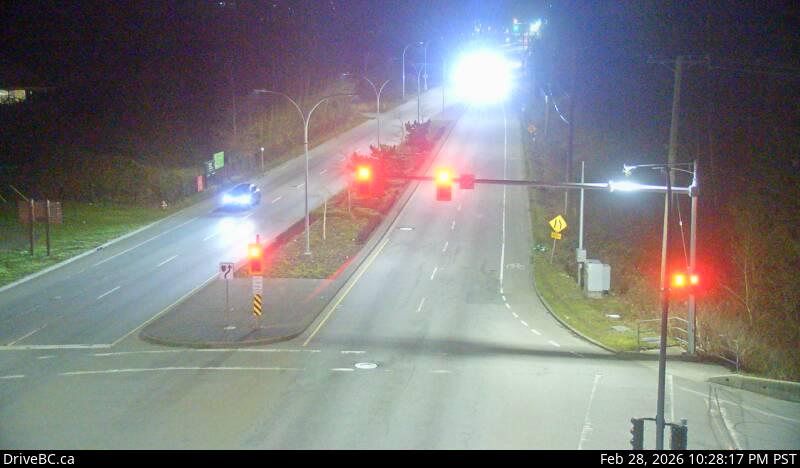
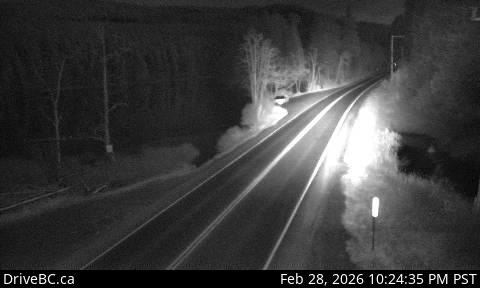
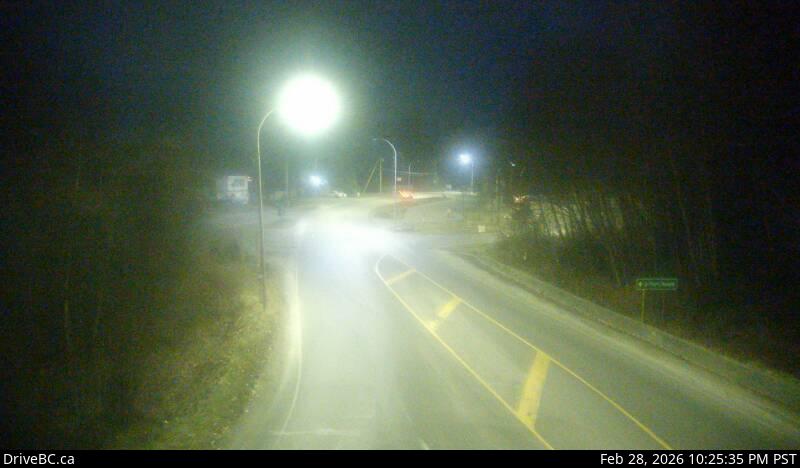
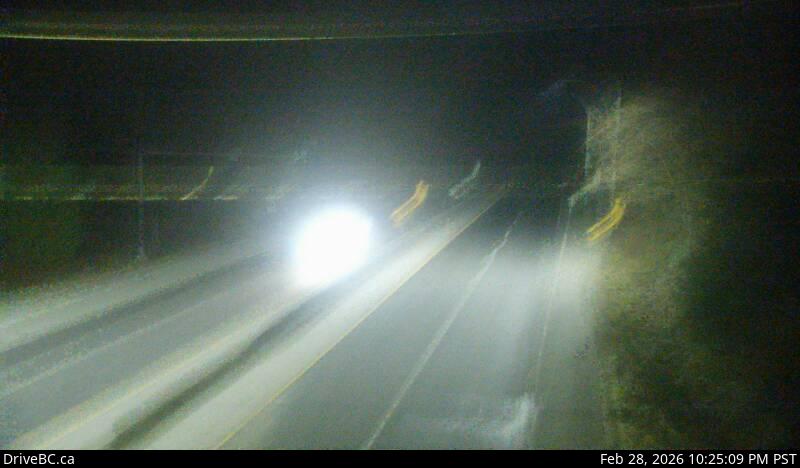
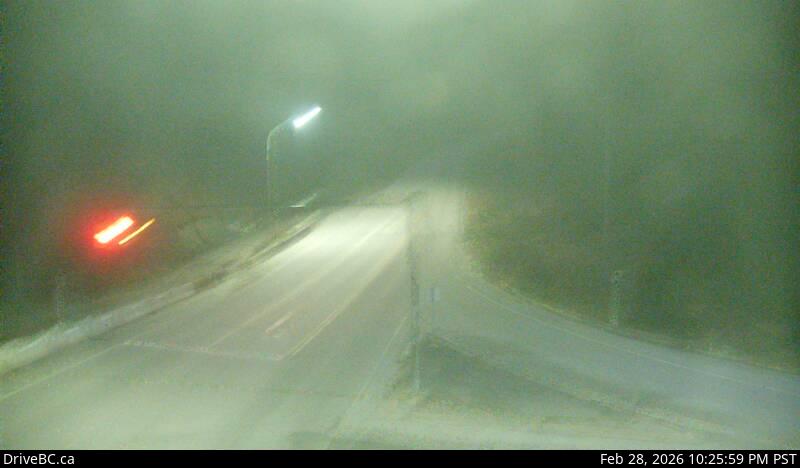
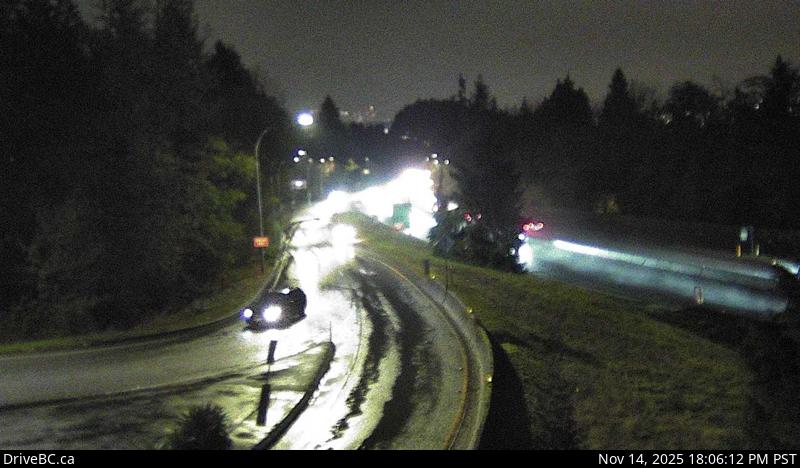
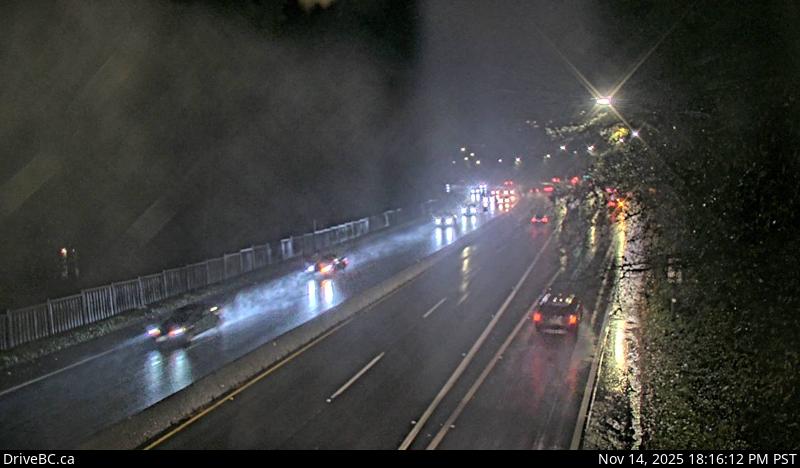
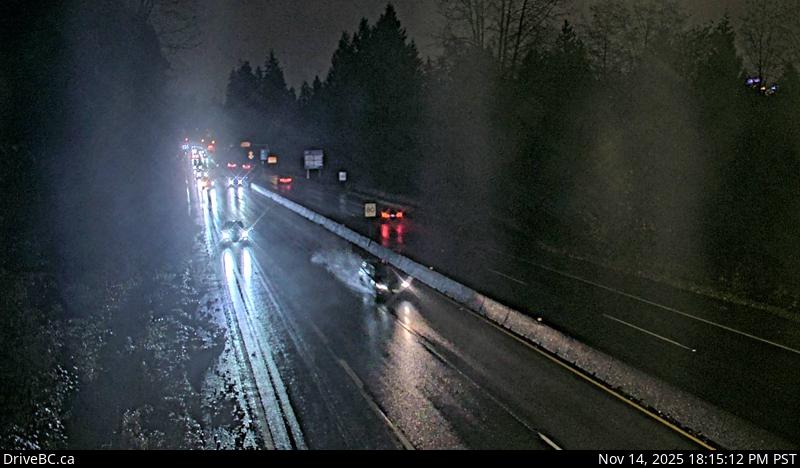
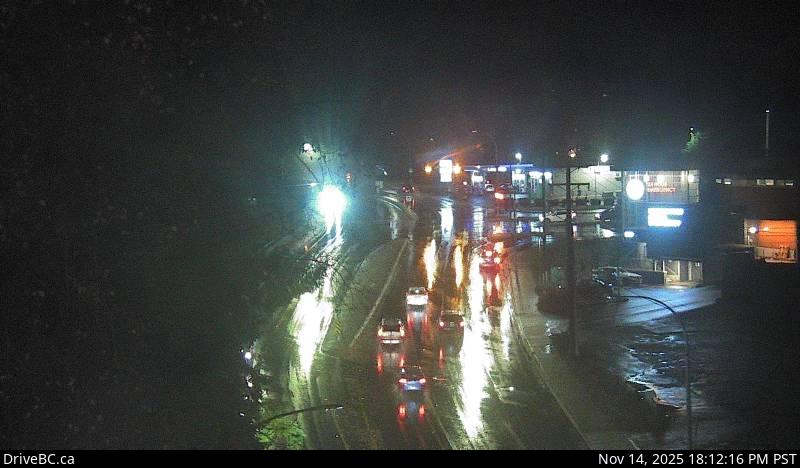
Every Vancouver traffic camera, in road order — 369 DriveBC cameras across Metro Vancouver and the Fraser Valley.
Presented by — founding sponsor slot open for Vancouver · Claim this wall
Highway 1 — Trans-Canada Highway
98 cameras · driving order
Live stills · this page refreshes every minute · DriveBC images update at the source every few minutes
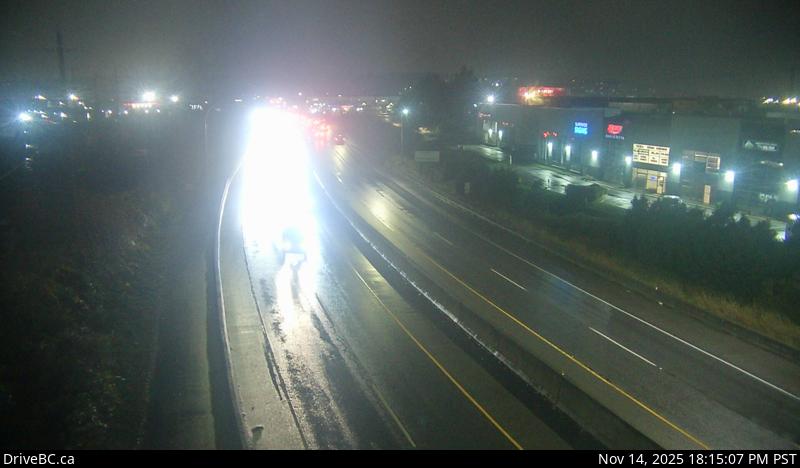
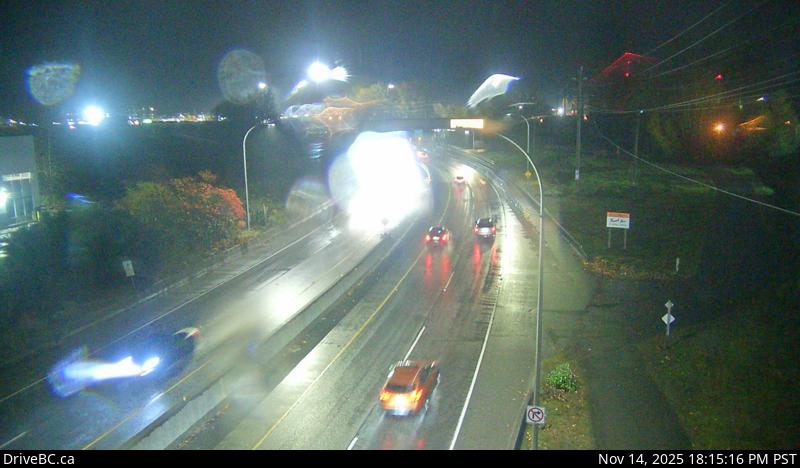
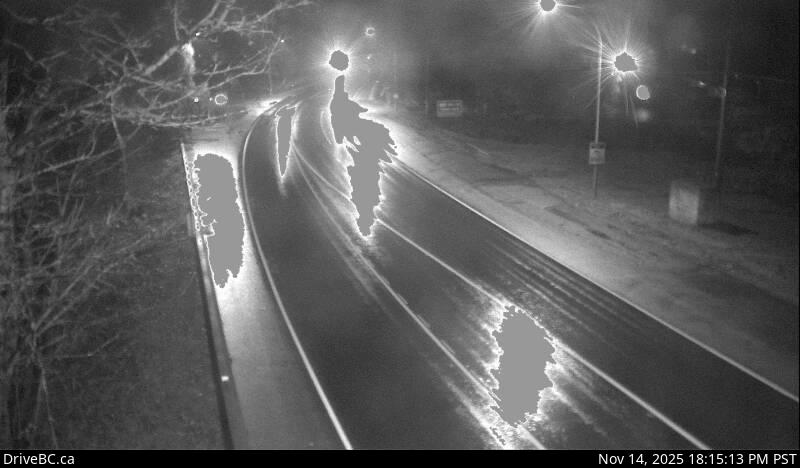
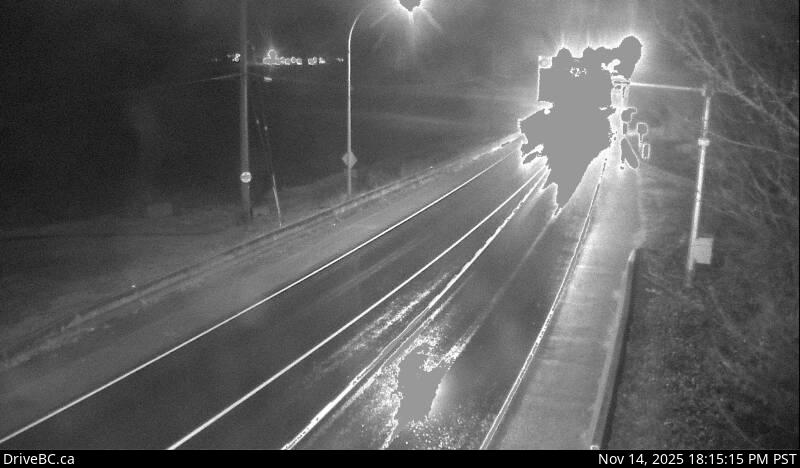
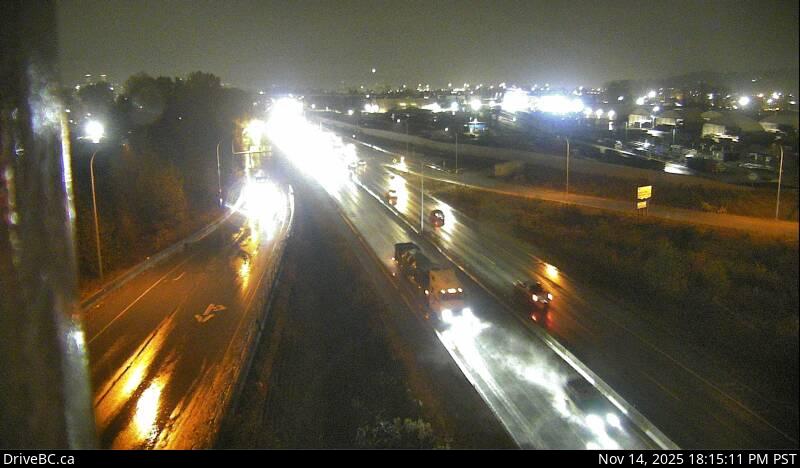
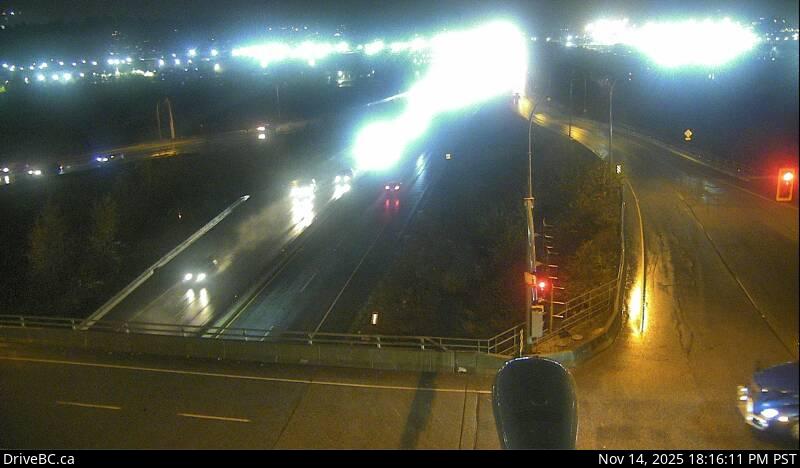
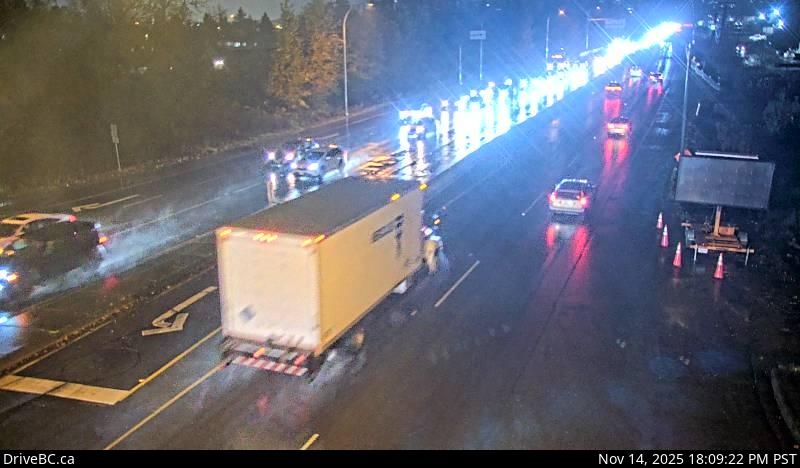
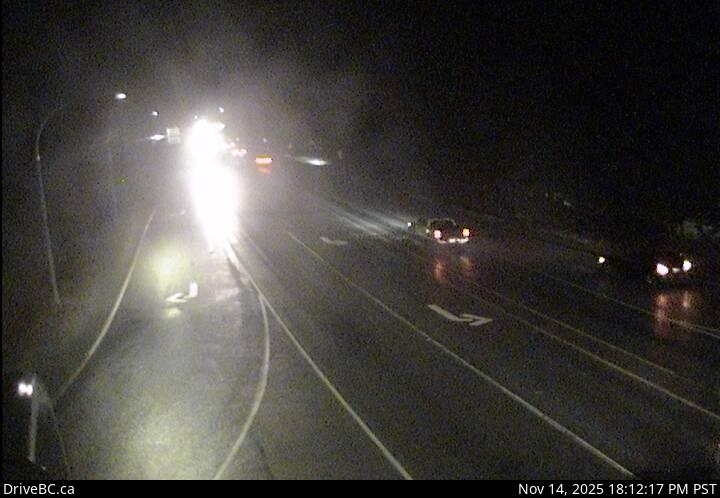
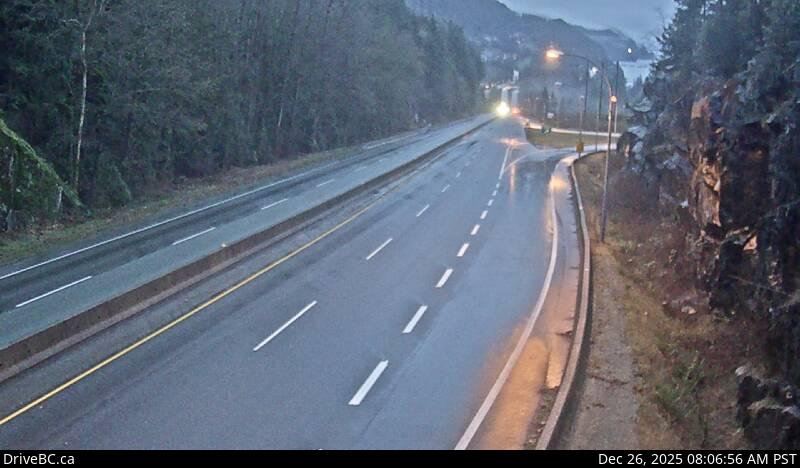
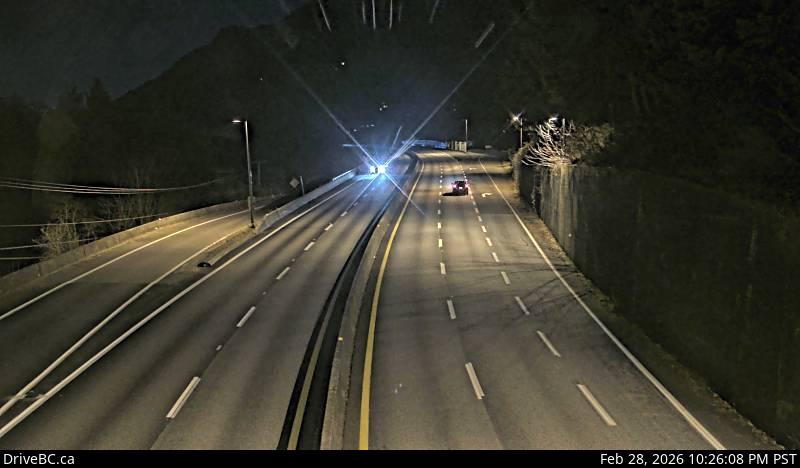
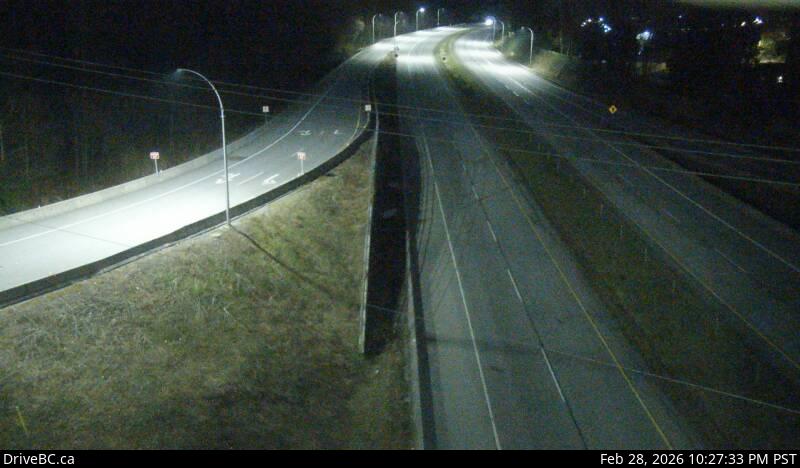
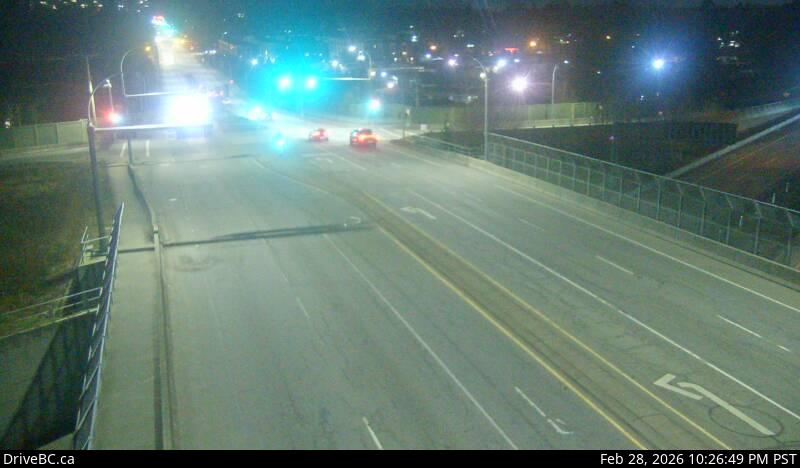
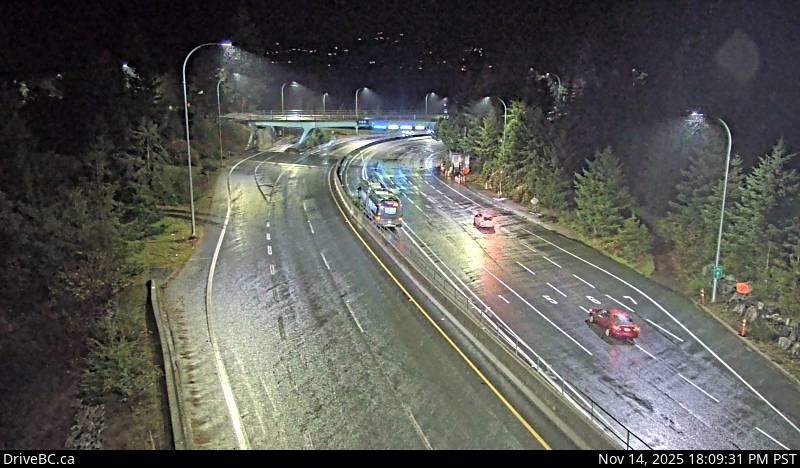
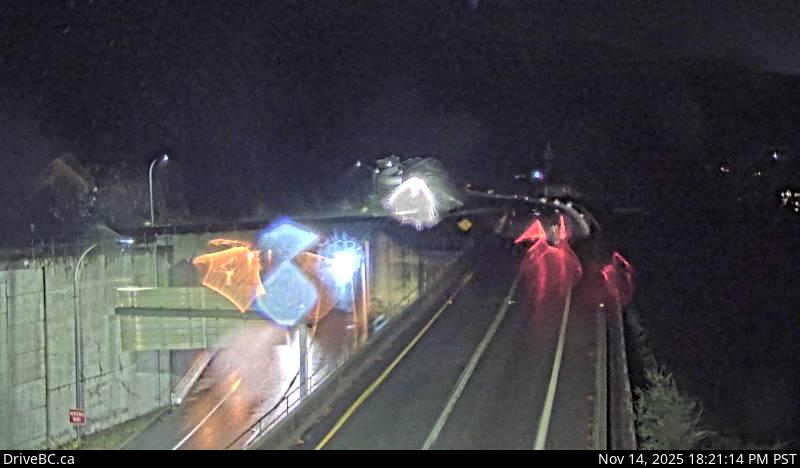
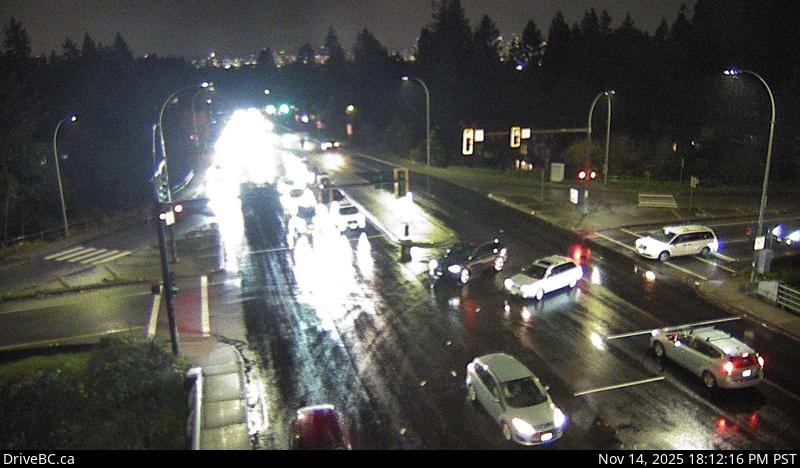
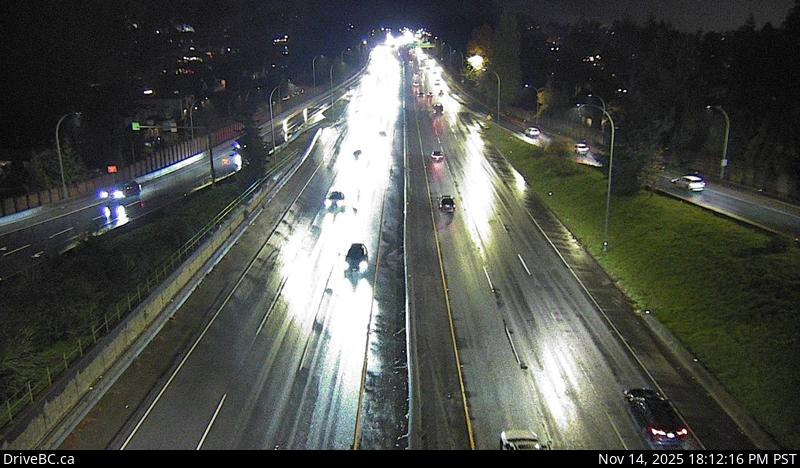
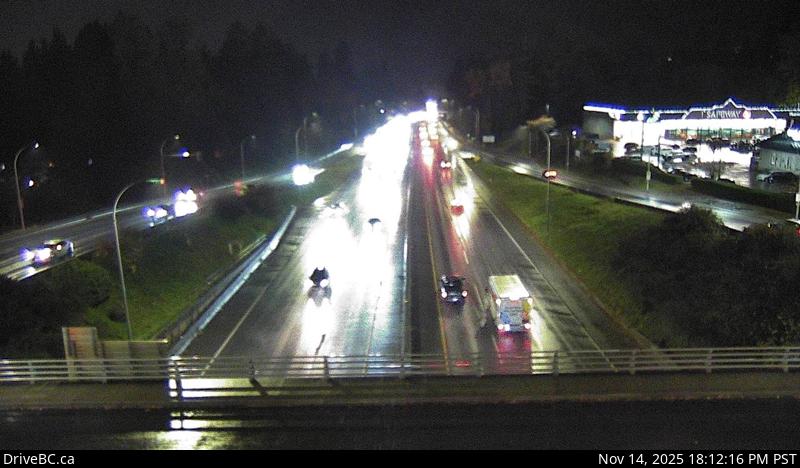
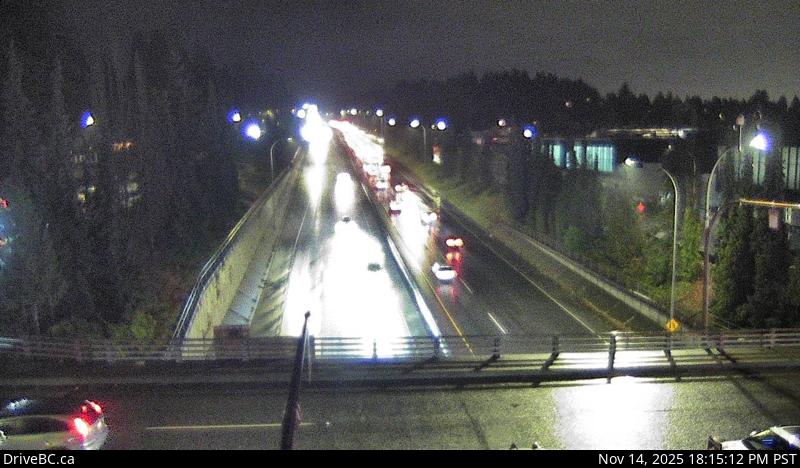
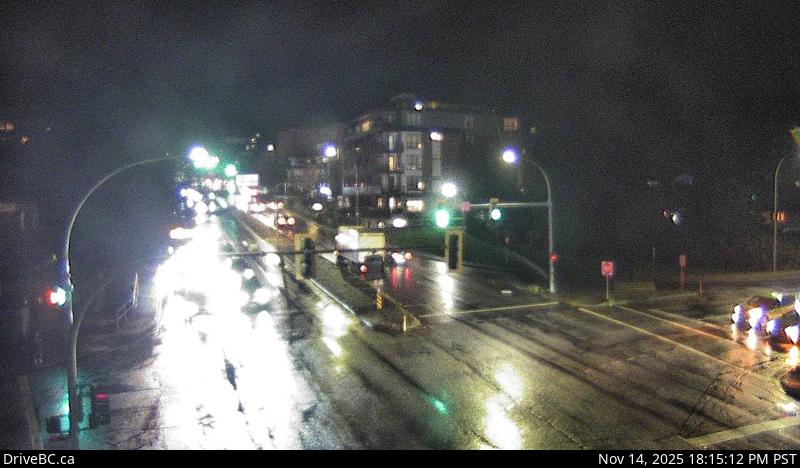
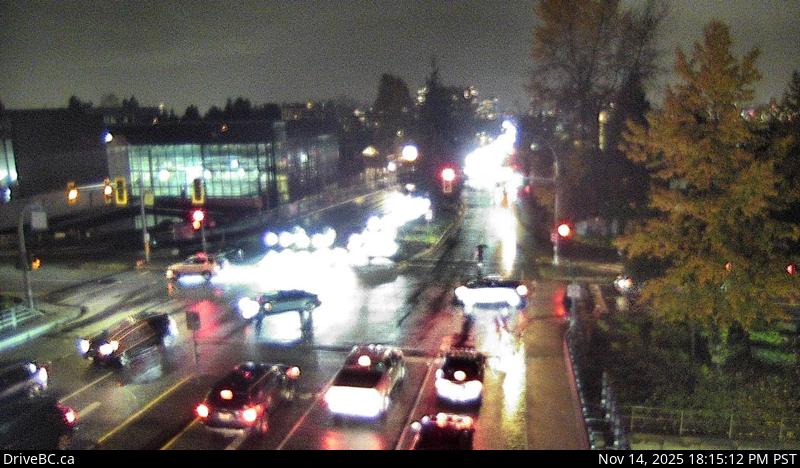
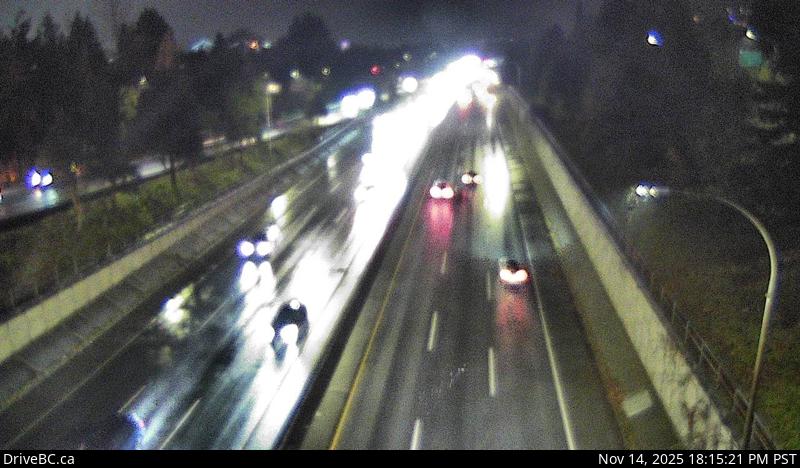
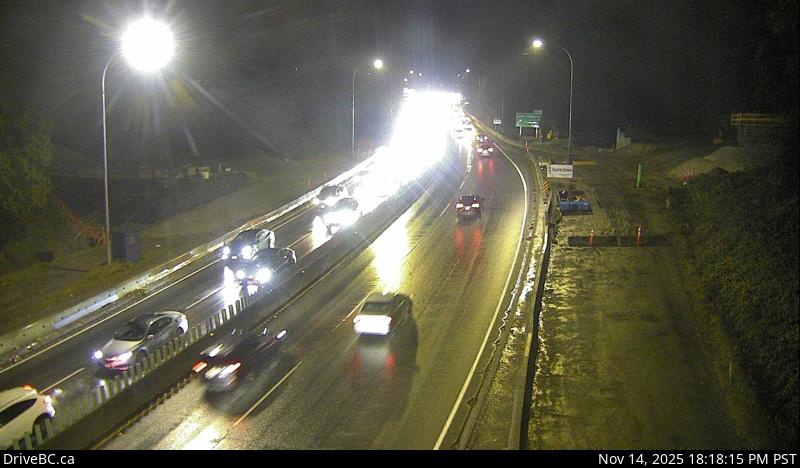
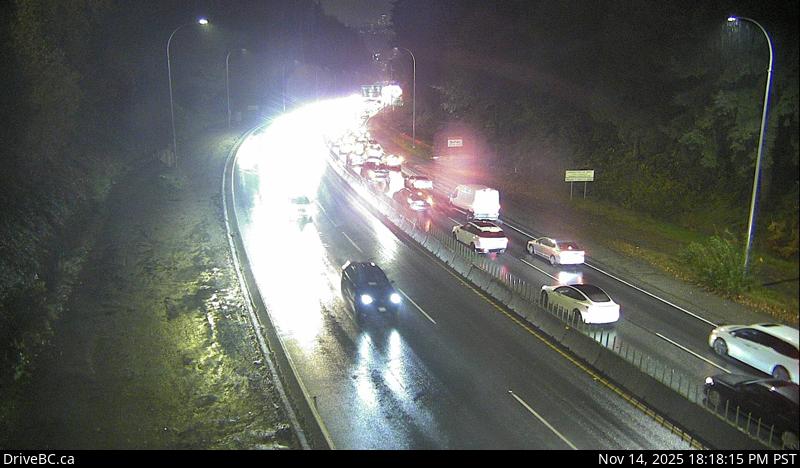
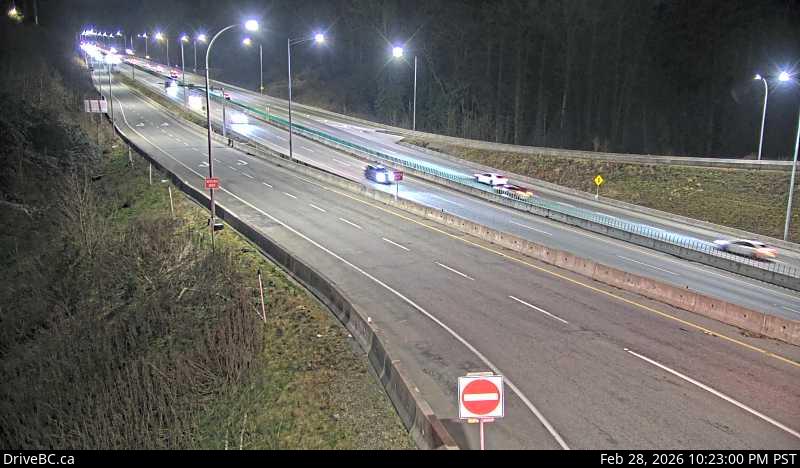
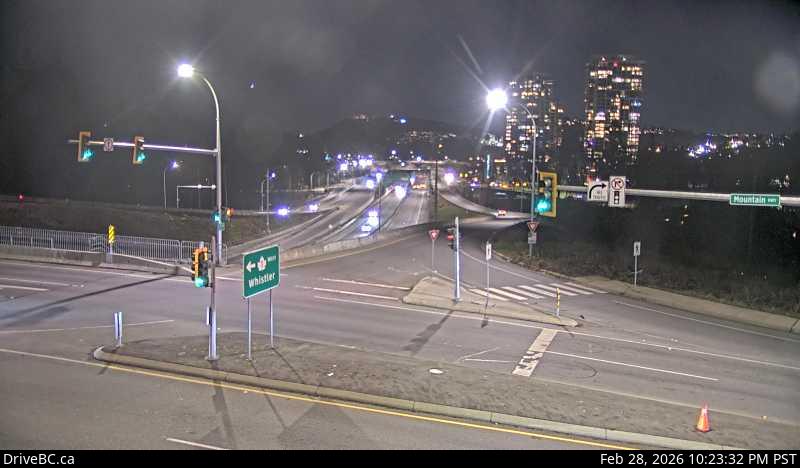
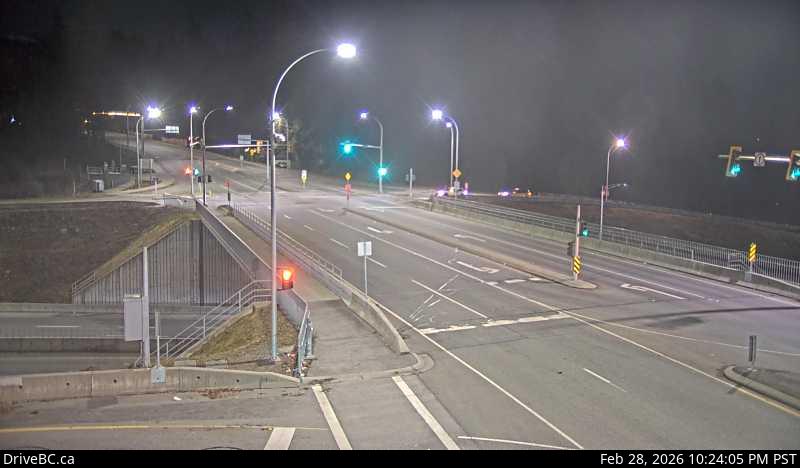
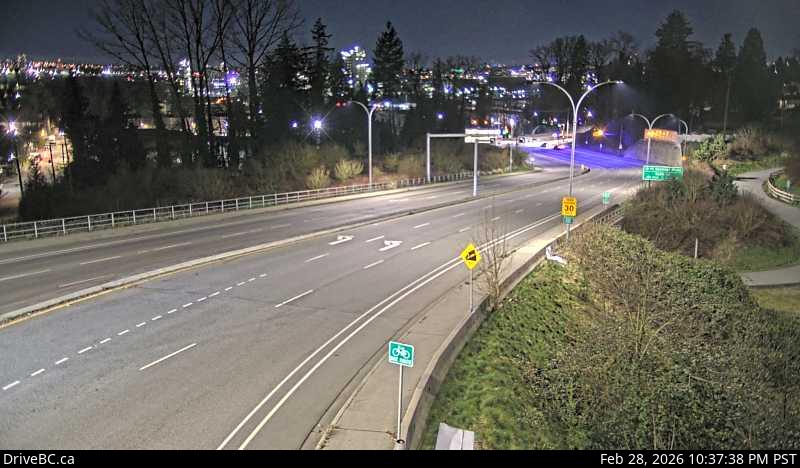
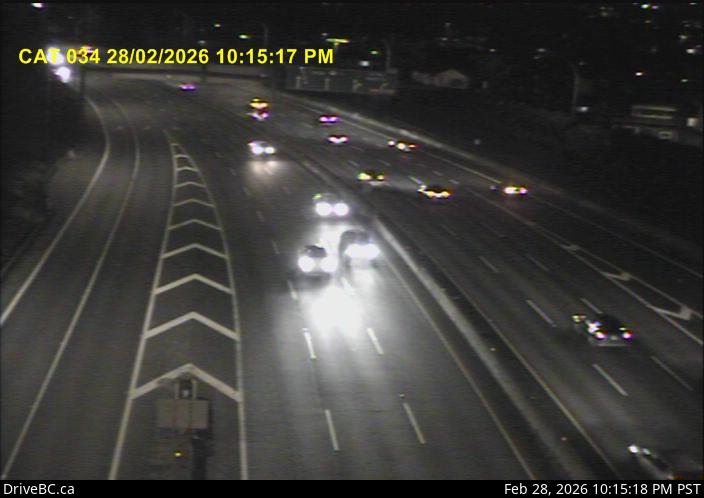
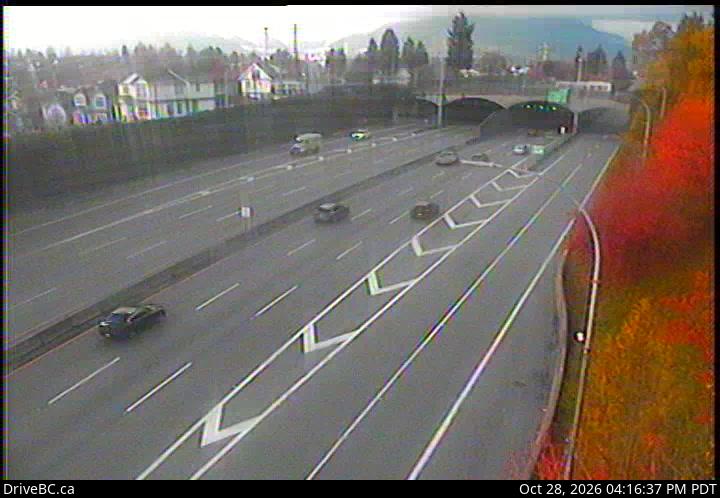
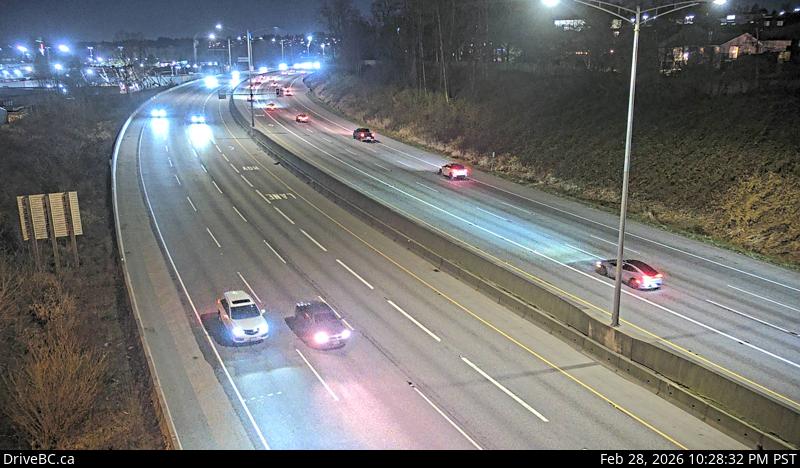
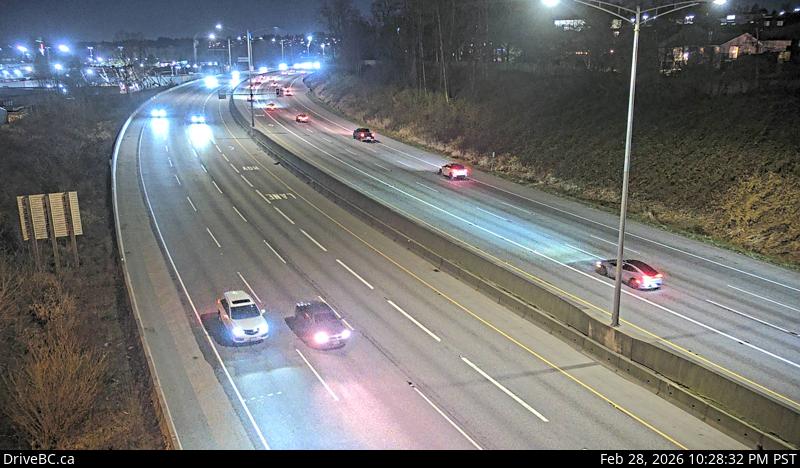
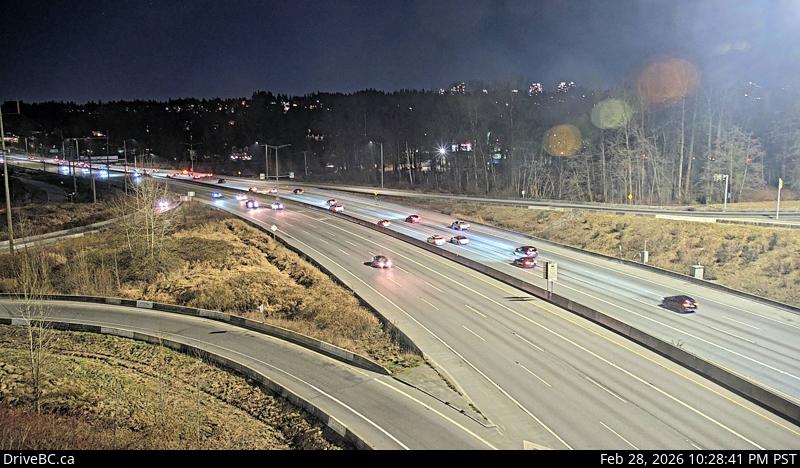
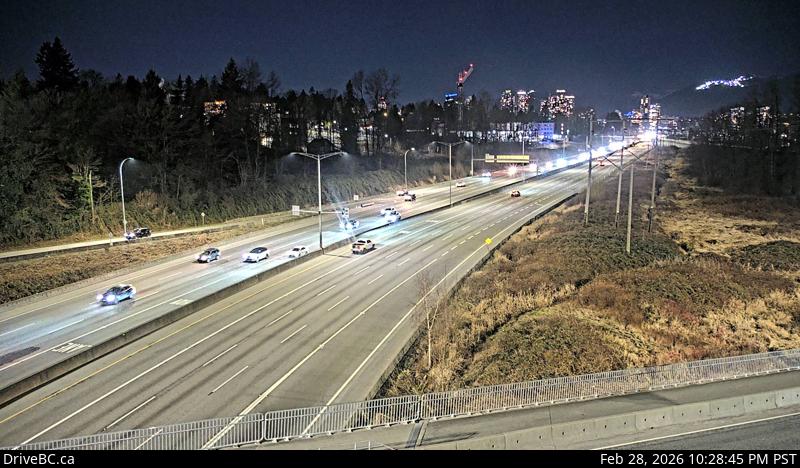
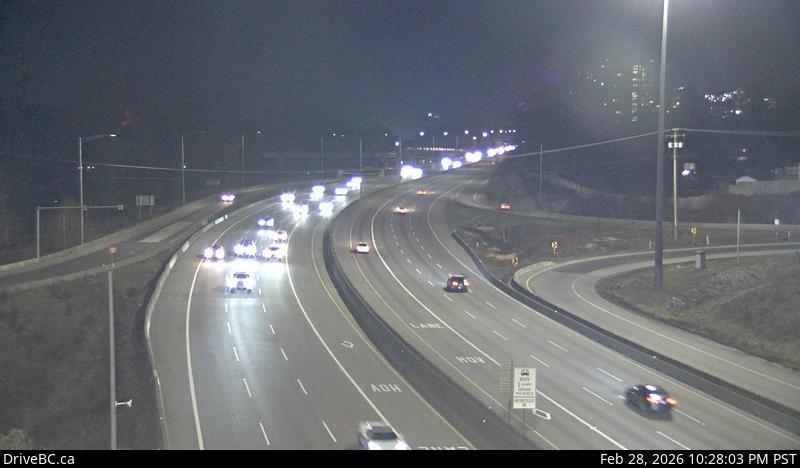
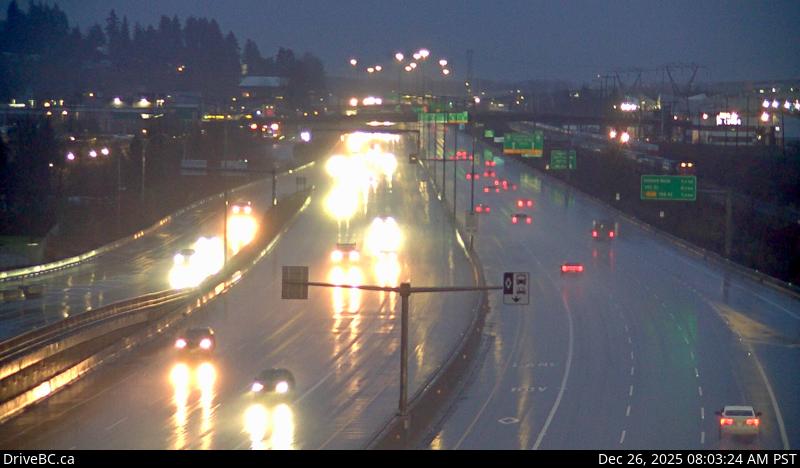
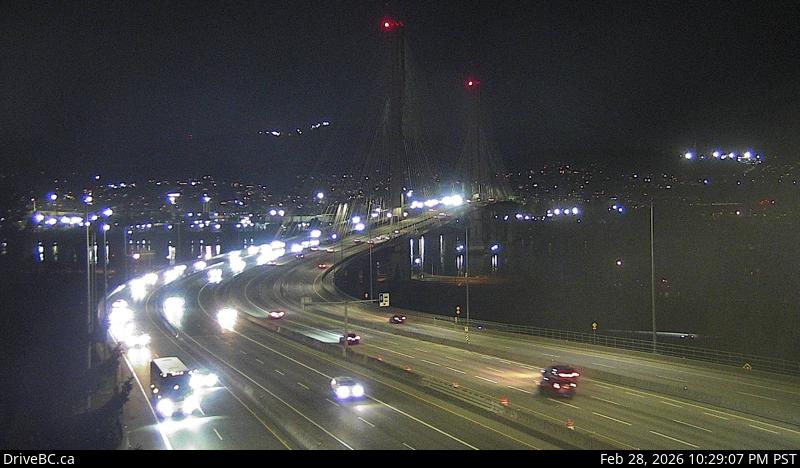
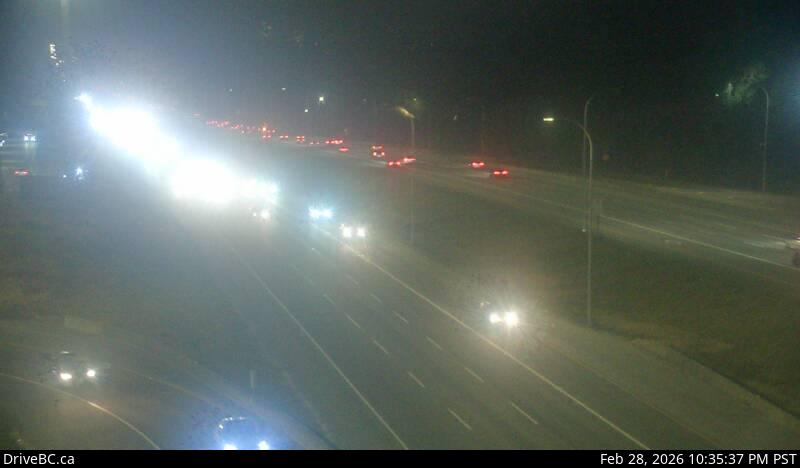
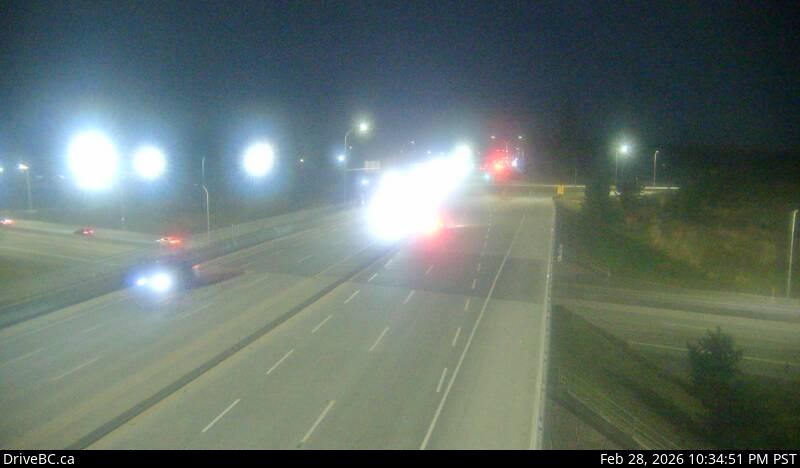
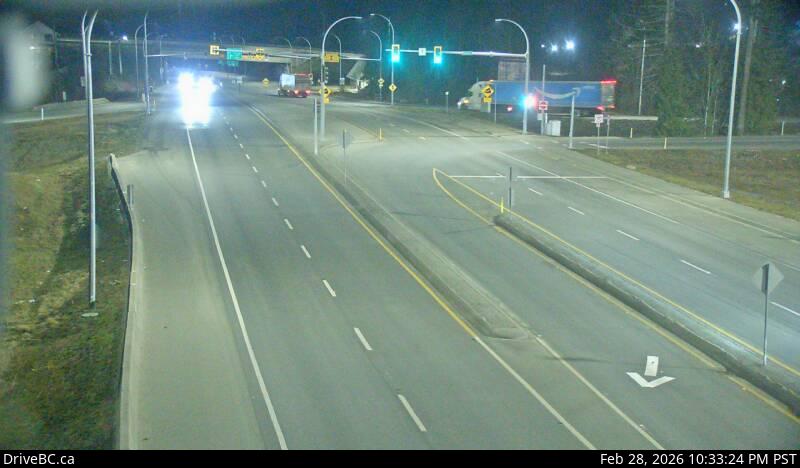
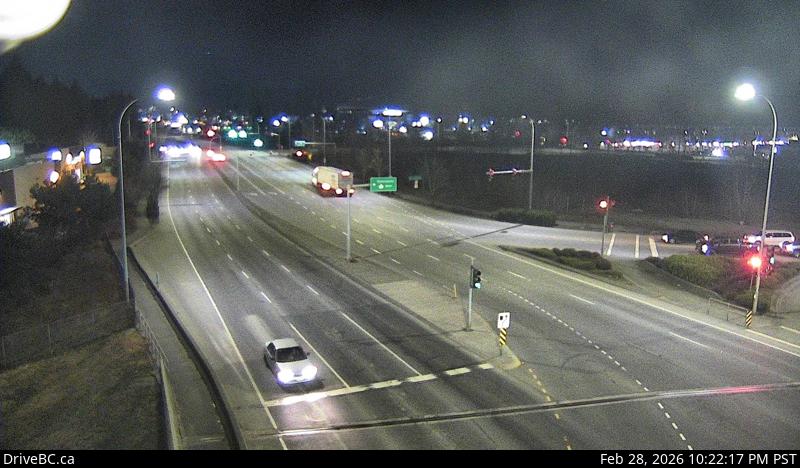
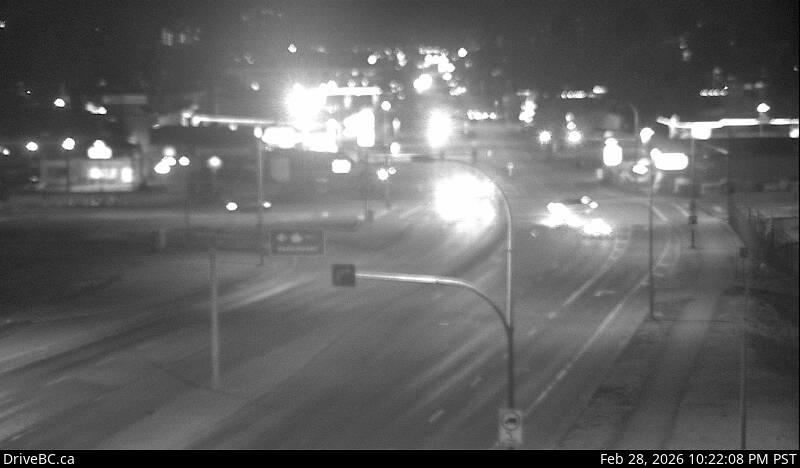
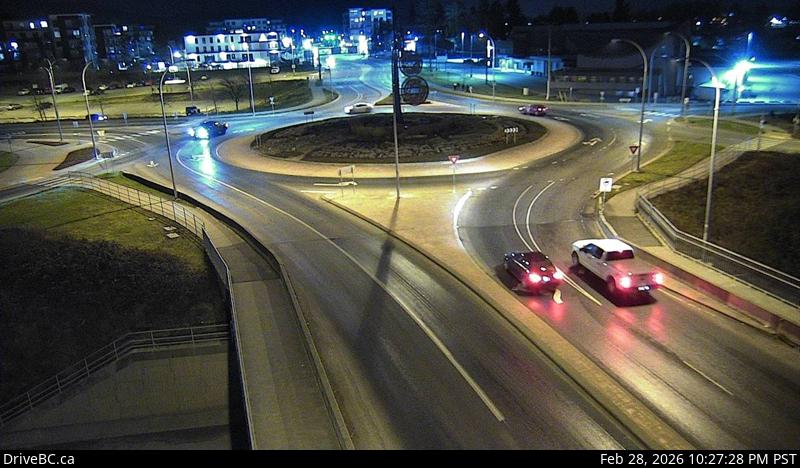
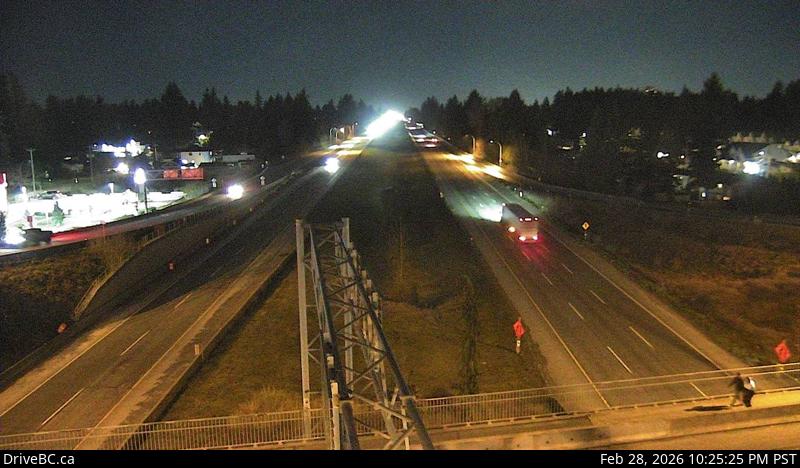
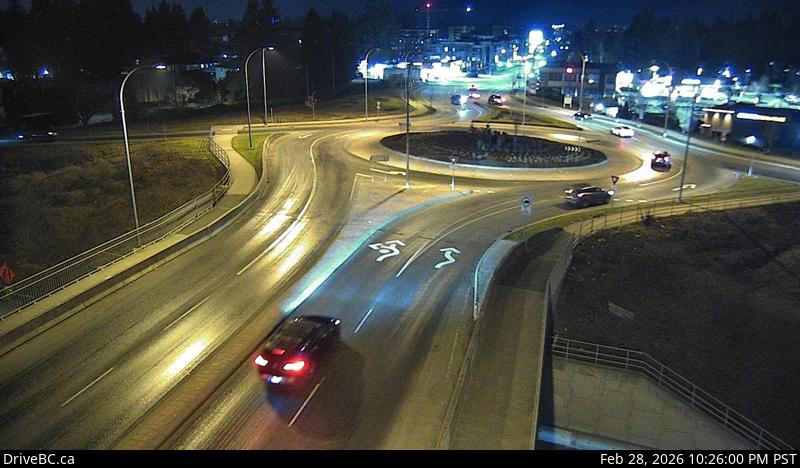
1Horseshoe Bay - W — Highway 99 at Highway 1 ramp to Horseshoe Bay, looking west.2Horseshoe Bay - E — Highway 99 at Highway 1 ramp to Horseshoe Bay, looking east.3Cross Creek - N — Highway 1 at Cross Creek Road / 15 Street exit in West Vancouver, looking north.4Cross Creek - E — Highway 1 at Cross Creek Road / 15 Street exit in West Vancouver, looking east.5Hwy 1 at Hadden Drive Ramp - W — Highway 1 at Hadden Drive off-ramp for Taylor Way, looking west.6Hwy 1 at Hadden Drive Ramp - E — Highway 1 at Hadden Drive off-ramp for Taylor Way, looking east.7Capilano - N — Highway 1 (Upper Levels Highway) at Capilano Road, looking north.8Capilano - W — Highway 1 (Upper Levels Highway) at Capilano Road, looking west.9Capilano - E — Highway 1 (Upper Levels Highway) at Capilano Road, looking east.10Capilano - S — Highway 1 (Upper Levels Highway) at Capilano Road, looking south.11Westview - N — Highway 1 (Upper Levels Highway) at Westview Drive, looking north.12Westview - S — Highway 1 (Upper Levels Highway) at Westview Drive, looking south.13Westview - E — Highway 1 (Upper Levels Highway) at Westview Drive, looking east.14Westview - W — Highway 1 (Upper Levels Highway) at Westview Drive, looking west.15Lonsdale - E — Highway 1 (Upper Levels Highway) at Lonsdale Avenue, looking east.16Lonsdale - N — Highway 1 (Upper Levels Highway) at Lonsdale Avenue, looking north.17Lonsdale - S — Highway 1 (Upper Levels Highway) at Lonsdale Avenue, looking south.18Lonsdale - W — Highway 1 (Upper Levels Highway) at Lonsdale Avenue, looking west.19Lynn Valley Road - W — Highway 1 near the Lynn Valley Road on-ramp, looking west.20Lynn Valley Road - E — Highway 1 near the Lynn Valley Road on-ramp, looking east.21Mountain Highway - S — Highway 1 at the Mountain Highway exit, looking south.22Mountain Highway - E — Highway 1 on the Mountain Highway overpass, looking east on Mountain Highway.23Mountain Highway - W — Highway 1 on the Mountain Highway overpass, looking west on Mountain Highway.24Mountain Highway - N — Highway 1 at the Mountain Highway exit, looking north.25Cassiar Tunnel — Highway 1 at the Cassiar Tunnel south end, looking south.26Cassiar Tunnel northbound — Highway 1 at south end of Cassiar Tunnel entrance, looking north.27Ironworkers North approach - N — Highway 1 at the northend of Ironworkers Memorial Bridge by Fern Street, looking northbound.28Ironworkers North approach - S — Highway 1 at the northend of Ironworkers Memorial Bridge by Fern Street, looking southbound.29Ironworkers North - S — Highway 1 at the north end of Ironworkers Memorial Bridge, looking south.30Ironworkers North - N — Highway 1 at the north end of Ironworkers Memorial Bridge, looking north.31Ironworkers midspan — Highway 1 at mid-span on the Ironworkers Memorial Bridge, looking south.32Ironworkers South eastbound — Highway 1 at the south end of Ironworkers Memorial Bridge, looking eastbound toward the Cassiar Tunnel.33Ironworkers South westbound — Highway 1 at the south end of Ironworkers Memorial Bridge, looking westbound towards the North Shore.34Douglas Road - E — Highway 1 at Douglas Road overpass, looking east.35Douglas Road - W — Highway 1 at Douglas Road overpass, looking west.36Kensington Avenue - E — Highway 1 at Kensington Avenue, looking east.37Kensington Avenue - W — Highway 1 at Kensington Avenue, looking west.38Brunette — Highway 1 west of the Brunette Avenue overpass in Coquitlam, looking west.39Coquitlam — Highway 1 east of the Brunette Avenue overpass in Coquitlam, looking east.40Port Mann Bridge - W — Highway 1 at Port Mann Bridge, looking westbound.41Port Mann Bridge - E — Highway 1 at Port Mann Bridge, looking eastbound.42Hwy 1 at 176 Street - W — Highway 1 at 176 Street overpass, looking west.43Hwy 1 at 176 Street - E — Highway 1 at 176 Street overpass, looking east.44Hwy 1 at 176 Street - S — Highway 1 at 176 Street overpass, looking south.45Hwy 1 at 176 Street - N — Highway 1 at 176 Street overpass, looking north.46Hwy 1 at 200 Street - N — Highway 1 at 200 Street, looking north.47Hwy 1 at 200 Street - S — Highway 1 at 200 Street, looking south.48Hwy 1 at 200 Street - E — Highway 1 at 200 Street, looking east.49Hwy 1 at 200 Street - W — Highway 1 at 200 Street, looking west.50Hwy 1 at 216 Street - W — Highway 1 at 216 Street overpass, looking west.51Hwy 1 at 216 Street - E — Highway 1 at 216 Street overpass, looking east.52Hwy 1 at 232 Street - S — Highway 1 eastbound on-ramp from 232 Street, looking south.53Hwy 1 at 232 Street - N — Highway 1 westbound on-ramp from 232 Street, looking north.54Hwy 1 at 232 Street - W — Highway 1 at 232 Street overpass, looking west.55Hwy 1 at 232 Street - E — Highway 1 at 232 Street Overpass, looking east.56Hwy 1 at 264 Street - N — Highway 1 off-ramp to 264 Street, looking north.57Hwy 1 at 264 Street - S — Highway 1 on-ramp from 264 Street, looking south.58Hwy 1 at 264 Street - W — Highway 1 at 264 Street, looking west.59Hwy 1 at 264 Street - E — Highway 1 at 264 Street, looking east.60Mount Lehman - N — Highway 1 at Mount Lehman Road, looking north.61Mount Lehman - S — Highway 1 at Mount Lehman Road, looking south.62Mount Lehman - W — Highway 1 at Mount Lehman Road, looking west.63Mount Lehman - E — Highway 1 at Mount Lehman Road, looking east.64Clearbrook - W — Highway 1 at Clearbrook Road, looking west.65Clearbrook - S — Highway 1 at Clearbrook Road, looking south.66Clearbrook - E — Highway 1 at Clearbrook Road, looking east.67Clearbrook - N — Highway 1 at Clearbrook Road, looking north.68McCallum Road Roundabout Southbound — Highway 1 at McCallum Road roundabout, looking south.69McCallum Road - W — Highway 1 at McCallum Road overpass, looking west.70McCallum Road Roundabout Northbound — Highway 1 at McCallum Road roundabout, looking north.71McCallum Road - E — Highway 1 at McCallum Road overpass, looking east.72Sumas Way - W — Highway 1 at Highway 11 (Sumas Way) interchange in Abbotsford, looking west.73Sumas Way - E — Highway 1 at Highway 11 (Sumas Way) interchange in Abbotsford, looking east.74Cole Road - E — Highway 1 at Cole Road Rest Area, looking east.75Cole Road - W — Highway 1 at Cole Road Rest Area, looking west.76Vedder Canal Bridge - E — Highway 1 at Vedder Canal Bridge, looking eastbound.77Vedder Canal Bridge - W — Highway 1 at the Vedder Canal Bridge, looking westbound.78Evans Road - E — Highway 1 at Evans Road overpass near Chilliwack, looking east.79Evans Road - S — Highway 1 at Evans Road overpass near Chilliwack, looking south.80Evans Road - N — Highway 1 at Evans Road overpass near Chilliwack, looking north.81Evans Road - W — Highway 1 at Evans Road overpass near Chilliwack, looking west.82Prest Road - N — Highway 1 at Prest Road in Chilliwack, looking north.83Prest Road - S — Highway 1 at Prest Road in Chilliwack, looking south.84Prest Road - W — Highway 1 at Prest Road in Chilliwack, looking west.85Prest Road - E — Highway 1 at Prest Road in Chilliwack, looking east.86Annis Road - W — Highway 1 at Annis Road overpass, looking west.87Annis Road - E — Highway 1 at Annis Road overpass, looking east.88Annis Road - N — Highway 1 at Annis Road overpass, looking north.89Annis Road - S — Highway 1 at Annis Road overpass, looking south.90Bridal Falls - E — Highway 1 near Bridal Falls, looking east.91Bridal Falls - W — Highway 1 near Bridal Falls, looking west.92Herrling Island - E — Highway 1 near Herrling Island, looking east.93Herrling Island - W — Highway 1 near Herrling Island, looking west.94Herrling Island Overpass - N — Highway 1 at Herrling Island overpass, looking north.95Herrling Island Overpass - E — Highway 1 westbound at Herrling Island overpass, looking east.96Herrling Island Overpass - S — Highway 1 at Herrling Island overpass, looking south.97Herrling Island Overpass - W — Highway 1 westbound at Herrling Island overpass, looking west.98Hunter Creek — Highway 1 at Hunter Creek, looking east.
Highway 7 — Lougheed Highway
47 cameras · driving order
Live stills · this page refreshes every minute · DriveBC images update at the source every few minutes
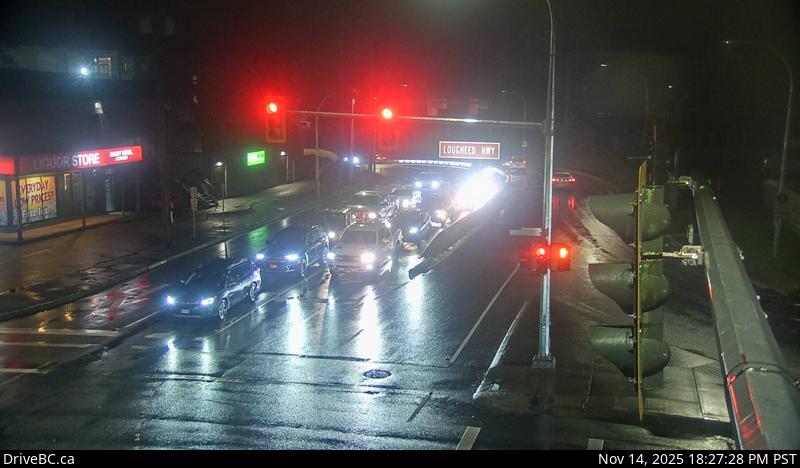
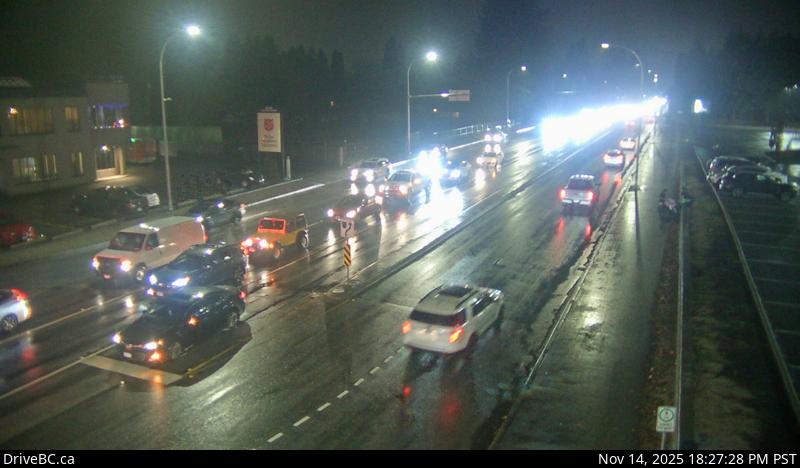
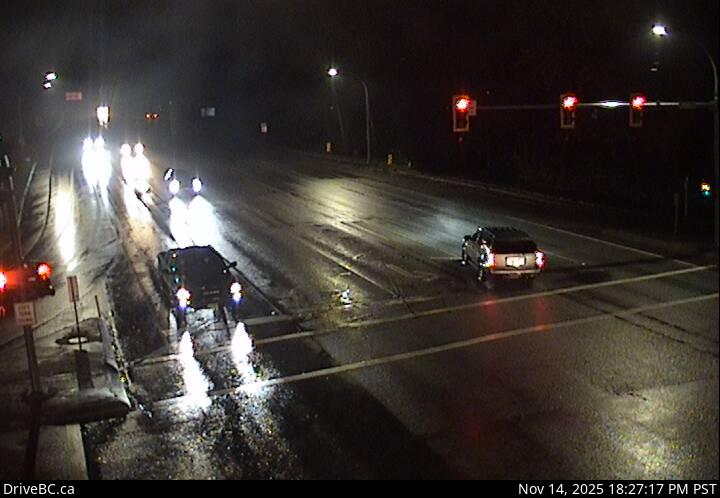
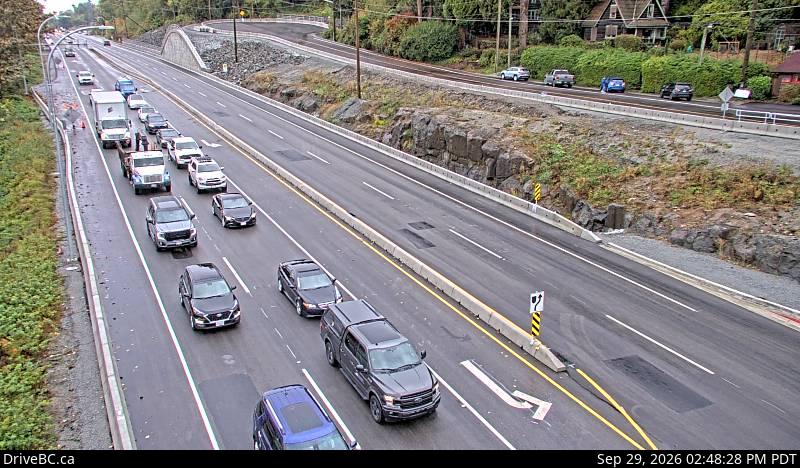
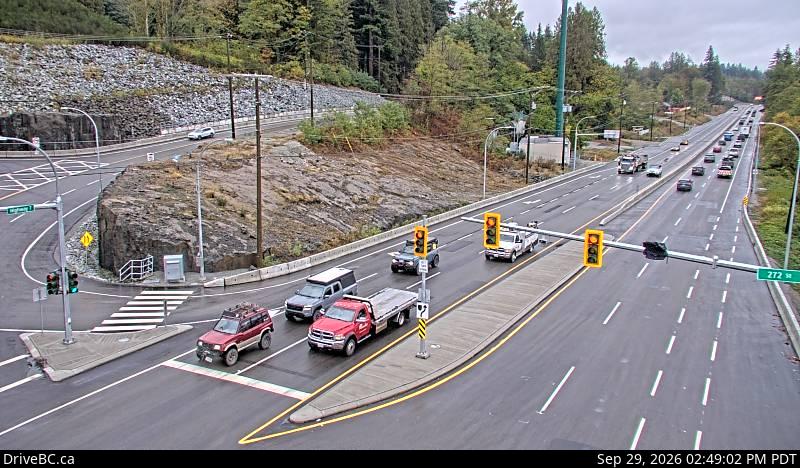
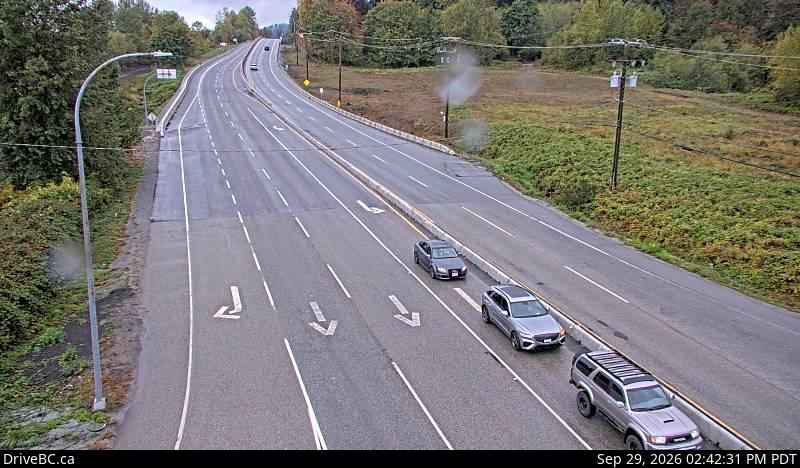
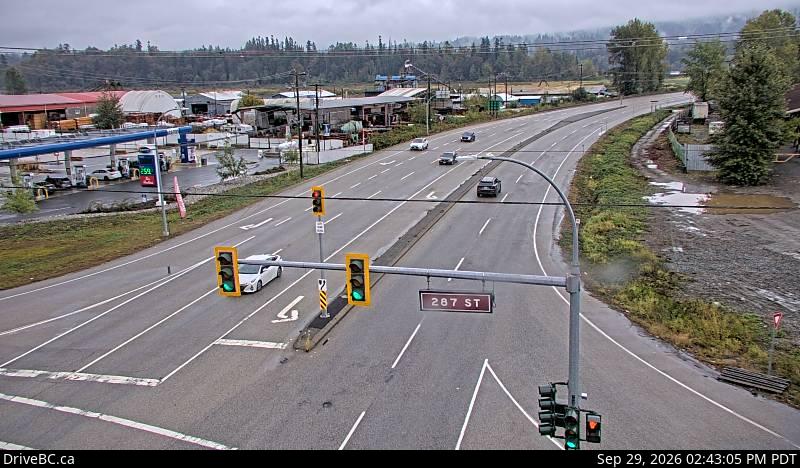
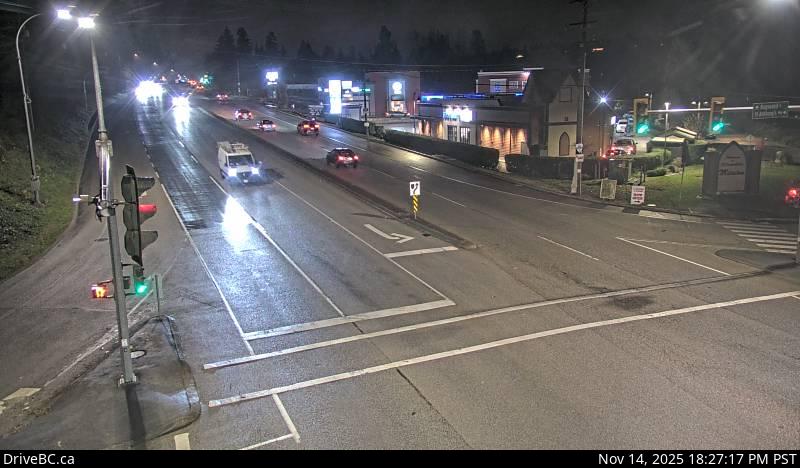
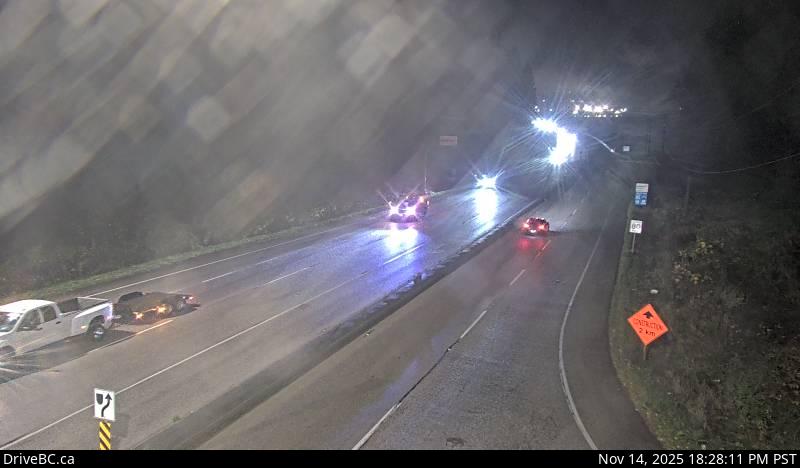
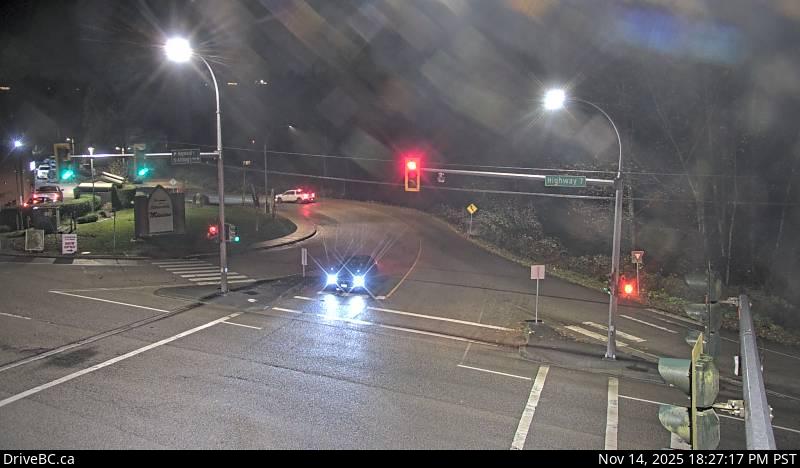
1Lougheed Highway — Highway 7 (Lougheed Highway) at Kennedy Road, looking southeast.2Pitt Meadows — Highway 7 (Lougheed Highway) at Kennedy Road, looking southeast, towards Pitt Meadows.3Lougheed at Kennedy Road — Highway 7 (Lougheed Highway) at Kennedy Road, looking northwest towards Pitt River Bridge.4Lougheed at Harris Road - N — Highway 7 (Lougheed Highway) at Harris Road, looking north.5Lougheed at Harris Road - W — Highway 7 (Lougheed Highway) at Harris Road, looking west.6Lougheed at Harris Road - E — Highway 7 (Lougheed Highway) at Harris Road, looking east.7Lougheed at Harris Road - S — Highway 7 (Lougheed Highway) at Harris Road, looking south.8Lougheed at Dewdney Trunk Road - N — Highway 7 (Lougheed Highway) at Dewdney Trunk Road, looking north.9Lougheed at Maple Meadows Way - S — Highway 7 (Lougheed Highway) at Maple Meadows Way/Dewdney Trunk Road, looking south.10Lougheed at Dewdney Trunk Rd - W — Hwy 7 (Lougheed Hwy) at Dewdney Trunk Rd, looking west.11Lougheed at Dewdney Trunk Road - E — Highway 7 (Lougheed Highway) at Dewdney Trunk Road, looking east.12Lougheed at Haney Bypass - N — Highway 7 (Lougheed Highway) at Haney Bypass/222 Street, looking north.13Lougheed at Haney Bypass - S — Highway 7 (Lougheed Highway) at Haney Bypass/222 Street, looking south.14Lougheed at Haney Bypass - E — Highway 7 (Lougheed Highway) at Haney Bypass/222 Street, looking east.15Lougheed at Haney Bypass - W — Highway 7 (Lougheed Highway) at Haney Bypass/222 Street, looking west.16Haney Bypass - NW — Highway 7 (Lougheed Highway) near River Road on-ramp, looking northwest.17Haney Bypass - SE — Highway 7 (Lougheed Highway) near River Road on-ramp, looking southeast.18Kanaka Way at Lougheed - westbound — Westbound on Highway 7 (Lougheed Highway) at Kanaka Way/Haney Bypass.19Kanaka Way at Lougheed - eastbound — Eastbound on Highway 7 (Lougheed Highway) at Kanaka Way/Haney Bypass.20Kanaka Way at Lougheed - northbound — Northbound on Kanaka Way at Highway 7 (Lougheed Highway).21Haney Bypass at Lougheed — Southbound on Haney Bypass at Highway 7 (Lougheed Highway).22Albion - N — Highway 7 (Lougheed Highway) at 240 Street, looking north along 240 Street.23Albion - W — Highway 7 (Lougheed Highway) at 240 Street, looking west along Hwy 7.24Albion - S — Highway 7 (Lougheed Highway) at 240 Street, looking south along 240 Street.25Albion - E — Highway 7 (Lougheed Highway) at 240 Street, looking east along Highway 7.26Lougheed at 272 Street - SW — Lougheed Highway (Highway 7) at 272 Street in Maple Ridge, looking southwest.27Lougheed at 272 Street - NE — Lougheed Highway (Highway 7) at 272 Street in Maple Ridge, looking northeast.28Lougheed at 287 Street - W — Lougheed Highway (Highway 7) at 287 Street in Maple Ridge, looking west.29Lougheed at 287 Street - E — Lougheed Highway (Highway 7) at 287 Street in Maple Ridge, looking east.30Silverdale - E — Highway 7 (Lougheed Highway) at Hayward Street in Mission, looking eastbound along Highway 7.31Silverdale - W — Highway 7 (Lougheed Highway) at Hayward Street in Mission, looking westbound along Highway 7.32Silverdale - S — Highway 7 (Lougheed Highway) at Hayward Street in Mission, looking south to Hayward Street.33Silverdale - N — Highway 7 (Lougheed Highway) at Hayward Street in Mission, looking north along Hayward Street.34Nelson Street - W — Highway 7 (Lougheed Highway) at Nelson Street in Mission, looking west.35Nelson Street - E — Highway 7 (Lougheed Highway) at Nelson Street in Mission, looking east.36Mission - S — Highway 7 at Highway 11 approaching Mission, looking south.37Mission - W — Highway 7 at Highway 11 approaching Mission, looking west.38Mission - E — Highway 7 at Highway 11 approaching Mission, looking east.39Mission - N — Highway 7 at Highway 11 approaching Mission, looking north.40Deroche - E — Highway 7 at Deroche Road and Nicomen Road railway crossing, looking east.41Deroche - W — Highway 7 at Deroche Road and Nicomen Road railway crossing, looking west.42Highlands Boulevard - W — Highway 7 (Lougheed Highway) about 3 km east of Harrison Mills at Highlands Boulevard, looking west43Highlands Boulevard - E — Highway 7 (Lougheed Highway) about 3 km east of Harrison Mills at Highlands Boulevard, looking east.44Agassiz — Highway 7 at Highway 9 (Evergreen Drive) in Agassiz, looking east.45Devil Lake - NE — Highway 7 about 2 km west of Hope, looking eastbound.46Devil Lake - SW — Highway 7 about 2 km west of Hope, looking westbound.47Hope — Highway 7 at Highway 1 junction near Hope, looking west.
Highway 7B — Mary Hill Bypass
11 cameras · driving order
Live stills · this page refreshes every minute · DriveBC images update at the source every few minutes
1Mary Hill Bypass at Shaughnessy - E — Hwy 7B/Mary Hill Bypass at Shaughnessy St looking east.2Mary Hill Bypass at Shaughnessy - W — Hwy 7B/Mary Hill Bypass at Shaughnessy St looking west.3Pitt River Road - E — Highway 7B (Mary Hill Bypass), at Pitt River Road, looking east.4Pitt River Road - S — Highway 7B (Mary Hill Bypass), at Pitt River Road, looking south.5Pitt River Road - W — Highway 7B (Mary Hill Bypass), at Pitt River Road, looking west.6Pitt River Road - N — Highway 7B (Mary Hill Bypass), at Pitt River Road, looking north.7Mary Hill Bypass at Broadway - W — Hwy 7B (Mary Hill Bypass), at Broadway St in Port Coquitlam, looking west.8Mary Hill Bypass at Broadway - N — Hwy 7B (Mary Hill Bypass), at Broadway St in Port Coquitlam, looking north.9Mary Hill Bypass at Broadway - E — Hwy 7B (Mary Hill Bypass), at Broadway St in Port Coquitlam, looking east.10Mary Hill Bypass - W — Hwy 7B, on Mary Hill at Kingsway Ave, looking west.11Mary Hill Bypass - E — Hwy 7B, on Mary Hill, looking east.
Highway 9
4 cameras · driving order
Live stills · this page refreshes every minute · DriveBC images update at the source every few minutes
1Agassiz-Rosedale Bridge - N — Hwy 9, north end of Agassiz-Rosedale Bridge, looking north.2Agassiz-Rosedale Bridge - S — Hwy 9, north end of Agassiz-Rosedale Bridge, looking south.3Rosedale Overhead - N — Hwy 9, at the north end of Rosedale Overhead, looking north.4Rosedale Overhead - S — Hwy 9, at the north end of Rosedale Overhead, looking south.
Highway 10
20 cameras · driving order
Live stills · this page refreshes every minute · DriveBC images update at the source every few minutes
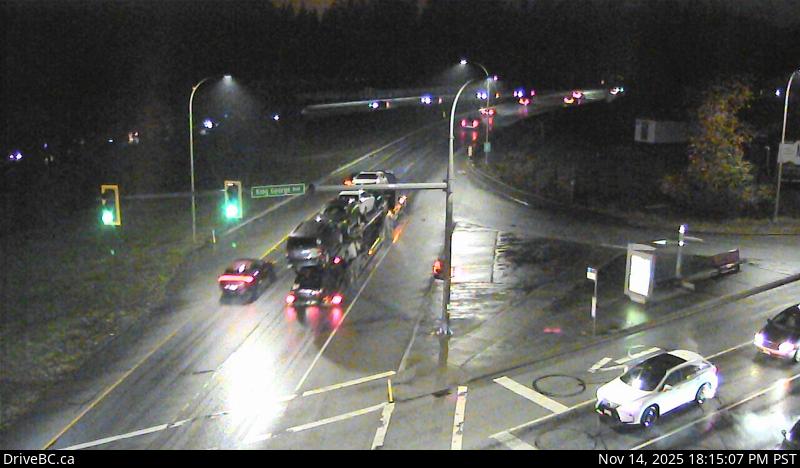
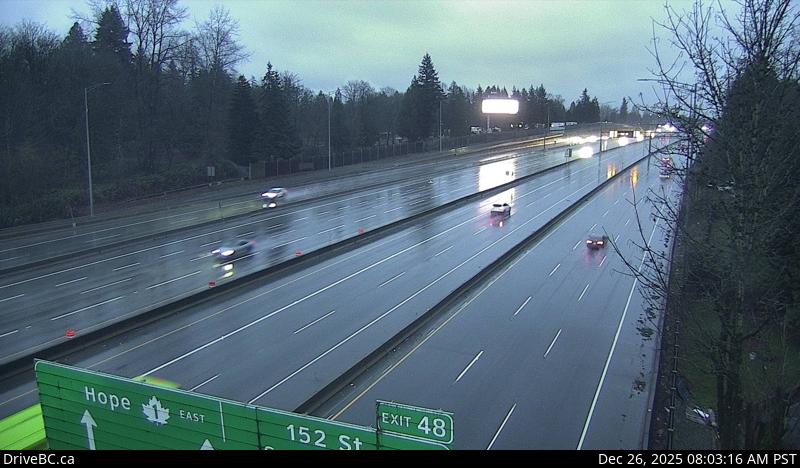
1Hwy 10 at King George Boulevard - S — Highway 10 at King George Boulevard, looking south on King George Boulevard.2Hwy 10 at King George Boulevard - W — Highway 10 at King George Boulevard, looking west on Highway 10.3Hwy 10 at King George Boulevard - E — Highway 10 at King George Boulevard, looking east on Highway 10.4Hwy 10 at King George Boulevard - N — Highway 10 at King George Boulevard, looking north on King George Boulevard.5Hwy 10 at 152 Street - S — Highway 10 at 152 Street, looking south.6Hwy 10 at 152 Street - W — Highway 10 at 152 Street, looking west.7Hwy 10 at 152 Street - E — Highway 10 at 152 Street, looking east.8Hwy 10 at 152 Street - N — Highway 10 at 152 Street, looking north.9Hwy 10 at 192 Street - E — Highway 10 at 192 Street, looking east.10Hwy 10 at 192 Street - W — Highway 10 at 192 Street, looking west.11Hwy 10 at 192 Street - N — Highway 10 at 192 Street, looking north12Hwy 10 at 192 Street - S — Highway 10 at 192 Street, looking south.13Hwy 10 at Fraser Highway - SW — Highway 10 at Fraser Highway in Langley, looking southwest.14Hwy 10 at Fraser Highway - NE — Highway 10 at Fraser Highway in Langley, looking northeast.15Hwy 10 at Fraser Highway - SE — Highway 10 at Fraser Highway in Langley, looking southeast.16Hwy 10 at Fraser Highway - NW — Highway 10 at Fraser Highway in Langley, looking northwest.17Hwy 10 at 200 Street - S — Highway 10 at 200 Street in Langley, looking south.18Hwy 10 at 200 Street - E — Highway 10 at 200 Street in Langley, looking east.19Hwy 10 at 200 Street - W — Highway 10 at 200 Street in Langley, looking west.20Hwy 10 at 200 Street - N — Highway 10 at 200 Street in Langley, looking north.
Highway 11
8 cameras · driving order
Live stills · this page refreshes every minute · DriveBC images update at the source every few minutes
1Hwy 11 at Harris Road - S — Highway 11 at Harris Road, looking south.2Hwy 11 at Harris Road - E — Highway 11 at Harris Road, looking east3Hwy 11 at Harris Road - N — Highway 11 at Harris Road, looking north.4Hwy 11 at Harris Road - W — Highway 11 at Harris Road, looking west.5Hwy 11 at Clayburn Road - E — Highway 11 at Clayburn Road, looking east.6Hwy 11 at Clayburn Road - S — Highway 11 at Clayburn Road, looking south.7Hwy 11 at Clayburn Road - W — Highway 11 at Clayburn Road, looking west.8Hwy 11 at Clayburn Road - N — Highway 11 at Clayburn Road, looking north.
Highway 15
20 cameras · driving order
Live stills · this page refreshes every minute · DriveBC images update at the source every few minutes
1Hwy 15 at 88 Avenue - E — Highway 15 at 88 Avenue, looking east.2Hwy 15 at 88 Avenue - S — Highway 15 at 88 Avenue, looking south.3Hwy 15 at 88 Avenue - N — Highway 15 at 88 Avenue, looking north.4Hwy 15 at 88 Avenue - W — Highway 15 at 88 Avenue, looking west.5Hwy 15 at Fraser Highway - N — Highway 15 at Fraser Highway (1A) looking north.6Hwy 15 at Fraser Highway - NW — Highway 15 at Fraser Highway (1A) looking northwest.7Hwy 15 at Fraser Highway - S — Highway 15 at Fraser Highway (1A) looking south.8Hwy 15 at Fraser Highway - SE — Highway 15 at Fraser Highway (1A) looking southeast.9Hwy 15 at Hwy 10 - S — Highway 15 at Highway 10, looking south onto Highway 15.10Hwy 15 at Hwy 10 - N — Highway 15 at Highway 10, looking north onto Highway 15.11Hwy 15 at Hwy 10 - E — Highway 15 at Highway 10, looking east onto Highway 10.12Hwy 15 at Hwy 10 - W — Highway 15 at Highway 10, looking west onto Highway 15.13Hwy 15 at 24 Avenue - E — Highway 15 at 24 Avenue, looking east.14Hwy 15 at 24 Avenue - S — Highway 15 at 24 Avenue, looking south.15Hwy 15 at 24 Avenue - W — Highway 15 at 24 Avenue, looking west.16Hwy 15 at 24 Avenue - N — Highway 15 at 24 Avenue, looking north.17Hwy 15 at 16 Avenue - S — Highway 15 at 16 Avenue, looking south.18Hwy 15 at 16 Avenue - N — Highway 15 at 16 Avenue, looking north.19Hwy 15 at 16 Avenue - W — Highway 15 at 16 Avenue, looking west.20Hwy 15 at 16 Avenue - E — Highway 15 at 16 Avenue, looking east.
Highway 17 — Patricia Bay Highway
32 cameras · driving order
Live stills · this page refreshes every minute · DriveBC images update at the source every few minutes
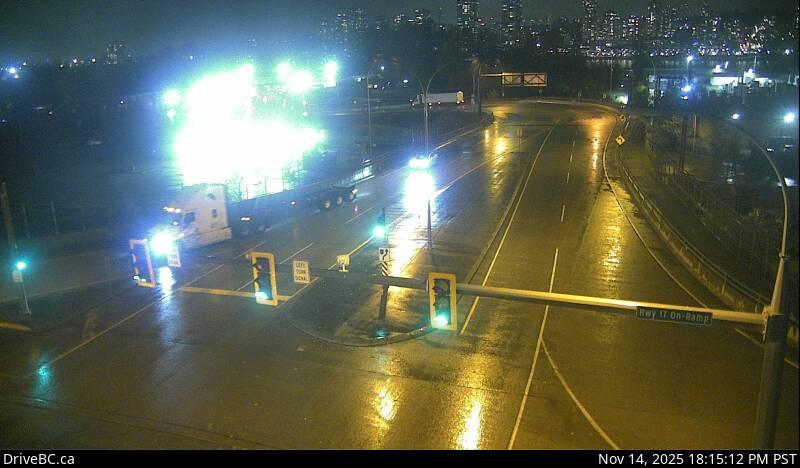
1Salish Sea Drive - W — Highway 17 at Salish Sea Drive (48th Street), looking west.2Salish Sea Drive - N — Highway 17 at Salish Sea Drive (48th Street), looking north.3Salish Sea Drive - E — Highway 17 at Salish Sea Drive (48th Street), looking east.4Hwy 17 at 52 Street - S — Highway 17 at 52 Street, looking south.5Hwy 17 at 52 Street - E — Highway 17 at 52 Street, looking east.6Hwy 17 at 52 Street - W — Highway 17 at 52 Street, looking west.7Hwy 17 at 52 Street - N — Highway 17 at 52 Street, looking north.8Hwy 17 at 56 Street - W — Hwy 17 at 56 Street, looking west.9Hwy 17 at 56 Street - N — Highway 17 at 56 Street, looking north.10Hwy 17 at 56 Street - E — Hwy 17 at 56 Street, looking east.11Hwy 17 at 56 Street - S — Hwy 17 at 56 Street, looking south.12Deltaport Way - S — Hwy 17 (South Fraser Perimeter Rd) at Deltaport Way in South Delta, looking south.13Deltaport Way - N — Hwy 17 (South Fraser Perimeter Rd) at Deltaport Way in South Delta, looking north.14Deltaport Way - E — Hwy 17 (South Fraser Perimeter Rd) at Deltaport Way in South Delta, looking east.15Hwy 17 at 80 Street - E — Highway 17 (South Fraser Perimeter Road) at 80 Street, looking east.16Hwy 17 at 80 Street - W — Highway 17 (South Fraser Perimeter Road) at 80 Street, looking west.17Hwy 17 at 80 Street - N — Highway 17 (South Fraser Perimeter Road) at 80 Street, looking north.18Hwy 17 at Hwy 91 Connector - E — Hwy 17 (South Fraser Perimeter Road), at Highway 91 Connector, looking east.19Hwy 17 at Hwy 91 Connector - N — Hwy 17 (South Fraser Perimeter Rd), at Hwy 91 Connector, looking north.20Hwy 17 at Hwy 91 Connector - S — Hwy 17 (South Fraser Perimeter Rd), at Hwy 91 Connector, looking south.21Hwy 17 at Hwy 91 Connector - W — Hwy 17 (South Fraser Perimeter Rd), at Hwy 91 Connector, looking west.22Tannery Road - S — Highway 17 (South Fraser Perimeter Road) at Tannery Road Overpass in Surrey, looking south.23Tannery Road - N — Highway 17 (South Fraser Perimeter Road) at Tannery Road Overpass in Surrey, looking north.24Tannery Road - E — Highway 17 (South Fraser Perimeter Road) at Tannery Road Overpass in Surrey, looking east.25Tannery Road - W — Highway 17 (South Fraser Perimeter Road) at Tannery Road Overpass in Surrey, looking west.26Bridgeview Drive - W — Highway 17 (South Fraser Perimeter Road) at Bridgeview Drive, looking west.27Bridgeview Drive - E — Highway 17 (South Fraser Perimeter Road) at Bridgeview Drive, looking east.28Bridgeview Drive - S — Highway 17 (South Fraser Perimeter Road) at Bridgeview Drive, looking south.29104 Avenue at Hwy 17 westbound — 104 Avenue at Highway 17, looking westbound.30104 Avenue at Hwy 17 eastbound — 104 Avenue at Highway 17, looking east.31Hwy 17 at 104 Avenue eastbound — Highway 17 at 104 Avenue eastbound along Highway 17.32Hwy 17 at 104 Avenue southbound — Highway 17 at 104 Avenue, looking southbound.
Highway 17A
6 cameras · driving order
Live stills · this page refreshes every minute · DriveBC images update at the source every few minutes
1Ladner - W — Highway 17A at Highway 10 (Ladner Trunk Road), looking west.2Ladner - N — Highway 17A at Highway 10 (Ladner Trunk Road), looking north.3Ladner - E — Highway 17A at Highway 10 (Ladner Trunk Road), looking east.4Ladner - S — Highway 17A at Highway 10 (Ladner Trunk Road), looking south.5Delta - S — Highway 17A, about 0.5 km south of Highway 10 intersection in Delta, looking south.6Delta - N — Highway 17A, about 0.5 km south of Highway 10 intersection in Delta, looking north.
Highway 91 — East–West Connector
21 cameras · driving order
Live stills · this page refreshes every minute · DriveBC images update at the source every few minutes
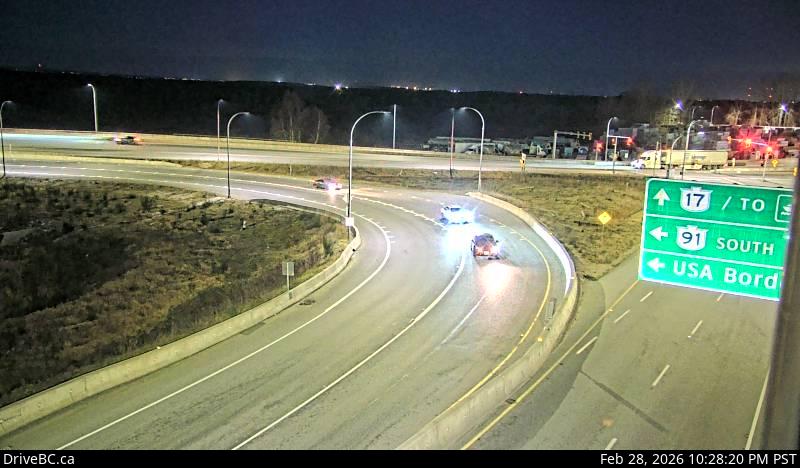
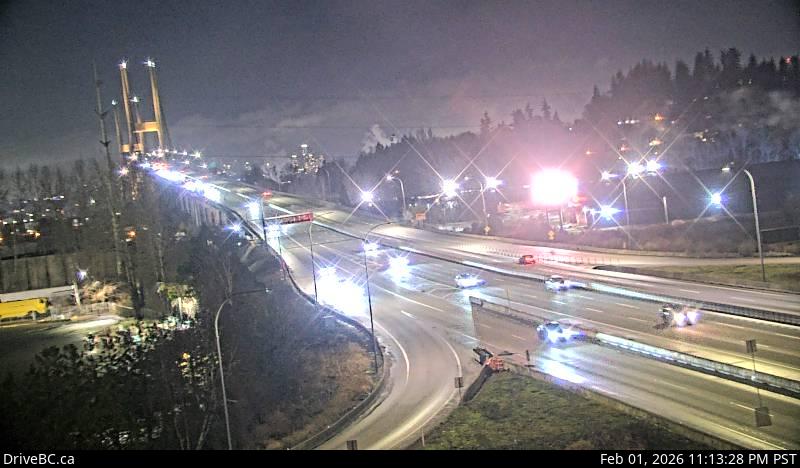
1Hwy 91 at No.6 Road - W — Hwy 91 (East-West Connector) at No.6 Road, looking west.2Hwy 91 at No.6 Road - E — Hwy 91 (East-West Connector) at No.6 Road, looking east.3Hwy 91 at No.8 Road - E — Hwy 91 at No.8 Road on East-West Connector, looking east.4Hwy 91 at No.8 Road - W — Hwy 91 at No.8 Road on East-West Connector, looking west.5Hwy 91 at Fraserwood Way - E — Hwy 91 at Fraserwood Way, on the East-West Connector, looking east.6Hwy 91 at Fraserwood Way - W — Hwy 91 at Fraserwood Way, on the East-West Connector, looking west.7Alex Fraser Bridge Southbound — Hwy 91, southbound approach to Alex Fraser Bridge, looking south.8Annacis Channel Bridge Approach — Hwy 91 at Hwy 91A interchange, looking northeast to Annacis Channel Bridge approach.9Hwy 91 East-West Connector - W — Hwy 91 at Hwy 91A Interchange, looking west on the East-West Connector.10Annacis Island - S — Hwy 91 on Annacis Island at the Cliveden Ave Overpass, looking south.11Annacis Island - W — Hwy 91 on Annacis Island at the Cliveden Ave Overpass, looking west.12Annacis Island - N — Hwy 91 on Annacis Island at the Cliveden Ave Overpass, looking north.13Annacis Island - E — Hwy 91 on Annacis Island at the Cliveden Ave Overpass, looking east.14Alex Fraser Bridge - S — Alex Fraser Bridge, mid-span, looking south.15Alex Fraser Bridge - N — Alex Fraser Bridge, mid-span, looking north.16Hwy 91 Connector at Nordel Way - E — Hwy 91 Connector at Nordel Way, looking east.17Hwy 91 Connector at Nordel Way - W — Hwy 91 Connector at Nordel Way, looking west.18Hwy 91 Connector at Nordel Way - N — Hwy 91 Connector at Nordel Way, looking north.19Hwy 91 at 72 Avenue - E — Hwy 91 at 72 Avenue in Delta, looking east on 72nd.20Hwy 91 at 72 Avenue - N — Hwy 91 at 72 Avenue in Delta, looking north.21Hwy 91 at 72 Avenue - S — Hwy 91 at 72 Avenue in Delta, looking south.
Highway 91A
7 cameras · driving order
Live stills · this page refreshes every minute · DriveBC images update at the source every few minutes
1Hwy 91A at Queensborough Bridge - S — Highway 91A at the north end of Queensborough Bridge, looking south.2Hwy 91A at Queensborough Bridge - E — Highway 91A at the north end of Queensborough Bridge, looking east.3Howes Street - W — Highway 91A west of Howes Street, looking west.4Howes Street - E — Highway 91A west of Howes Street, looking east.5Hwy 91A at Boundary Road - W — Highway 91A at Boundary Road, looking west.6Hwy 91A at Boundary Road - E — Highway 91A at Boundary Road, looking east.7Queensborough Connector — Highway 91A at Highway 91 interchange to Queensborough Connector, looking north.
Highway 99 — Sea to Sky / Lions Gate
80 cameras · driving order
Live stills · this page refreshes every minute · DriveBC images update at the source every few minutes
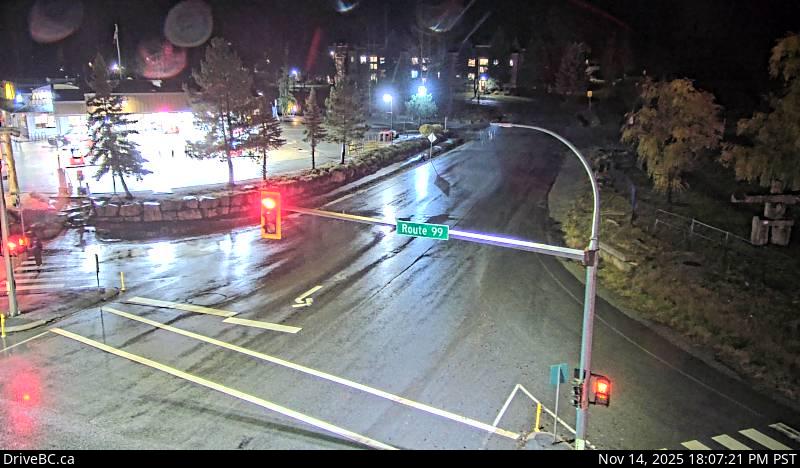
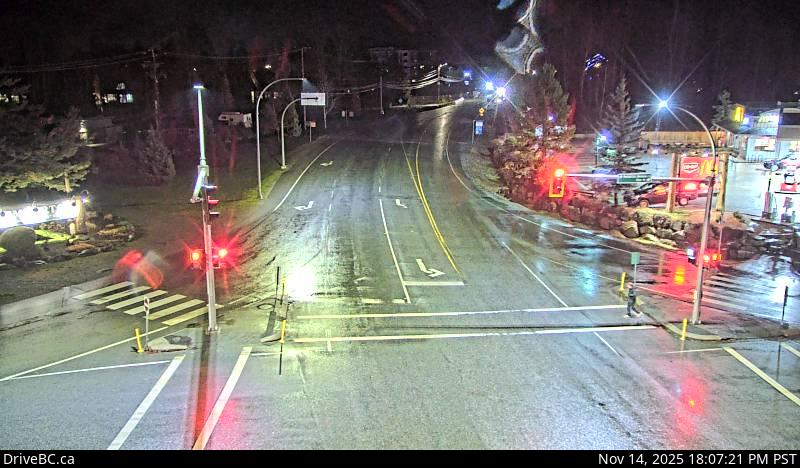
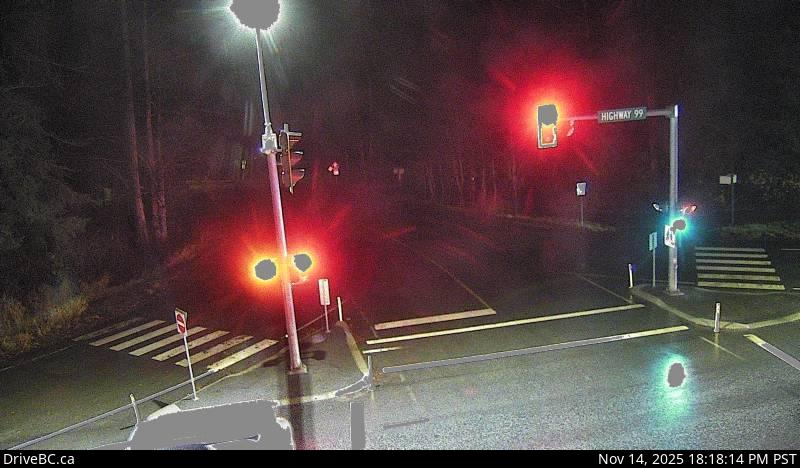
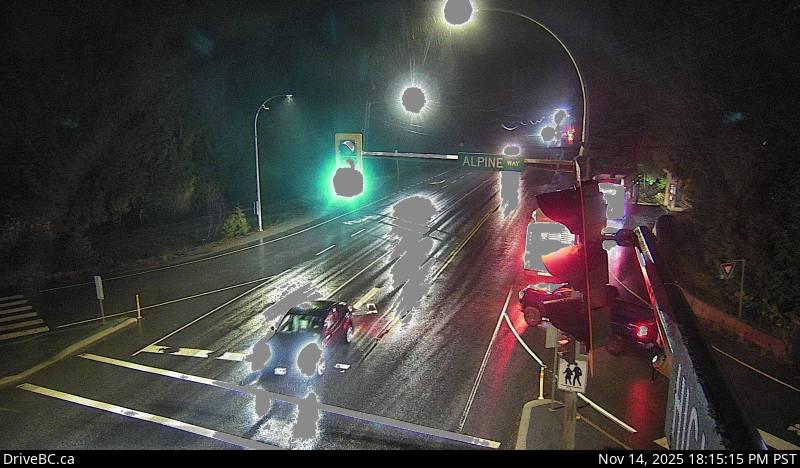
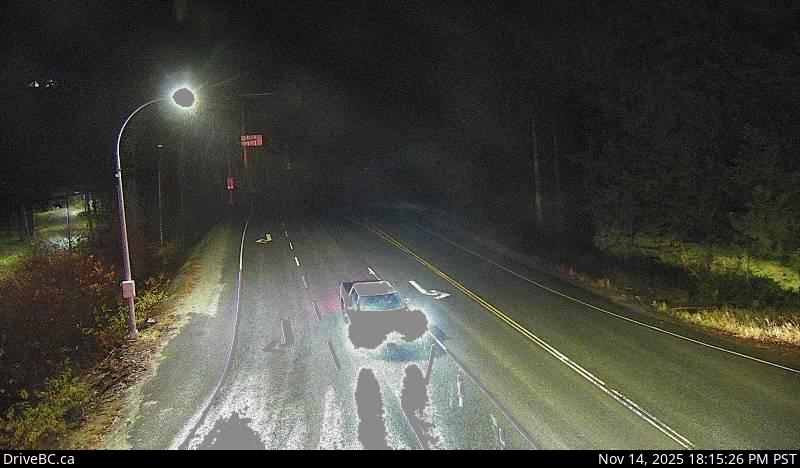
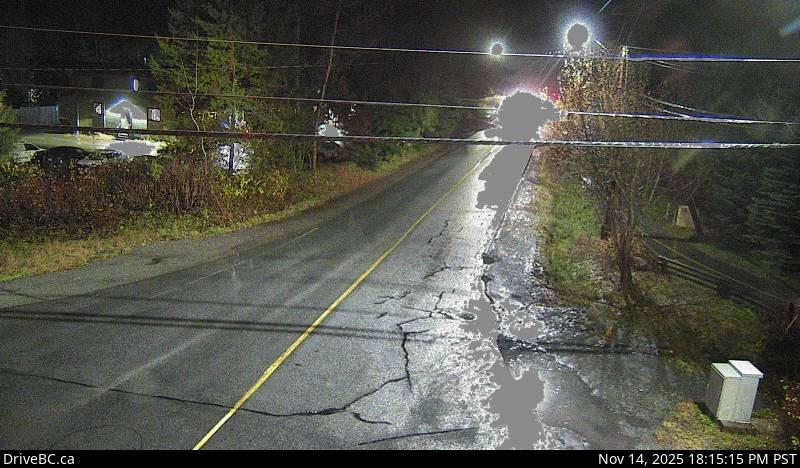
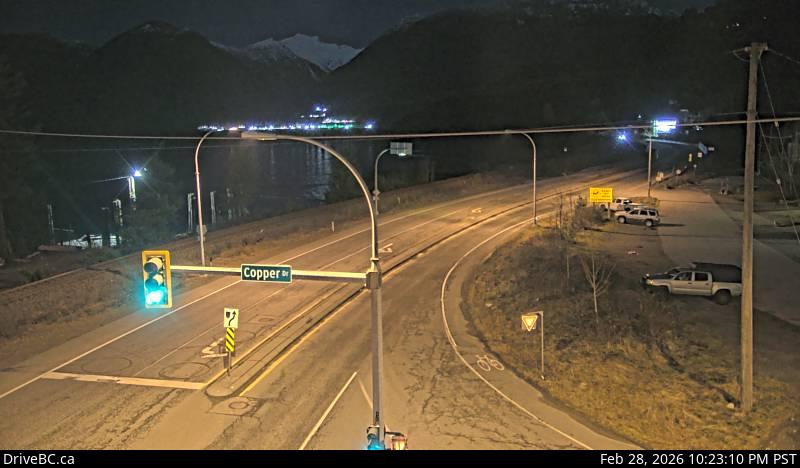
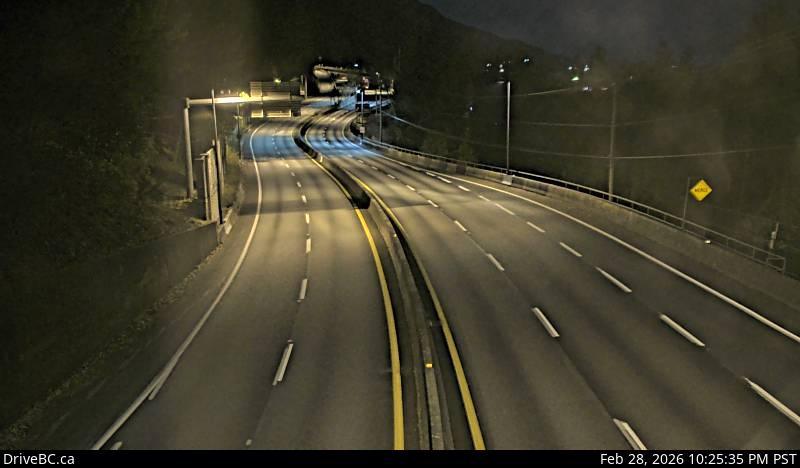
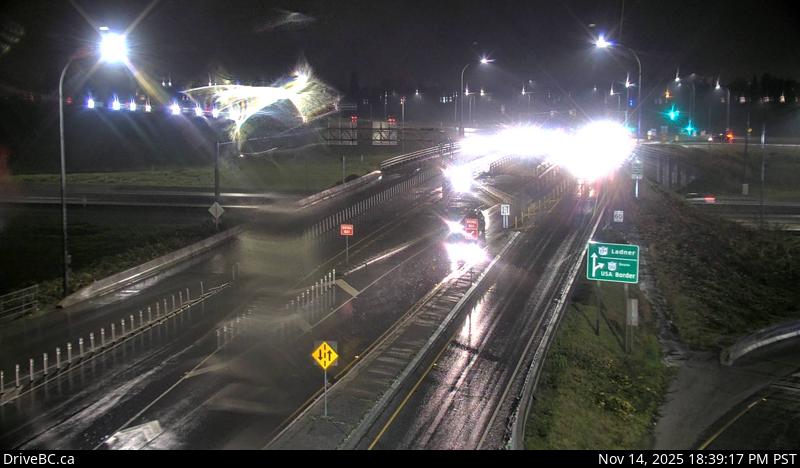
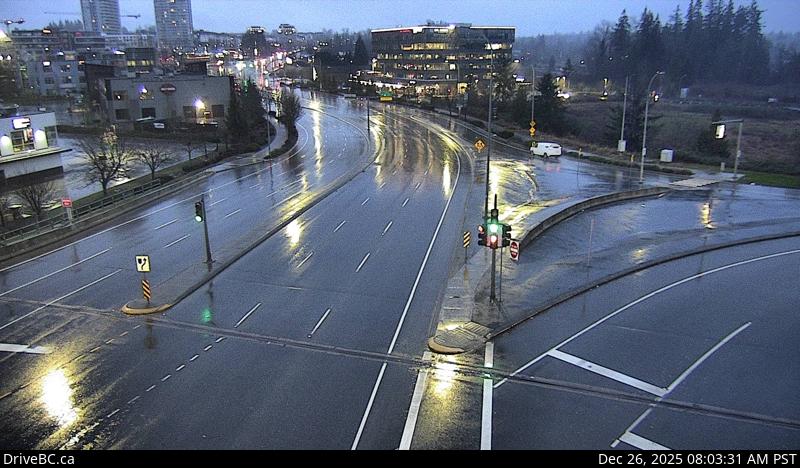
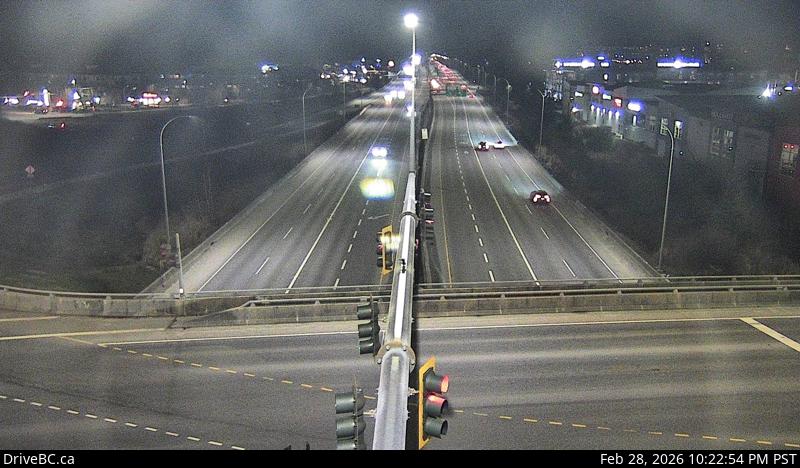
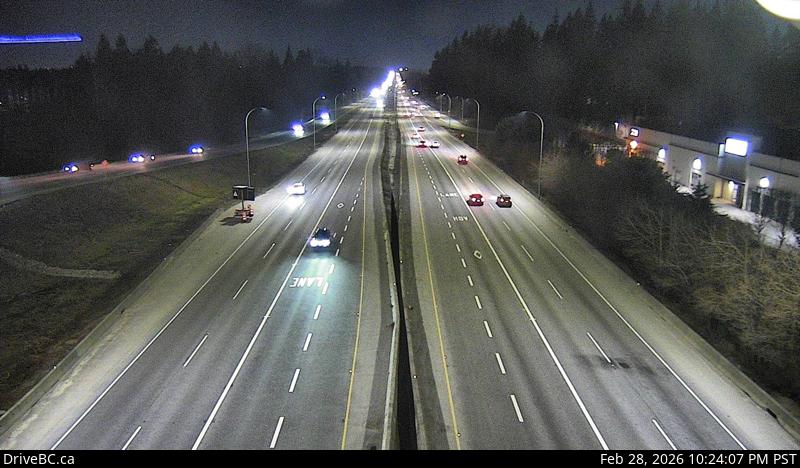
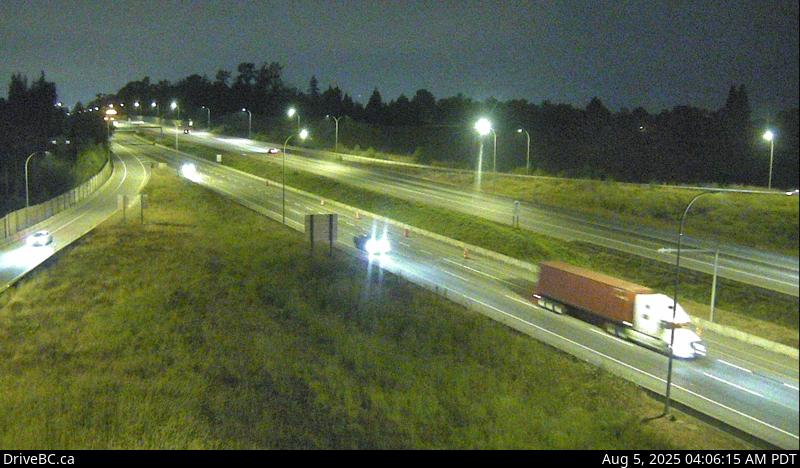
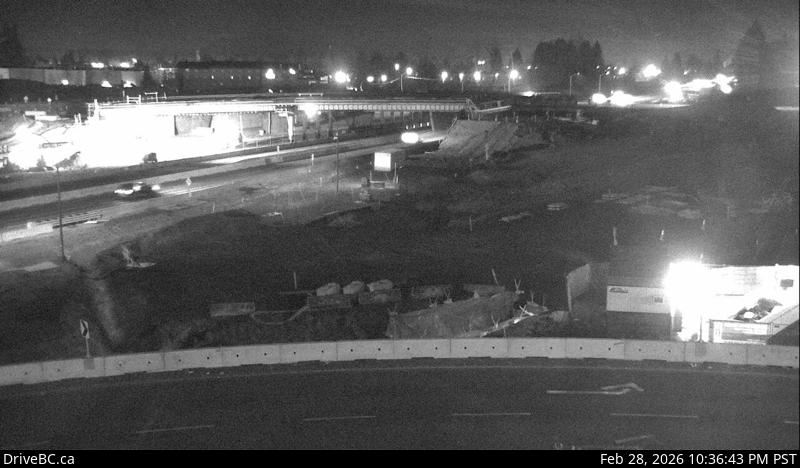
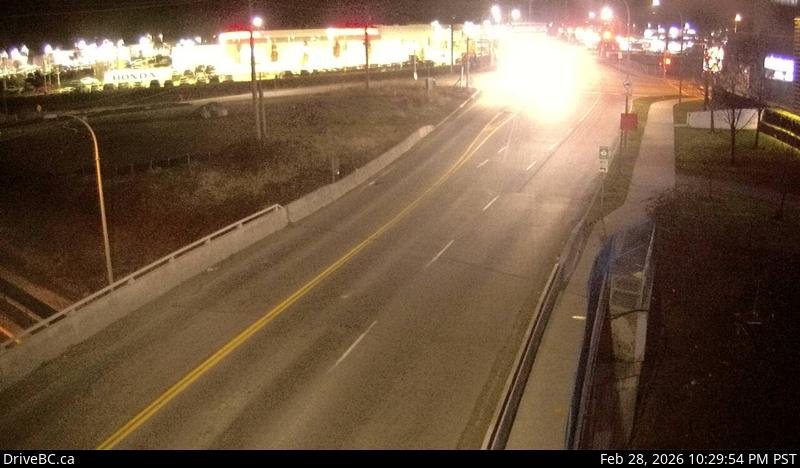
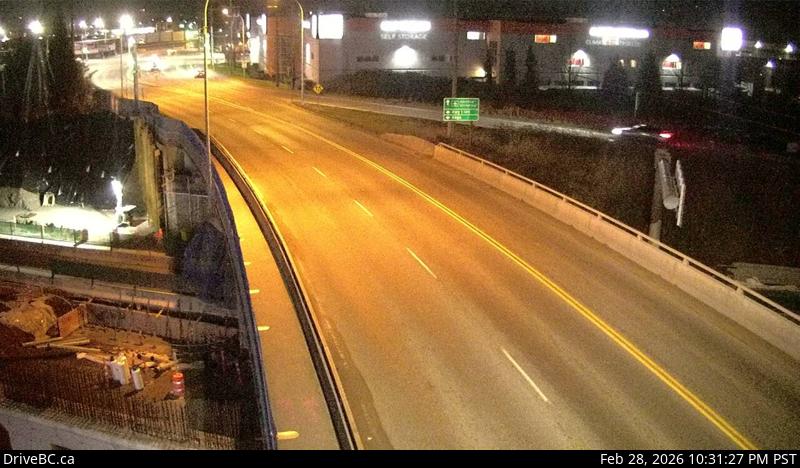
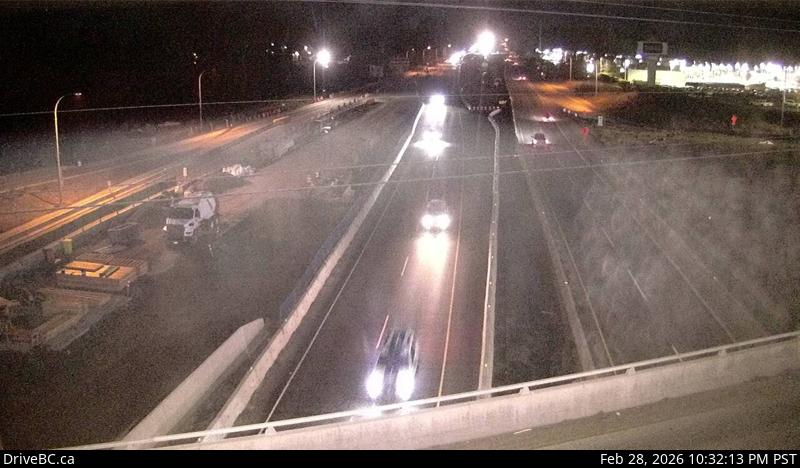
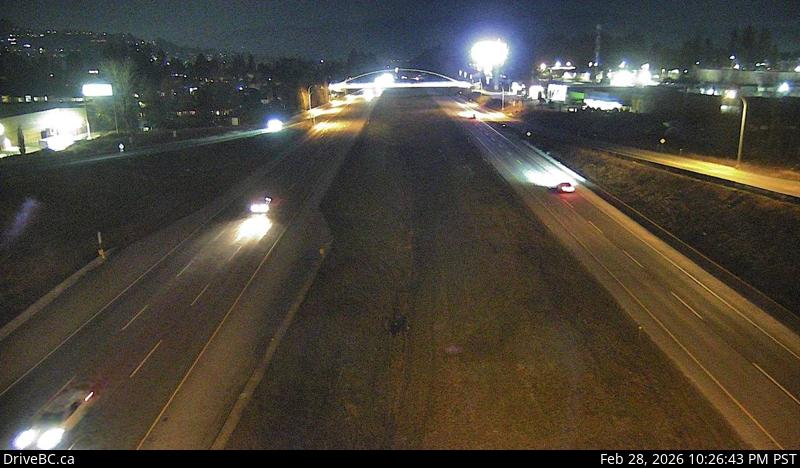
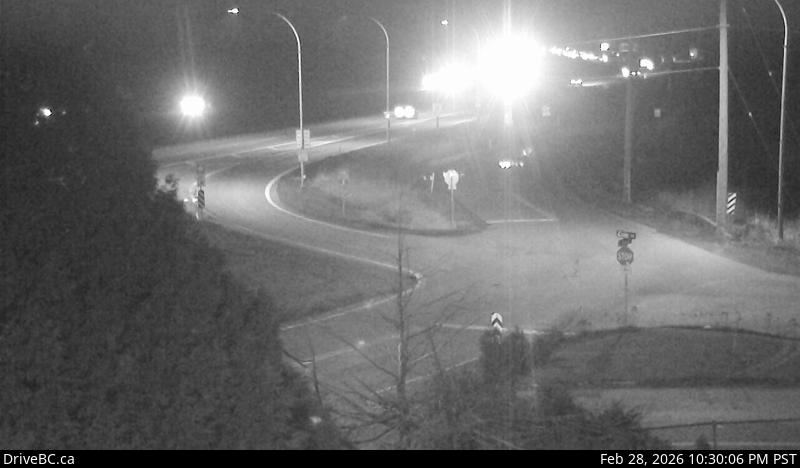
1Lillooet-Fountain Valley — Highway 99 about 15 km north of Lillooet near Fountain Slide, looking southwest.2Duffey Lake Road — Highway 99 (Duffey Lake Road) at Cayoosh summit, looking east.3Pemberton - N — Highway 99 at Portage Road in Pemberton, looking north.4Pemberton - W — Highway 99 at Portage Road in Pemberton, looking west.5Pemberton - S — Highway 99 at Portage Road in Pemberton, looking south.6Pemberton - E — Highway 99 at Portage Road in Pemberton, looking east.7Wedge — Highway 99 about 13 km north of Whistler at Riverside Drive, looking north.8Alpine Way - E — Highway 99 at Alpine Way, looking east.9Alpine Way - S — Highway 99 at Alpine Way, looking south.10Alpine Way - N — Highway 99 at Alpine Way, looking north.11Alpine Way - W — Highway 99 at Alpine Way, looking west.12Lorimer Road - N — Highway 99 at Lorimer Road in Whistler, looking north.13Lorimer Road - E — Highway 99 at Lorimer Road in Whistler, looking east.14Lorimer Road - S — Highway 99 at Lorimer Road in Whistler, looking south15Lorimer Road - W — Highway 99 at Lorimer Road in Whistler, looking west.16Whistler Village Gate - N — Highway 99 at Village Gate Boulevard in Whistler, looking north.17Whistler Village Gate - S — Highway 99 at Village Gate Boulevard in Whistler, looking south.18Whistler Village Gate - E — Highway 99 at Village Gate Boulevard in Whistler, looking east.19Lake Placid - S — Highway 99 at Lake Placid Road in Whistler, looking south.20Lake Placid - W — Highway 99 at Lake Placid Road in Whistler, looking west.21Lake Placid - N — Highway 99 at Lake Placid Road in Whistler, looking north.22Lake Placid - E — Highway 99 at Lake Placid Road in Whistler, looking east.23Bayshore Drive northbound — Highway 99 at Bayshore Drive, looking northbound.24Bayshore Drive — Highway 99 at Bayshore Drive, looking towards Bayshore Drive.25Bayshore Drive southbound — Highway 99 at Bayshore Drive, looking southbound.26Function Junction - N — Highway 99 at Cheakamus Lake Road and Alpha Lake Road, looking north.27Function Junction - E — Highway 99 at Cheakamus Lake Road and Alpha Lake Road, looking east.28Function Junction - S — Highway 99 at Cheakamus Lake Road and Alpha Lake Road, looking south.29Function Junction - W — Highway 99 at Cheakamus Lake Road and Alpha Lake Road, looking west.30Brew Creek - S — Highway 99 near Brew Creek Forest Service Road, looking south.31Brew Creek - N — Highway 99 near Brew Creek Forest Service Road, looking north.32Daisy Lake - S — Highway 99 at Daisy Lake Road, looking south.33Daisy Lake - N — Highway 99 at Daisy Lake Road, looking north.34Culliton - S — Highway 99 about 24 km north of Squamish, looking south.35Culliton - N — Highway 99 about 24 km north of Squamish, looking north.36Alice Lake - S — Highway 99 at Squamish Valley Road, looking south.37Alice Lake - N — Highway 99 at Squamish Valley Road, looking north.38Valley Drive - S — Highway 99 at Valley Drive, looking south.39Valley Drive - N — Highway 99 at Valley Drive in Squamish, looking north.40Britannia - S — Highway 99 at Copper Drive in Britannia Beach, looking south.41Britannia - N — Highway 99 at Copper Drive in Britannia Beach, looking north.42Furry Creek — Highway 99 about 12 km south of Squamish, looking south.43Lions Bay - N — Highway 99 in Lions Bay, looking north.44Lions Bay - S — Hwy 99, in Lions Bay looking south.45Taylor Way — Taylor Way at Marine Drive, looking north on Taylor Way.46Marine Drive — Marine Drive at Taylor Way, looking east toward Lions Gate Bridge.47LGB North End 2 — Lions Gate Bridge north end, looking north.48LGB North End 1 — Lions Gate Bridge north end, looking south.49Causeway — Stanley Park Causeway at Stanley Park entrance, looking north.50Georgia Street — Georgia Street at Chilco, looking south.51Hwy 99 at Cambie - N — Highway 99 at Cambie Road in Richmond, looking north.52Hwy 99 at Cambie - S — Highway 99 at Cambie Road in Richmond, looking south.53Hwy 99 at Shell Road — Highway 99 at Shell Road, approaching Oak Street Bridge, looking north.54Hwy 99 at Westminster Highway - S — Highway 99 at Westminster Highway in Richmond, looking south.55Hwy 99 at Westminster Highway - N — Highway 99 at Westminster Highway in Richmond, looking north.56Blundell - N — Highway 99 between Blundell Road overpass and Steveston off-ramp, looking north.57Blundell - S — Highway 99 between Blundell Road overpass and Steveston off-ramp, looking south.58Steveston — Highway 99 at Steveston interchange, looking south.*59Deas — Highway 99 north of Highway 17A overpass, looking north*.60South Approach — Highway 99 north of Highway 17A overpass, looking north.61Hwy 99 at Hwy 17A - W — Highway 99 at Highway 17A overpass, looking west on Highway 99 at northbound lanes.62Hwy 99 at Hwy 17A - E — Highway 99 at Highway 17A overpass, looking east at southbound lanes on Highway 99.63Hwy 99 at Hwy 17A - S — Highway 99 at Highway 17A overpass, looking south to Highway 17A.64Hwy 99 at Hwy 17A - NE — Highway 99 at Highway 17A overpass, looking northeast to 62B/River Road.65Hwy 17A Overpass — Highway 99 from Highway 17A overpass, looking northbound.66Works Yard — Highway 99 at Delta Works Yard, looking north*.67Hwy 99 at Hwy 17 - W — Highway 99 at Highway 17 in Delta, looking west.68Hwy 99 at Hwy 17 - E — Highway 99 at Highway 17 in Delta, looking east.69Hwy 99 at Mud Bay - E — Highway 99, near Highway 91 around Mud Bay in Surrey, looking east on Highway 99 southbound.70Hwy 99 at Mud Bay - W — Highway 99, near Highway 91 around Mud Bay in Surrey, looking west on Highway 99 northbound.71Hwy 99 at King George Boulevard - S — Highway 99 at King George Boulevard, looking south.72Hwy 99 at King George Boulevard - N — Hwy 99 at King George Boulevard, looking north.73Hwy 99 at King George Boulevard - W — Highway 99 at King George Boulevard, looking west.74Hwy 99 at King George Boulevard - E — Highway 99 at King George Boulevard, looking east.75Hwy 99 - 32 Avenue Diversion - N — Highway 99, north of 32 Avenue Diversion, looking north.76Hwy 99 - 32 Avenue Diversion - S — Highway 99, north of 32 Avenue Diversion, looking south.77Hwy 99 at 16 Avenue - N — Highway 99 at 16 Avenue, looking north.78Hwy 99 at 16 Avenue - E — Highway 99 at 16 Avenue, looking east.79Hwy 99 at 16 Avenue - S — Highway 99 at 16 Avenue, looking south.80Hwy 99 at 16 Avenue - W — Highway 99 at 16 Avenue, looking west.
Highway 101
10 cameras · driving order
Live stills · this page refreshes every minute · DriveBC images update at the source every few minutes
1Lund - N — Highway 101 about 8.5 km south of Lund, looking north.2Lund - S — Highway 101 about 8.5 km south of Lund, looking south.3Powell River — Highway 101 near Loubert Road in the qathet Regional District, looking south.4Earls Cove — Highway 101 at Egmont Road, south of Earls Cove on the Sunshine Coast, looking South.5Halfmoon Bay — Highway 101 (Sunshine Coast Highway) at Brooks Road near Halfmoon Bay, looking south.6Trout Lake - W — Highway 101 about 10 km north of Sechelt, looking west.7Trout Lake - E — Highway 101 about 10 km north of Sechelt, looking east.8Gibsons Bypass - S — Highway 101 at top of Gibsons Bypass at Stewart Road, looking south.9Gibsons Bypass - NE — Highway 101 at top of Gibsons Bypass at Stewart Road, looking northeast.10Gibsons Bypass - N — Highway 101 at top of Gibsons Bypass at Stewart Road, looking north.
Highway Chilliwack Lake Road
1 cameras · driving order
Live stills · this page refreshes every minute · DriveBC images update at the source every few minutes
1Chilliwack Lake — Chilliwack Lake Road, at Paulsen Road. About 42 km east of Chilliwack, looking east.
Highway Barnston
4 cameras · driving order
Live stills · this page refreshes every minute · DriveBC images update at the source every few minutes
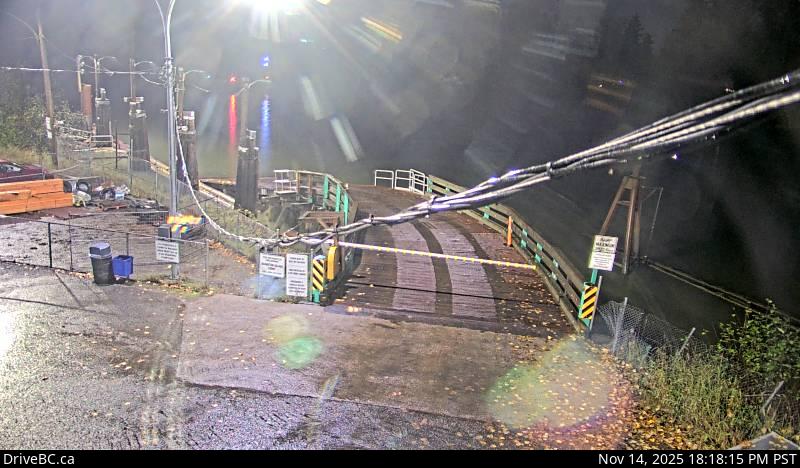
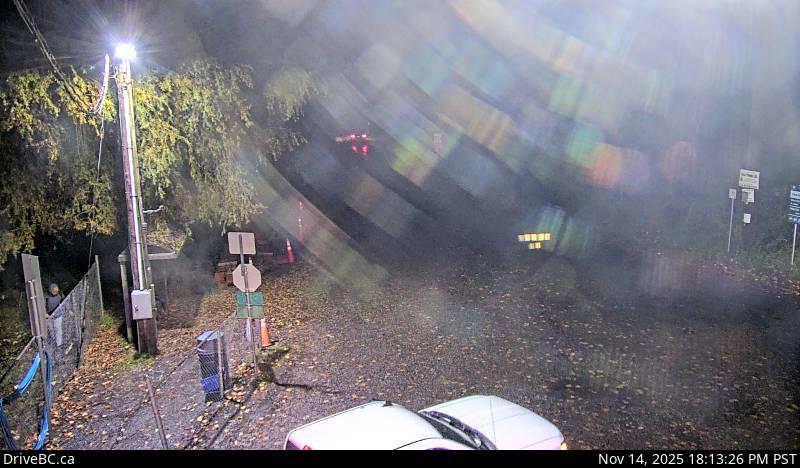
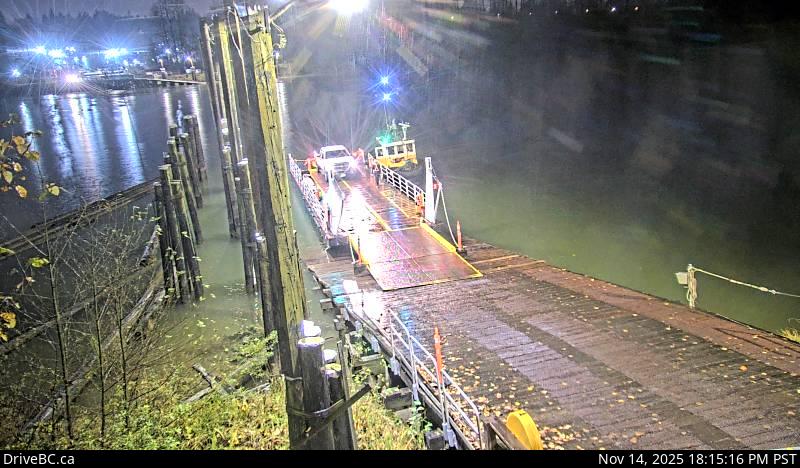
1Port Kells - W — Port Kells, at Barnston Ferry Landing, looking west.2Port Kells - E — Port Kells, at Barnston Ferry Landing, looking east.3Barnston Island - N — Barnston Island, at Barnston Island Ferry Landing, looking north.4Barnston Island - W — Barnston Island, at Barnston Island Ferry Landing, looking west.
 1
 2
 3
 4
 5
 6
 7
 8
 9
 10
 11
 12
 13
 14
 15
 16
 17
 18
 19
 20
 21
 22
 23
 24
 25
 26
 27
 28
 29
 30
 31
 32
 33
 34
 35
 36
 37
 38
 39
 40
 41
 42
 43
 44
 45
 46
 47
 48
 49
 50
 51
 52
 53
 54
 55
 56
 57
 58
 59
 60
 61
 62
 63
 64
 65
 66
 67
 68
 69
 70
 71
 72
 73
 74
 75
 76
 77
 78
 79
 80
 81
 82
 83
 84
 85
 86
 87
 88
 89
 90
 91
 92
 93
 94
 95
 96
 97
 98